After a nightly session the first thing to do is to analyse the lights. This can be done visually or mathematically. Or both 😉
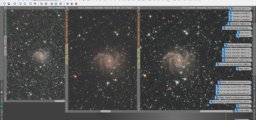
First of all I pre-sort the lights visually. But since I use an AutoGuider I can use almost every light frame. Only if there are air planes or satellites I’ll sort them out.
Temperature readout – EXIF tool
The next step is to check the sensor temperature of each light, dark and bias with the command line application exif-tool. As we know all subs should have the same temperature as much as possible. So subs with a high deviation will not be used for stacking.
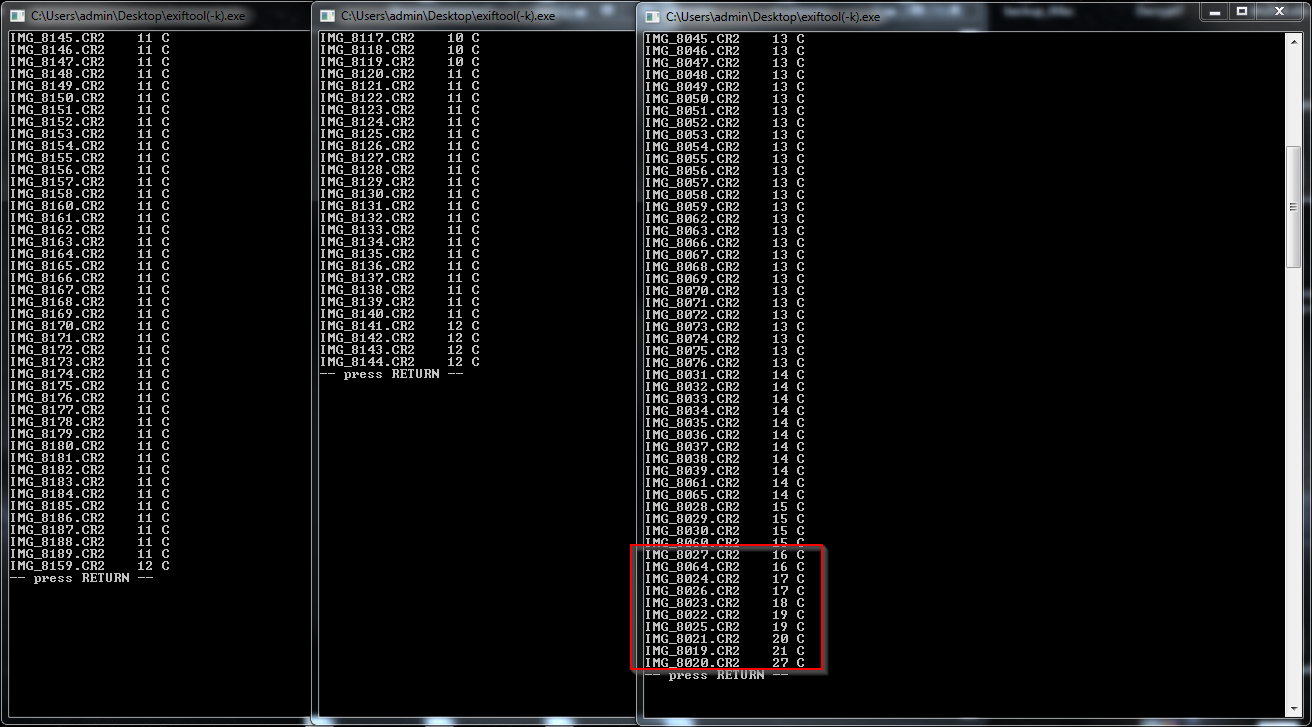
Command line example: exiftool(-k).exe -Filename -CameraTemperature -fileOrder CameraTemperature -T -q -ext CR2
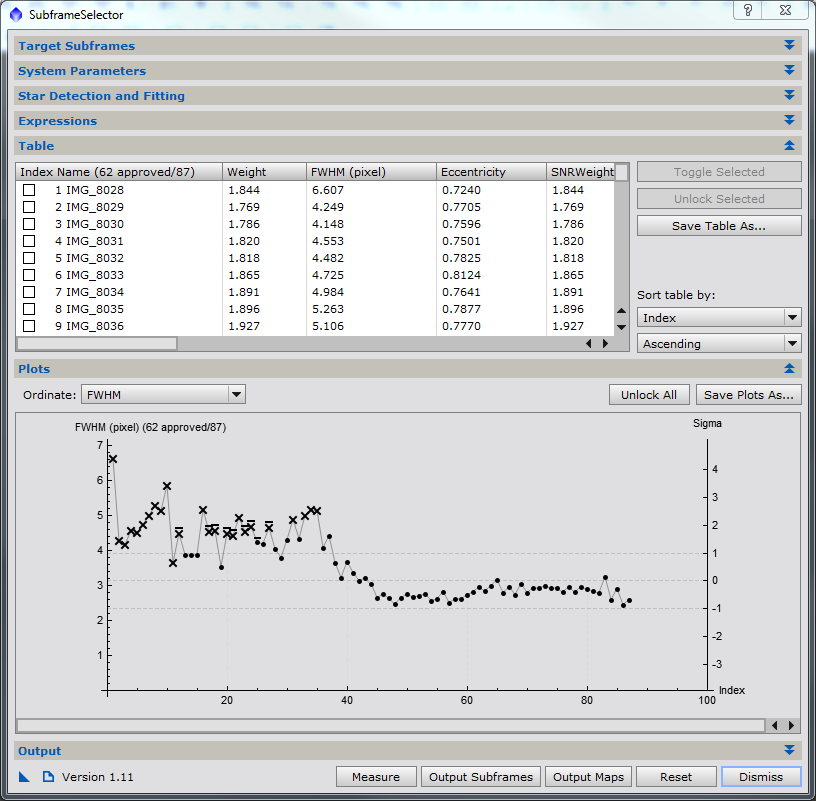
Subframe Selector
Finally, I use the SubframeSelector in PixInsight to analyse my pre-sorted lights and reject specific frames, based on a formula. I’ve found this expression in PixInsight forums and it does a good job for me:
FWHMSigma < 2 && SNRWeightSigma > -2 && WeightSigma > -2
There are many other expression formulas which can be found on the net. Especially this website explains the Subframe Selector very well, also with recommendations to play with different expression values: https://www.chaoticnebula.com/pixinsight-subframe-selector/
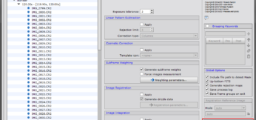
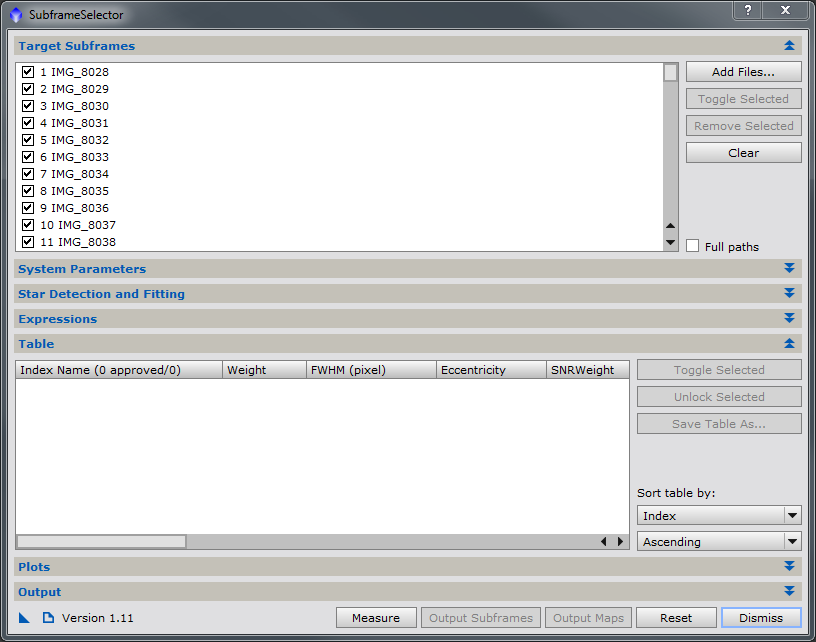
Let’s take a look at the SubframeSelector steps (Script – Batch Processing):
- Add (calibrated) light frames into SubframeSelector

- Add approval expression and weighting:
Approval: FWHMSigma < 2 && SNRWeightSigma > -2 && WeightSigma > -2
Weighting: SNRWeight

- Start selection process by clicking “Measure”
- After the measurement all rejected subs are deselected in the table

- Also open the plots to have a better overview

- By clicking on a point in the plot, you can reject/include single frames manually

- Finally select an output folder (Approved directory) for the approved lights and click on “Output Subframes”


Now we have a good base to start the stacking process.