In PixInsight 1.8.8 a few new features are available for image stacking. Since I’m using flats now, its time to update my previous Stacking in PixInsight tutorial.
All following CFA settings are suitable for CMOS sensors like in my Canon EOS 70D, using the Bayer matrix filter (RGGB). Select the proper settings for your camera sensor type!
The following stacking process contains 2 steps:
1 – Image Calibration / Registration / Debayering
2 – Image Integration
1 – Image Calibration / Registration / Debayering
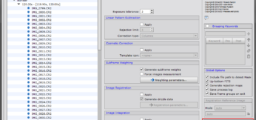
Menu: SCRIPT – Batch Processing – WeightedBatchPreprocessing
1.1 – Add Bias frames. I use the default settings for Bias frames:

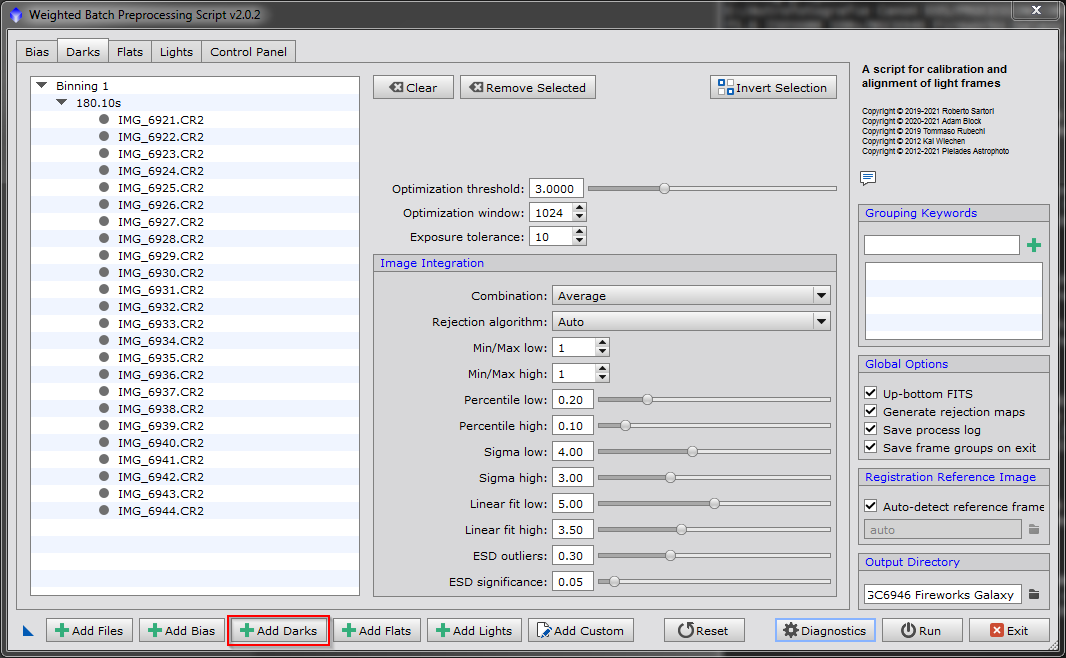
1.2 – Add dark frames. Here I also use the default settings:
1.3 – Add flat frames, again I use the default settings:

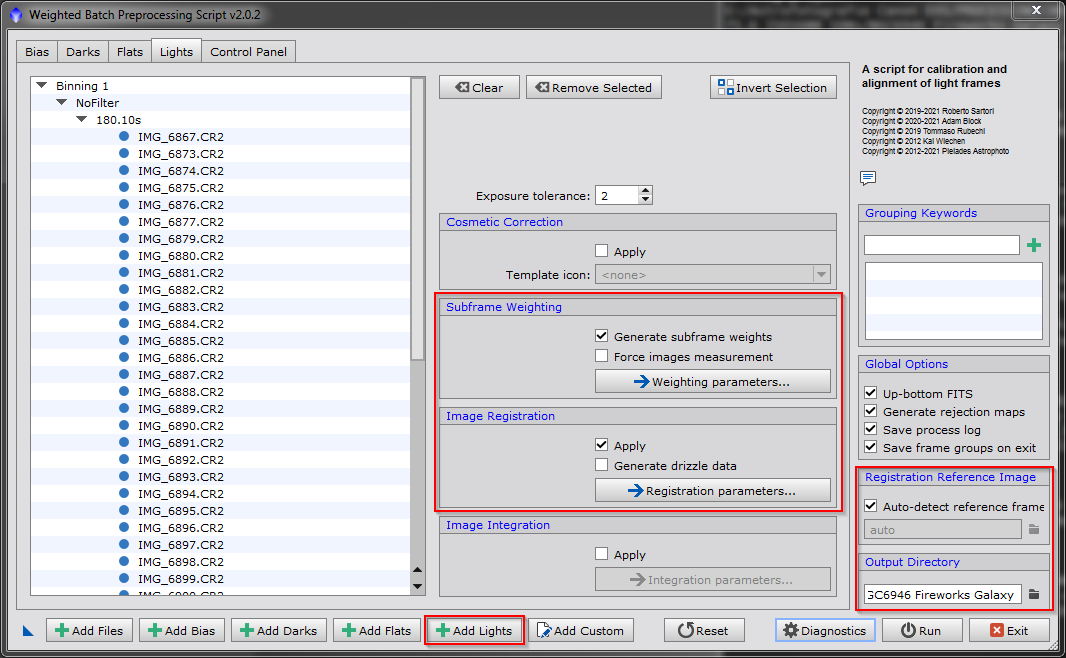
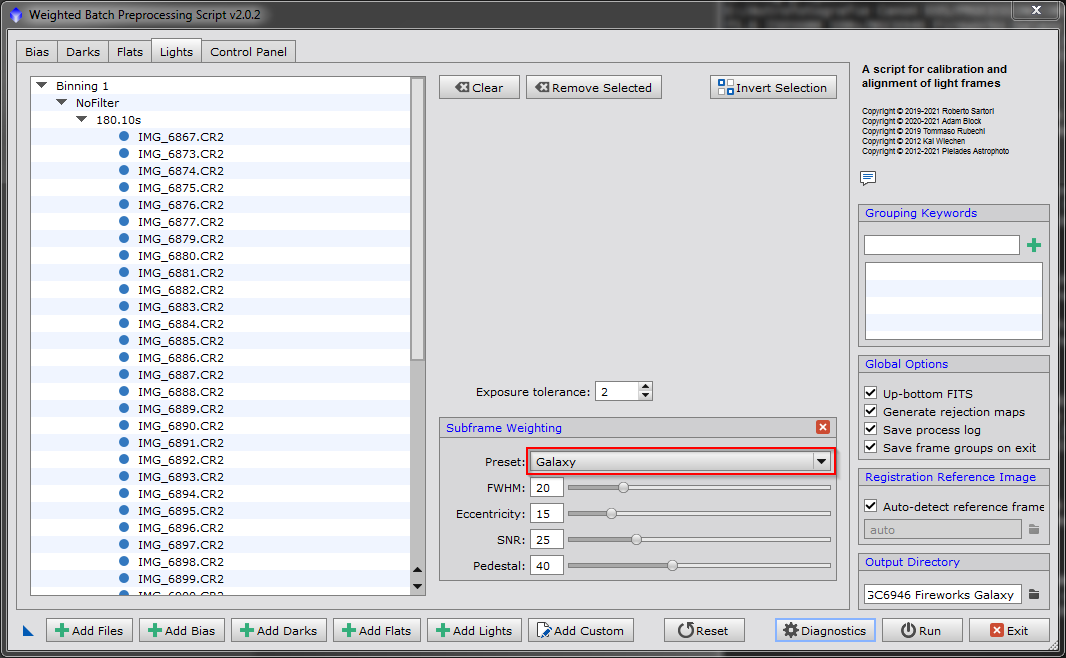
1.4 – Add light frames and activate Image Registration. Also activate Subframe Weighting, if you want use image weighting in Image Integration later.
Select a reference frame manually or check “Auto-detect reference frame” and set an output directory with sufficient space (generated data will be around 20-100GB, depending on your raw material):
1.5 – If you use Subframe Weighting, go to the Weighting parameters and select your object type preset:
1.6 – In tab “Control Panel” click on “CFA Images” in FLAT section. On the right check “CFA images” and “Separate CFA flat scaling factors” and apply it to all flat frames by pressing the button “Apply to all flat frames”:

“Separate CFA flat scaling factors” is important to be checked. I runned the script without this option and the result had a strange red tint. Here compared with the usual cyan/green tint:

1.7 – In tab “Control Panel” activate CFA Images for LIGHT, check “CFA images” and set Bayer/mosaic pattern to RGGB (this setting depends on your camera! RGGB is for my EOS 70D), Debayer method to VNG and apply it to all light frames:

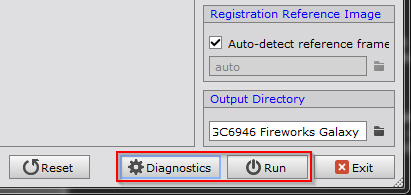
1.8 – Start stacking by click on Run. Optionally click on “Diagnostics” first to check in advance if all settings are OK:
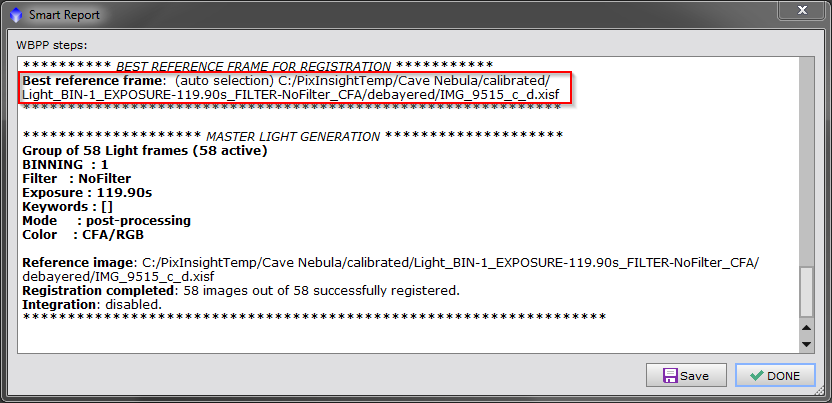
The duration ot the registration process depends on the amount of your raw material. Once the stacking process is finished, the Image Integration process can be started.
At the end of the process this window appears. Use the listed best frame as reference frame in the integration process
2 – Image Integration
Menu: PROCESS – ImageIntegration – ImageIntegration
2.1 – Add all xisf files located in subfolder “registered” in your project’s output directory. Select the best image and click “Set Reference” (take the best image listed in the previous registration final output window).

2.2 – If you have used Subframe Weighting in the first step during Image Registration/Debayering and you want to use the weighting for ImageIntegration, select “Average” as combination type and “FITS keyword” as weights. Use “WBPPWGHT” as weight keyword.
As rejection algorithm I use Linear Fit Clipping.

2.3 – Start the Image Integration by clicking the circle (bottom-left):

Rejection Algorithms Rule
- < 12 images: Sigma Clipping (or Percentile Clipping)
- 13-20 images: Winsorized Sigma
- >20 images: Linear Fit Clipping
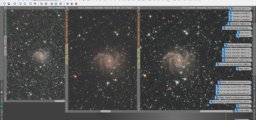
The result looks like this and is now ready to be processed: