This tutorial is for the old PixInsight version 1.8.5.
Click here for the latest PixInsight version 1.8.8-7 tutorial.
In PixInsight 1.8 the stacking process is really easy to handle. Very similar to DeepSkyStacker, but the result is much better. The image is overall sharper. The following settings and values I’ve collected during the last half year from various forum posts or tutorials.
Currently I use only light-, dark- and bias frames. No flats… out of convenience;-) But I’ve heard about illuminated light foils… someday I’ll try it…
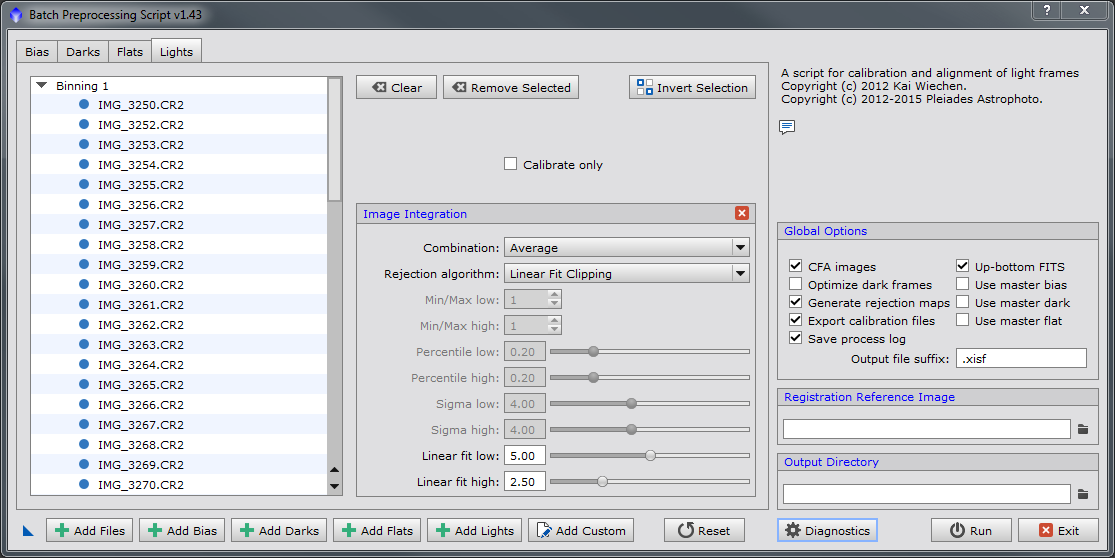
BatchPreprocessing
The rejection algorithm type depends on the number of lights, darks, bias, … I’ve found various recommendations in the net and finally I use this algorithms:
Rejection Algorithms
- < 12 images: Sigma Clipping (or Percentile Clipping)
- 13-20 images: Winsorized Sigma
- > 20 images: Linear Fit Clipping
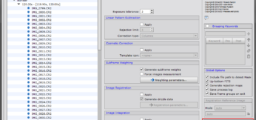
Script – Batch Processing – BatchPreprocessing
- Add Bias frames and select Image Integration method depeding on the number of images.

- Add Dark frames and select Image Integration method.

- Add Light frames and set the DeBayer settings to RGGB and VNG. Then click”Integration parameters…”.

- Select Image Integration method.
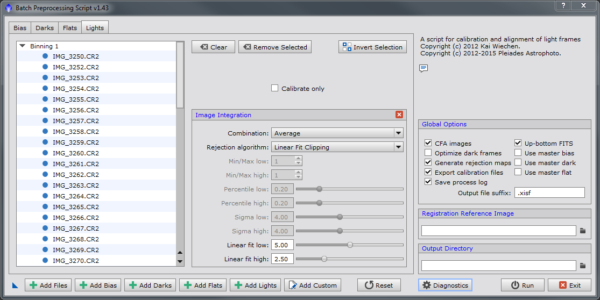
- Activate “CFA images” otherwise the stacked image will be monochrome. Select a “Registration Reference Image” by double click on a light frame and set “Output Directory”.

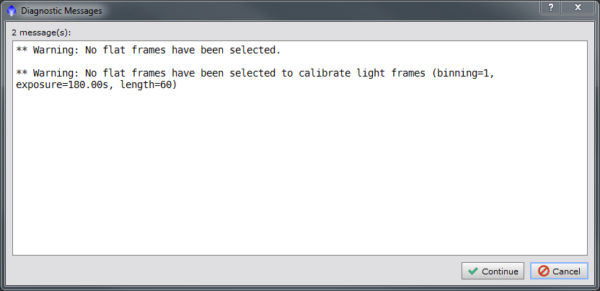
- Start the process by click on “Run” and confirm diagnostic messages.
- Get take a coffee and wait until the process is finished.

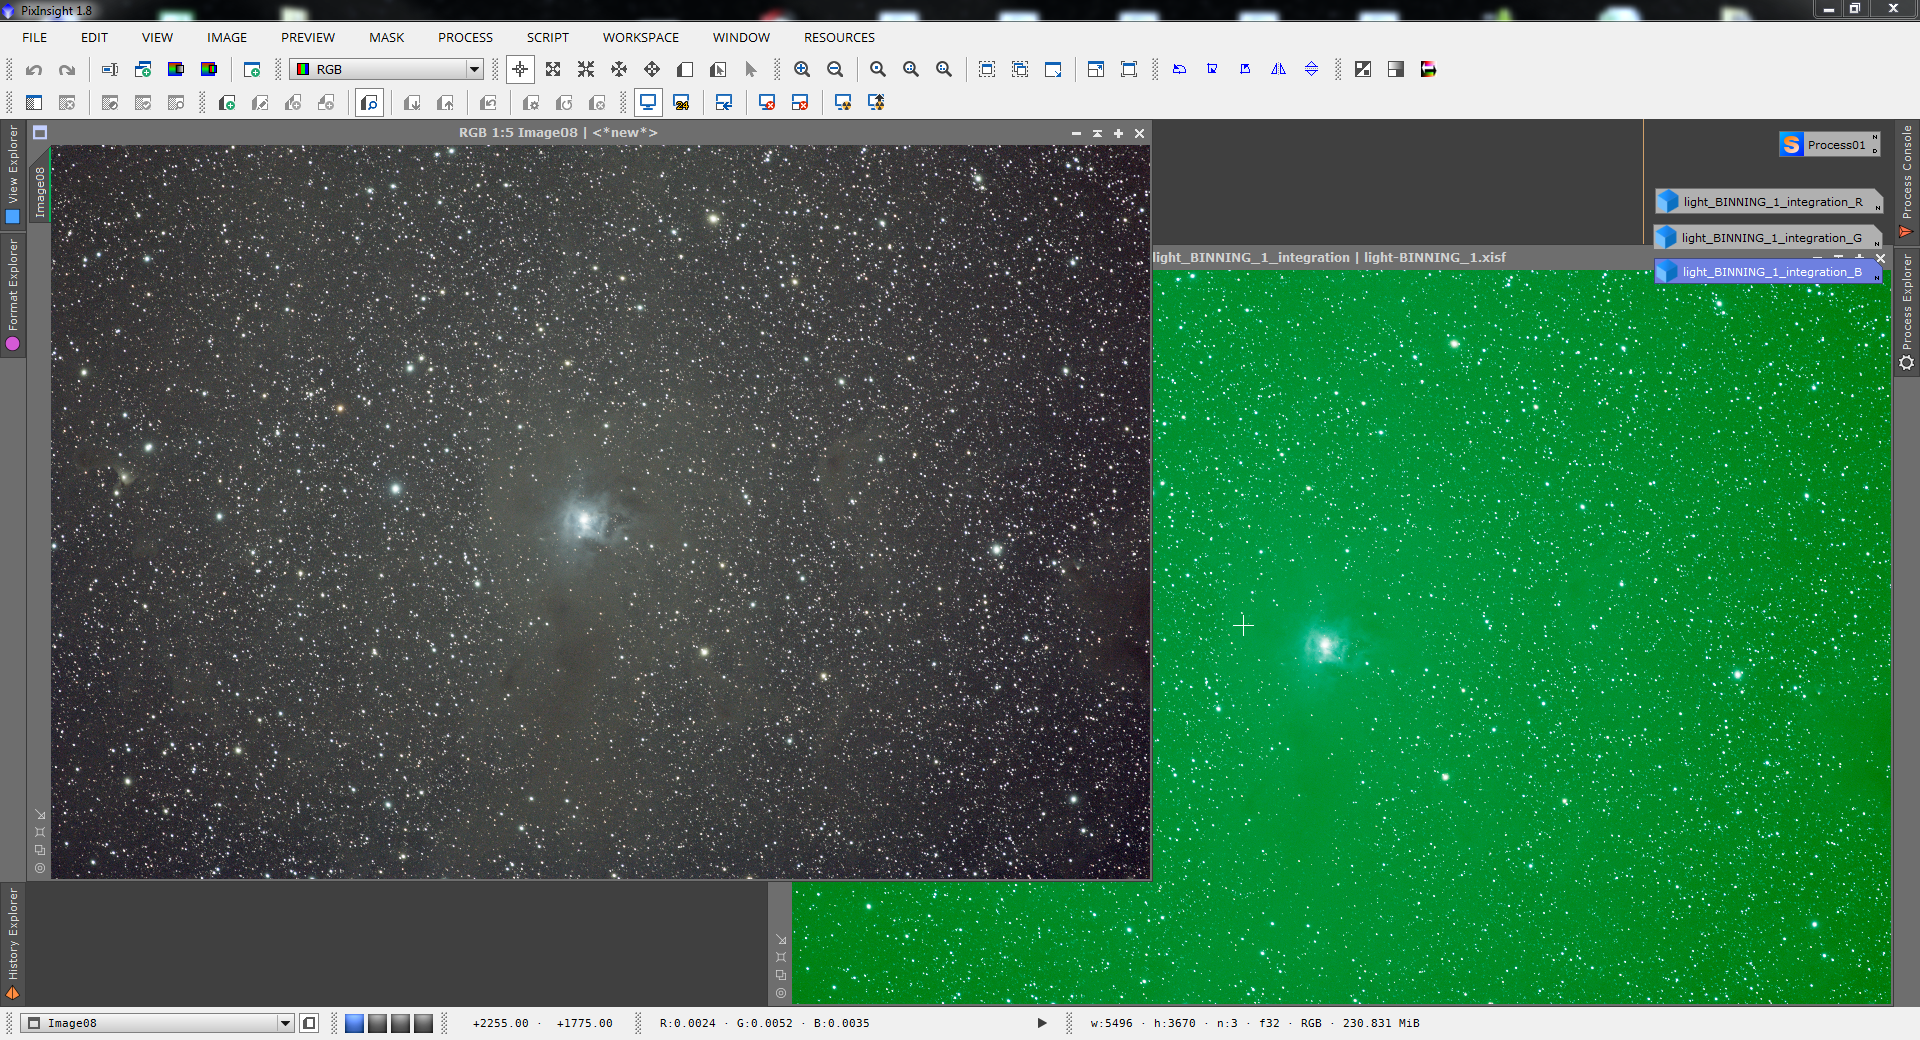
- Drag “light-BINNING_1.xisf” from the export folder –> subdirectory “master” to PixInsight.

- The stacked image appends the suffix “_integration”. Close the other images.

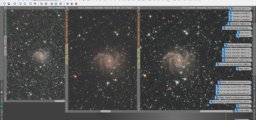
- Apply STF to the integrated image and start image processing.

- The next step is individual on your preferred processing techniques.
For example: Remove tint from the stacked image


If you have improvements to my listed steps, feel free to comment this post 🙂