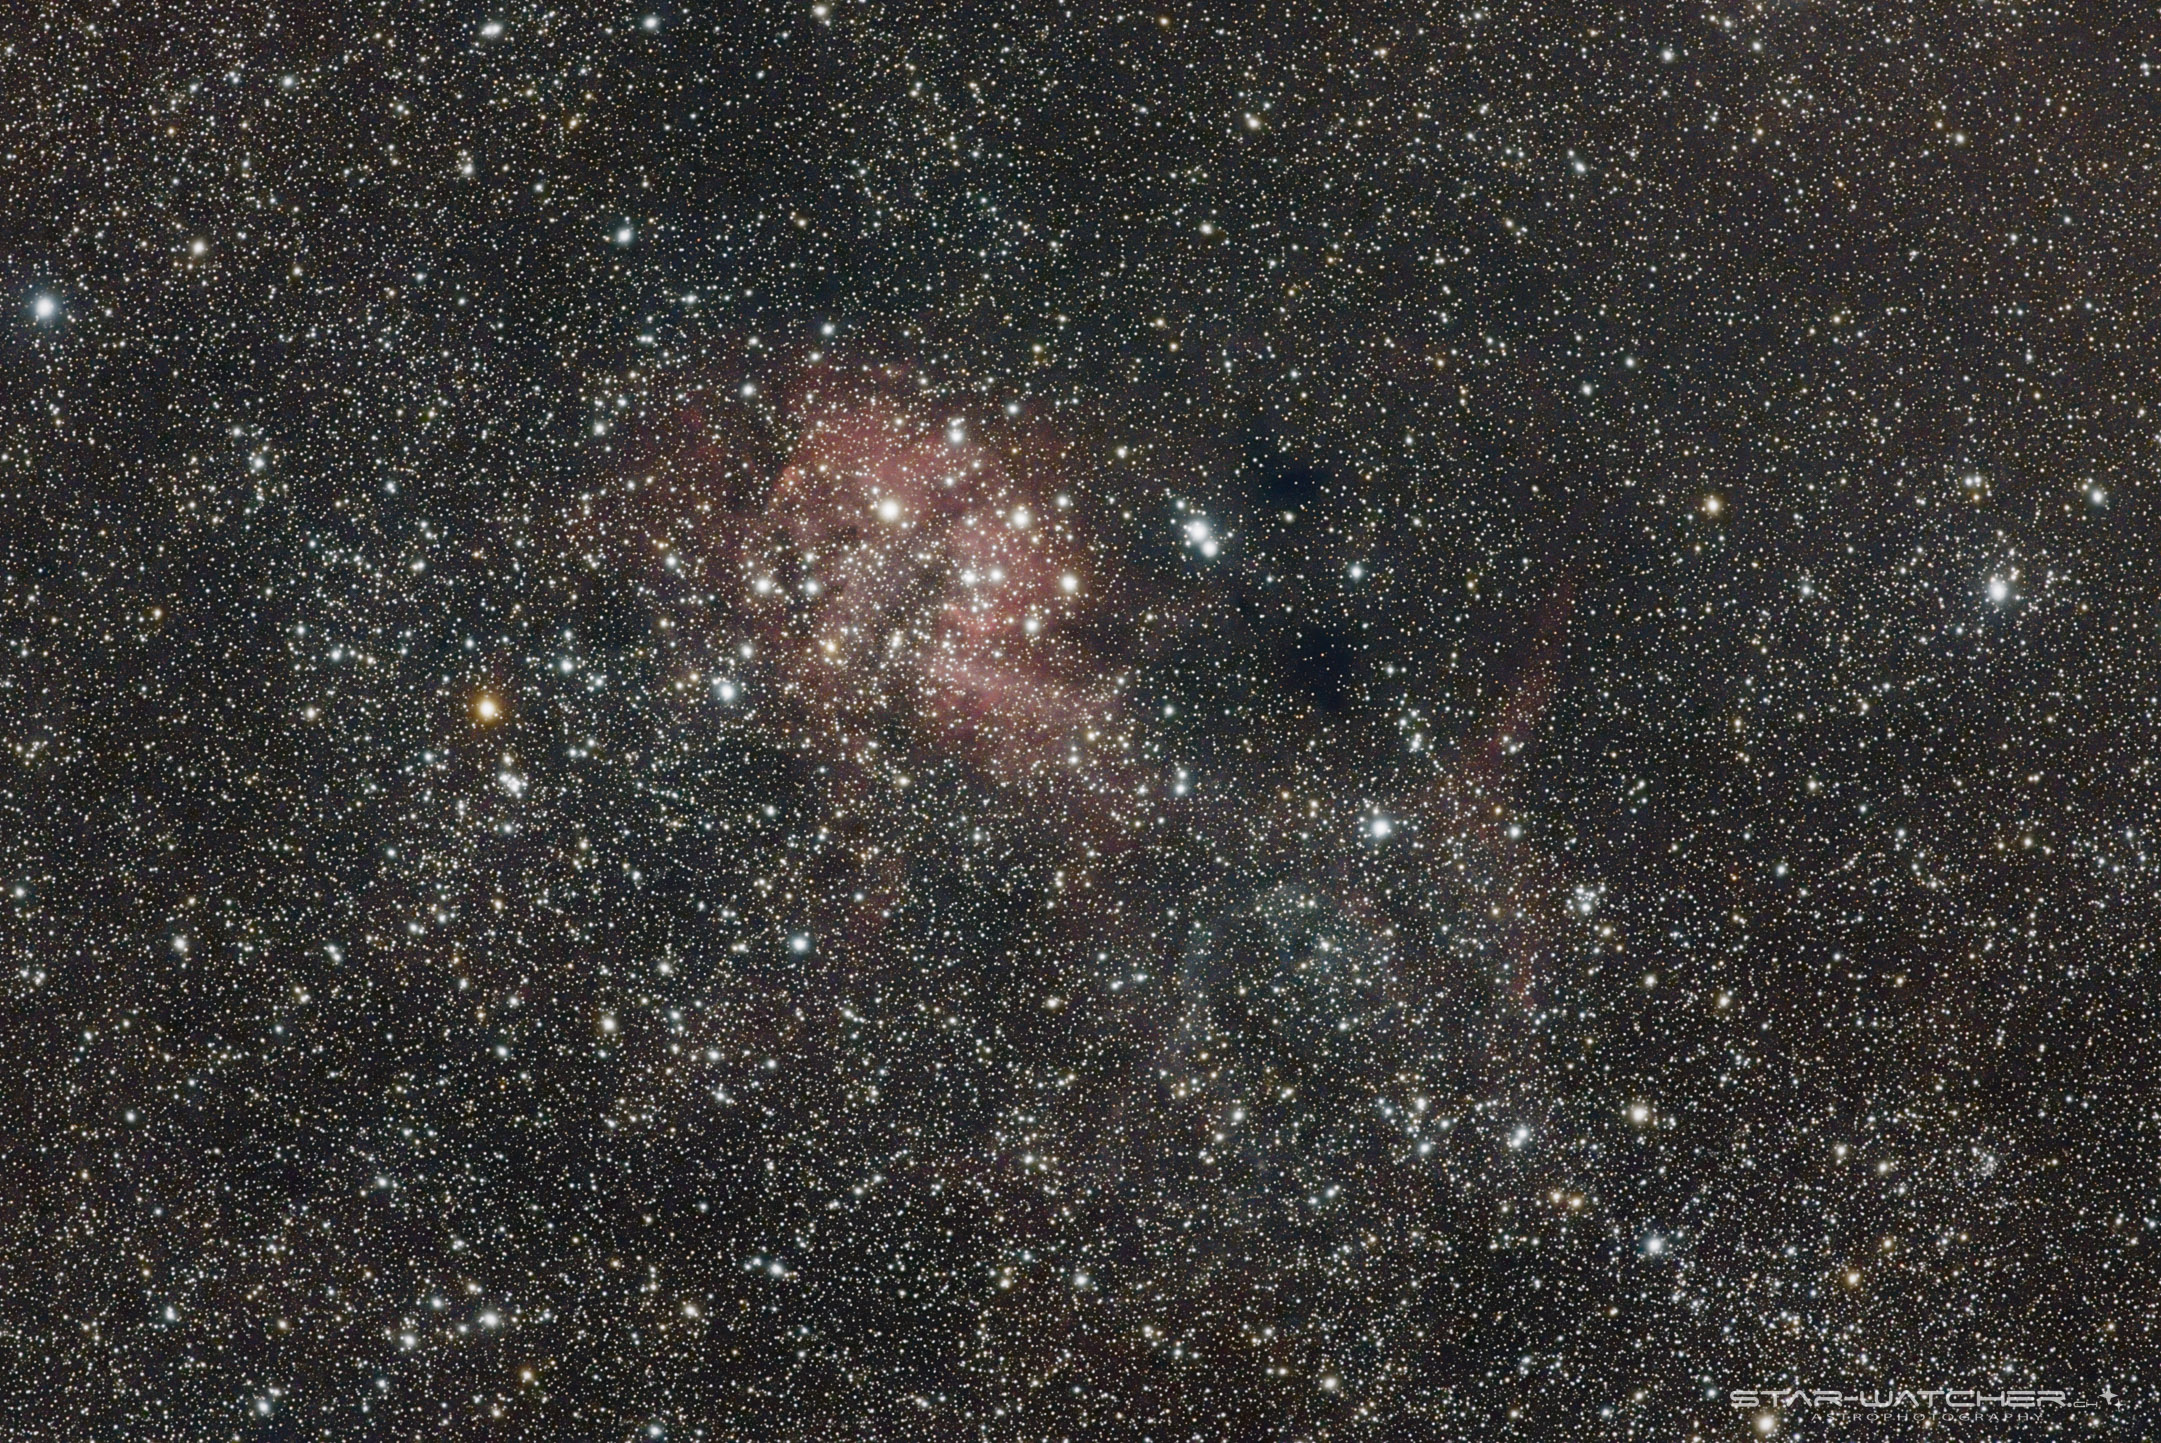
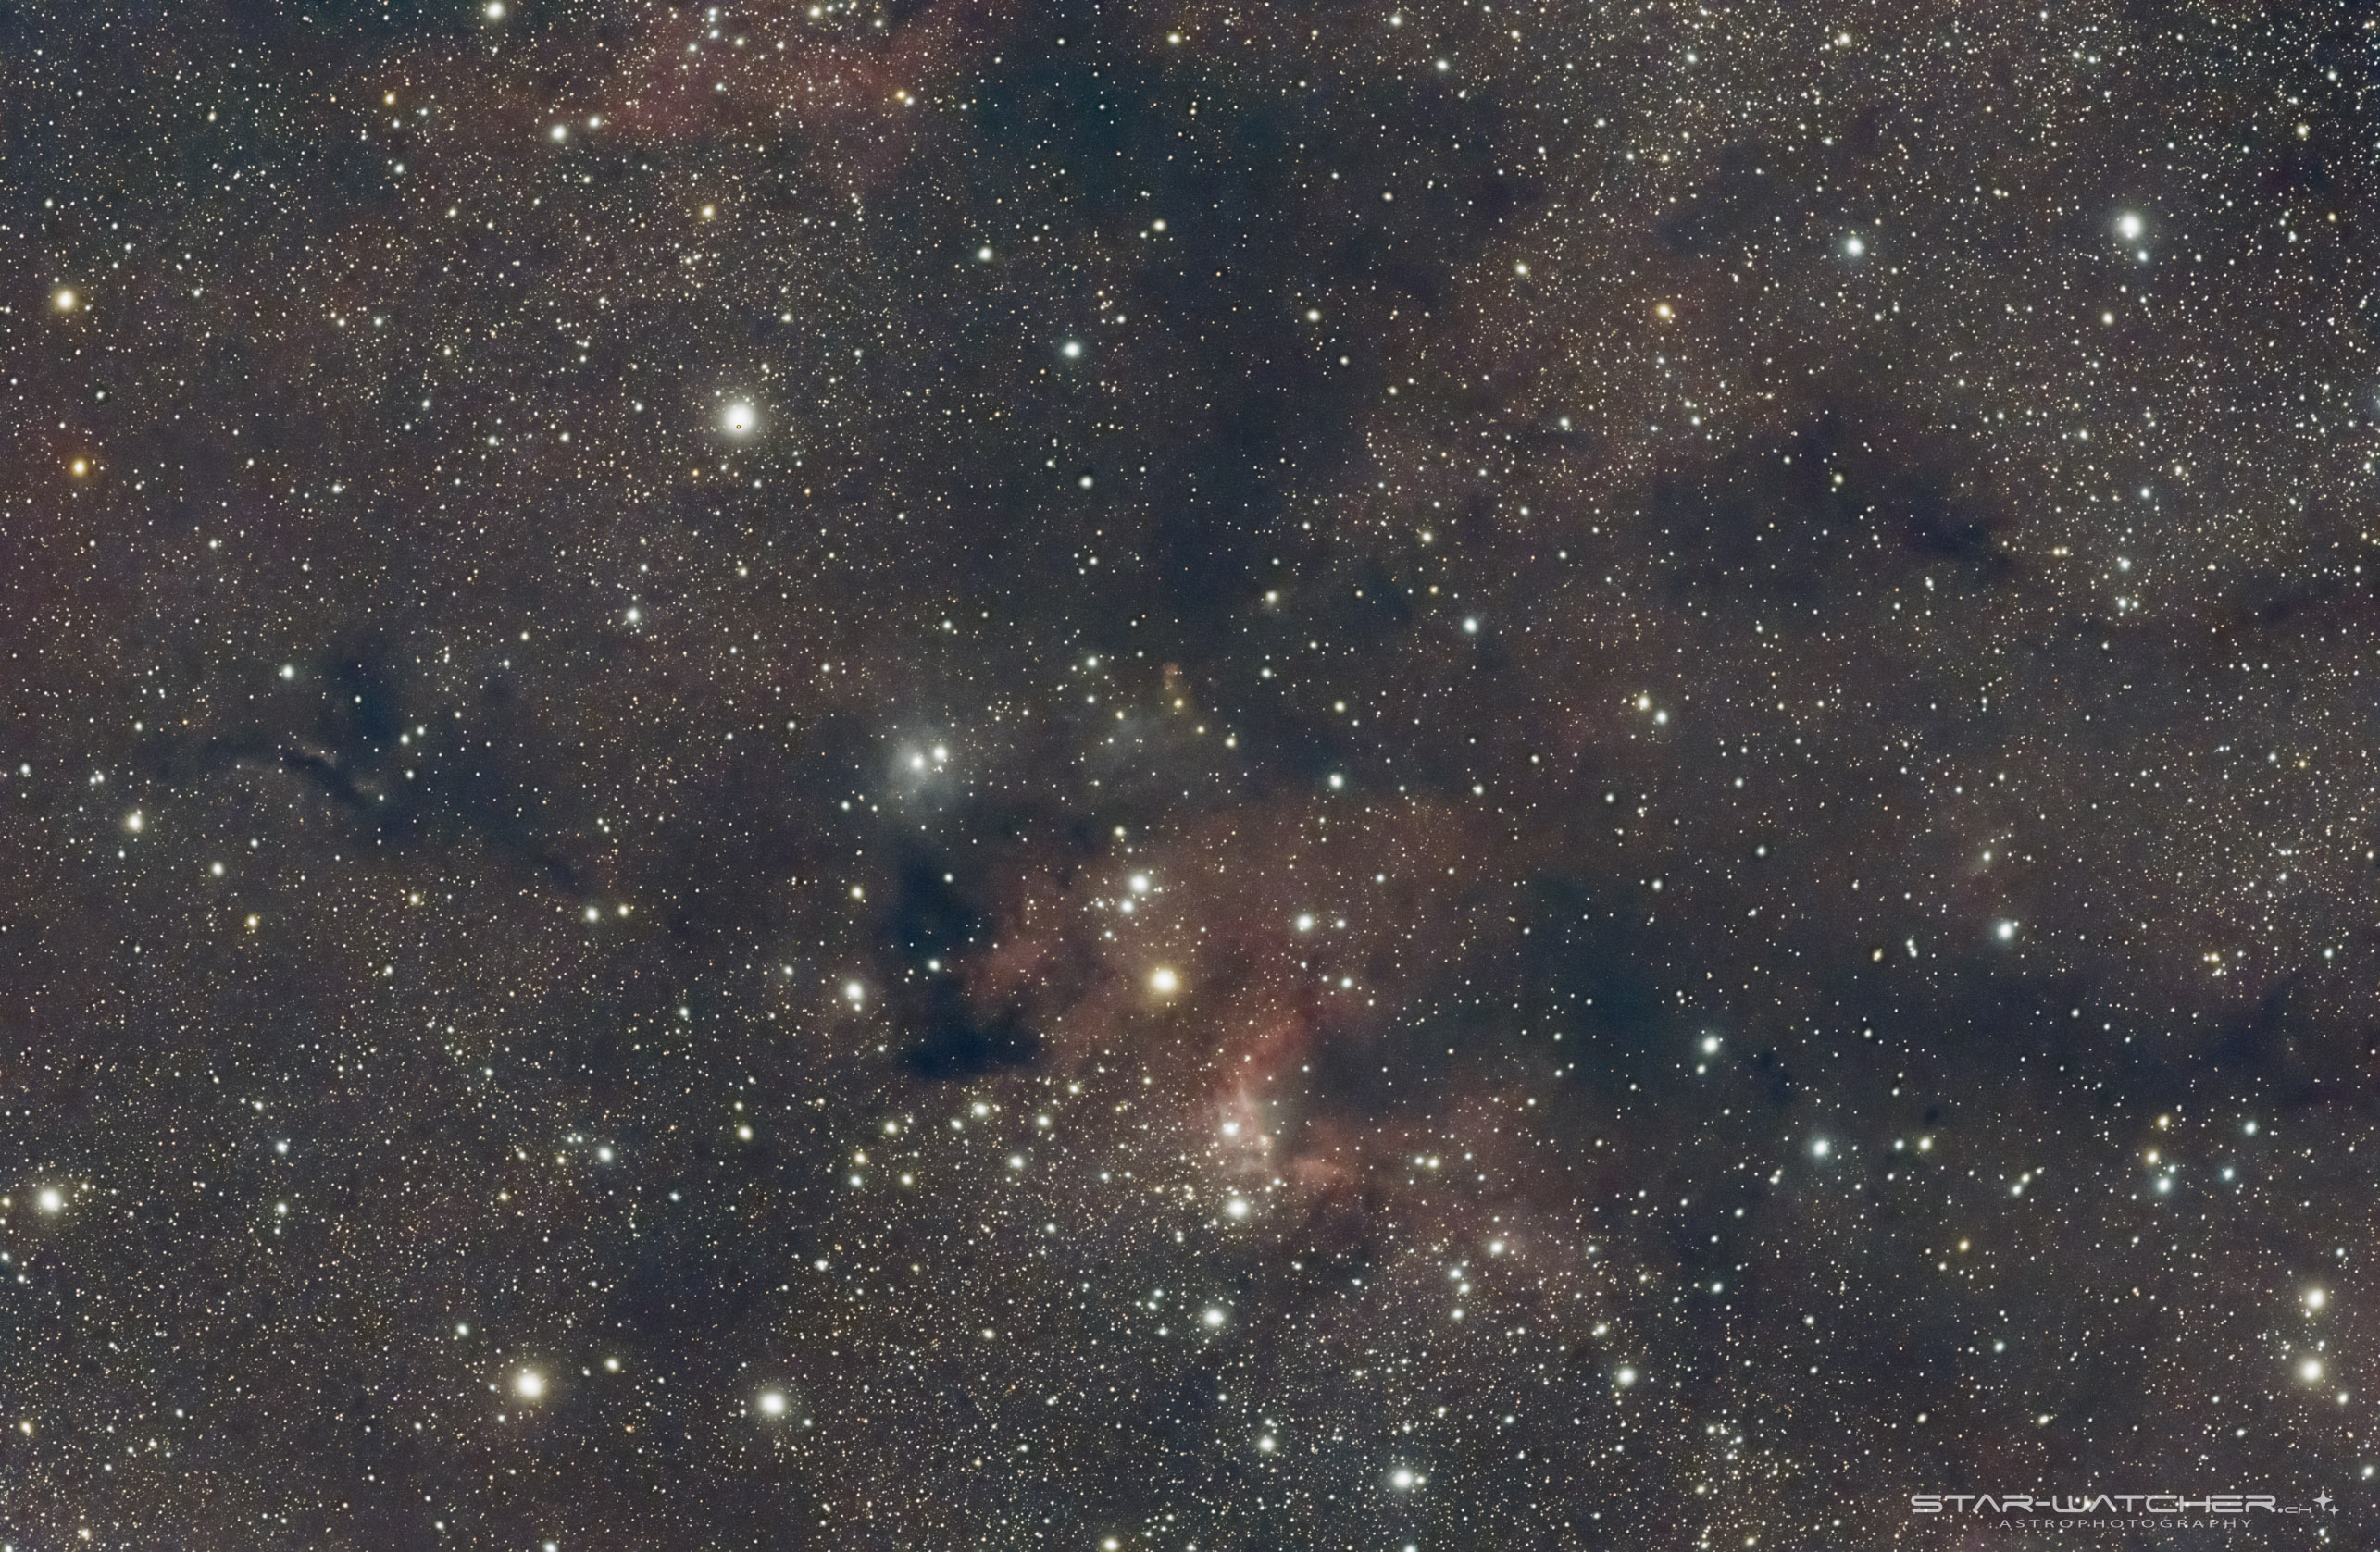
My latest Cygnus Loop, Lion Nebula and Caldwell 9 images contain data from multiple sessions.

Since I don’t wanted to use my old combining method, I tried a new approach (and maybe a better one…) which is suggested in various PixInsight forum threads. So far, it seems to work pretty well.
Nevertheless, there are various possibilities to combine multiple sessions. This is only one possible (easy) way.
Stacking process
To keep in mind what each stacking process does, I use this short and simple summary:
| 1 – Calibration | Lightframe calibration with bias, dark and flat frames |
| 2 – Registration | Calibrated light frames alignment (star alignment) |
| 3 – Integration | Stacking registered images |
Combining multiple sessions in PixInsight 1.8.8-8
In this method only the calibration is done separately, session by session. For registration and integration all frames of both sessions are used.
For DSLR users I suggest this separation even if you use the same exposure time in each session. Environmental conditions could have been different in each session (especially temperature).
Data from cooled cameras can be calibrated at once since they can be cooled down to the same temperature each session.
1 – Calibration
Menu: SCRIPT – Batch Processing – WeightedBatchPreprocessing
Calibrate each session separately in WBPP script, or use directly the dedicated ImageCalibration tool.
I use the WeightedBatchPreprocessing script in this example.
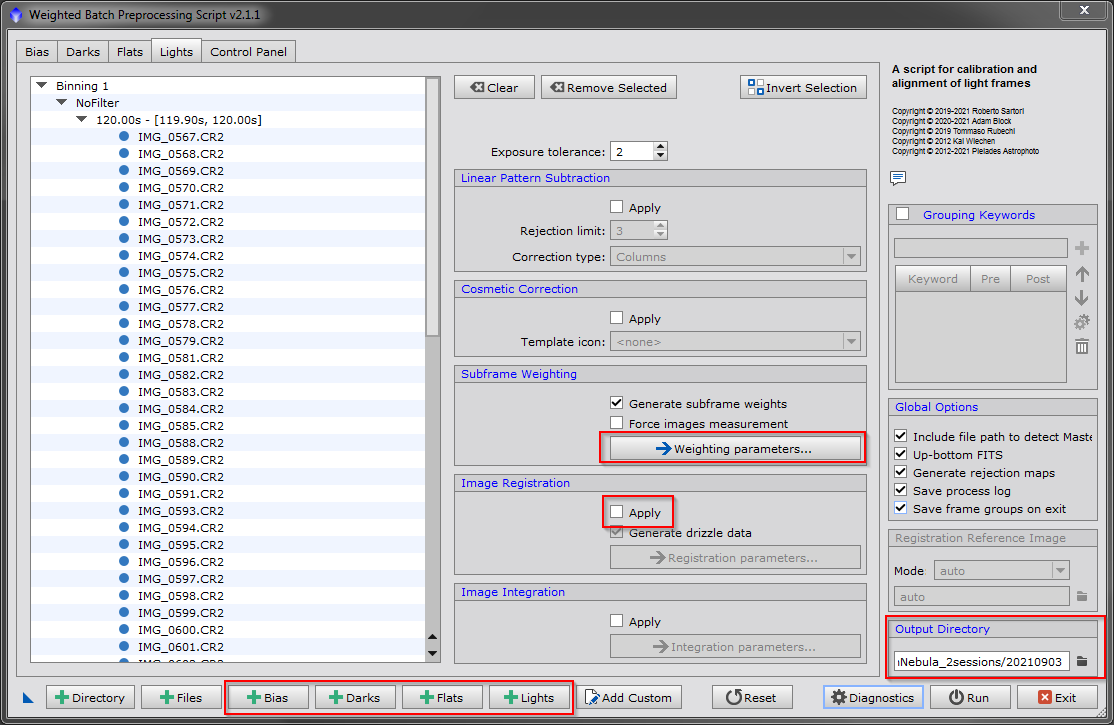
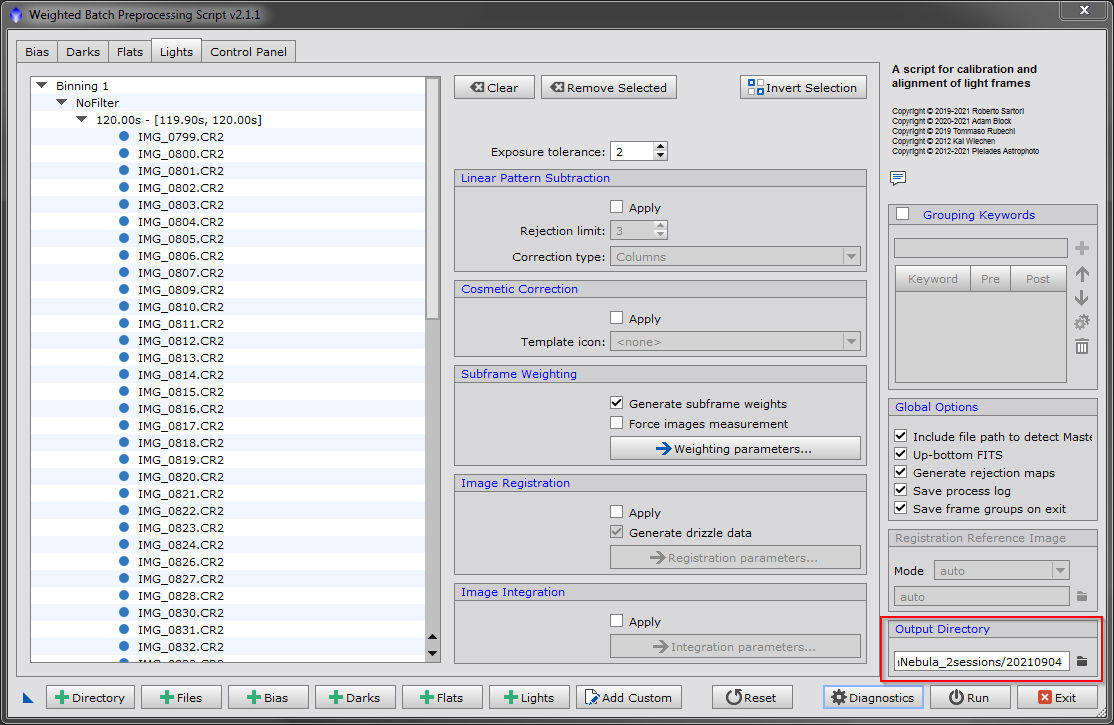
1. Add associated bias, darks, flats and lights from the first session into WBPP script and uncheck “Apply” in Image Integration section.
For the first session I use output directory subfolder “20210903”.

2. Next click on Weighting parameters to select the proper subframe weighting preset.
The weightings can later be used during image integration (keyword “WBPPWGHT”).
3. Don’t forget to enable CFA for lights and flats:


4. Start the calibration process by pressing Run and confirm this message:


The result is a calibrated/debayered subfolder in the defined output directory:
Repeat the calibration by adding bias, darks, flats and lights from the next session into WBPP script, but use another output directory.
I’m using “20210904” as output directory subfolder for the second session data:
2 – Registration
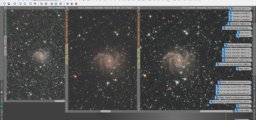
Before registering the images, you should measure and evaluate the single exposures with SubframeSelector. It helps to determine the best subframe, that is used as reference during image registration.
Menu: PROCESS – ImageRegistration – StarAlignment

1. First select the best subframe as the Reference image (measured by Subframe Selector).
2. Next add debayered files from all sessions to Target Image section. In my case the files are located in subfolders /20210903/calibrated/light/debayered respectively /20210903/calibrated/light/debayered.
3. Finally I create a subfolder “registered” in my output directory and define it in Output directory:
4. Start the StarAlignment by pressing the record button.
3 – Integration
Menu: PROCESS – ImageIntegration – ImageIntegration

1. Add all registered files in ImageIntegration:

2. Select your preferred combination method and select for weights criterion either “Noise Evaluation” or “FITS keyword” with the following keyword:
WBPPWGHT
If “Noise evaluation” is used, PI automatically multiplies each subframe by the optimal scaling factor to reach the highest SNR in the final result.
If “FITS keyword is selected and keyword “WBPPWGHT” is used, PI uses the weightings measured during Weighted Batch Preprocessing calibration.
3. Finally select your preferred rejection algorithm.
4. The resulted image can be processed as usual: