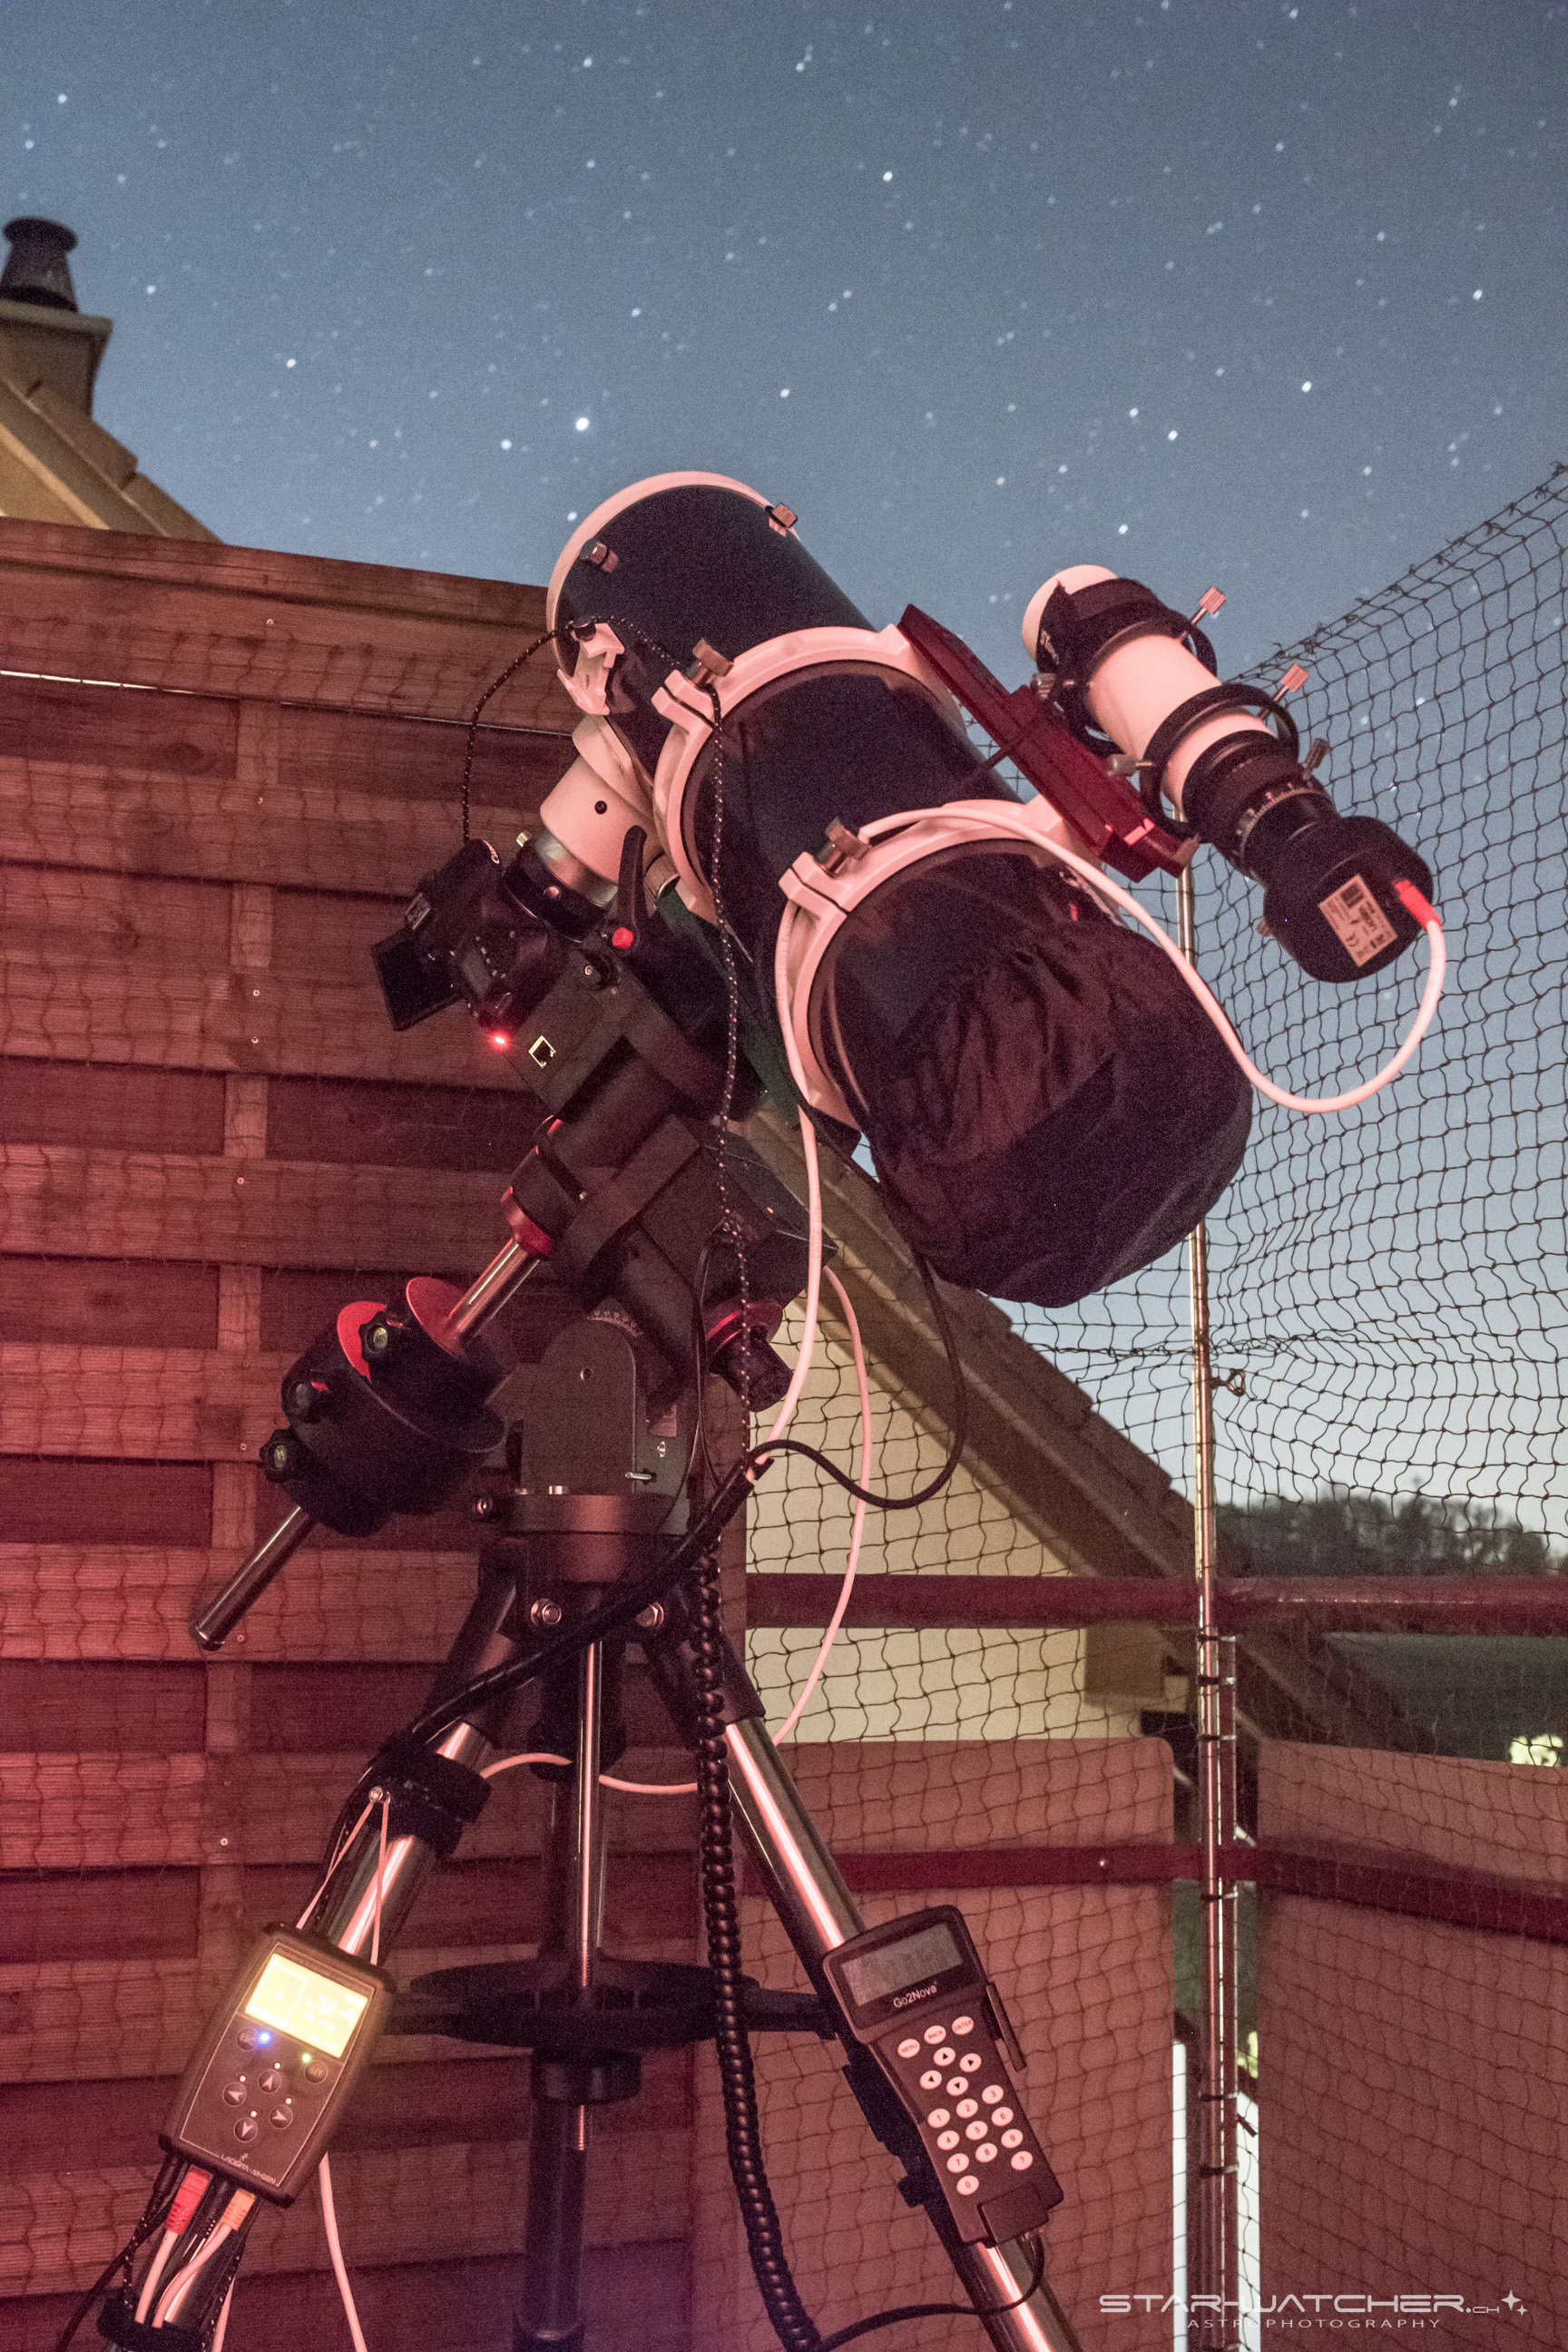
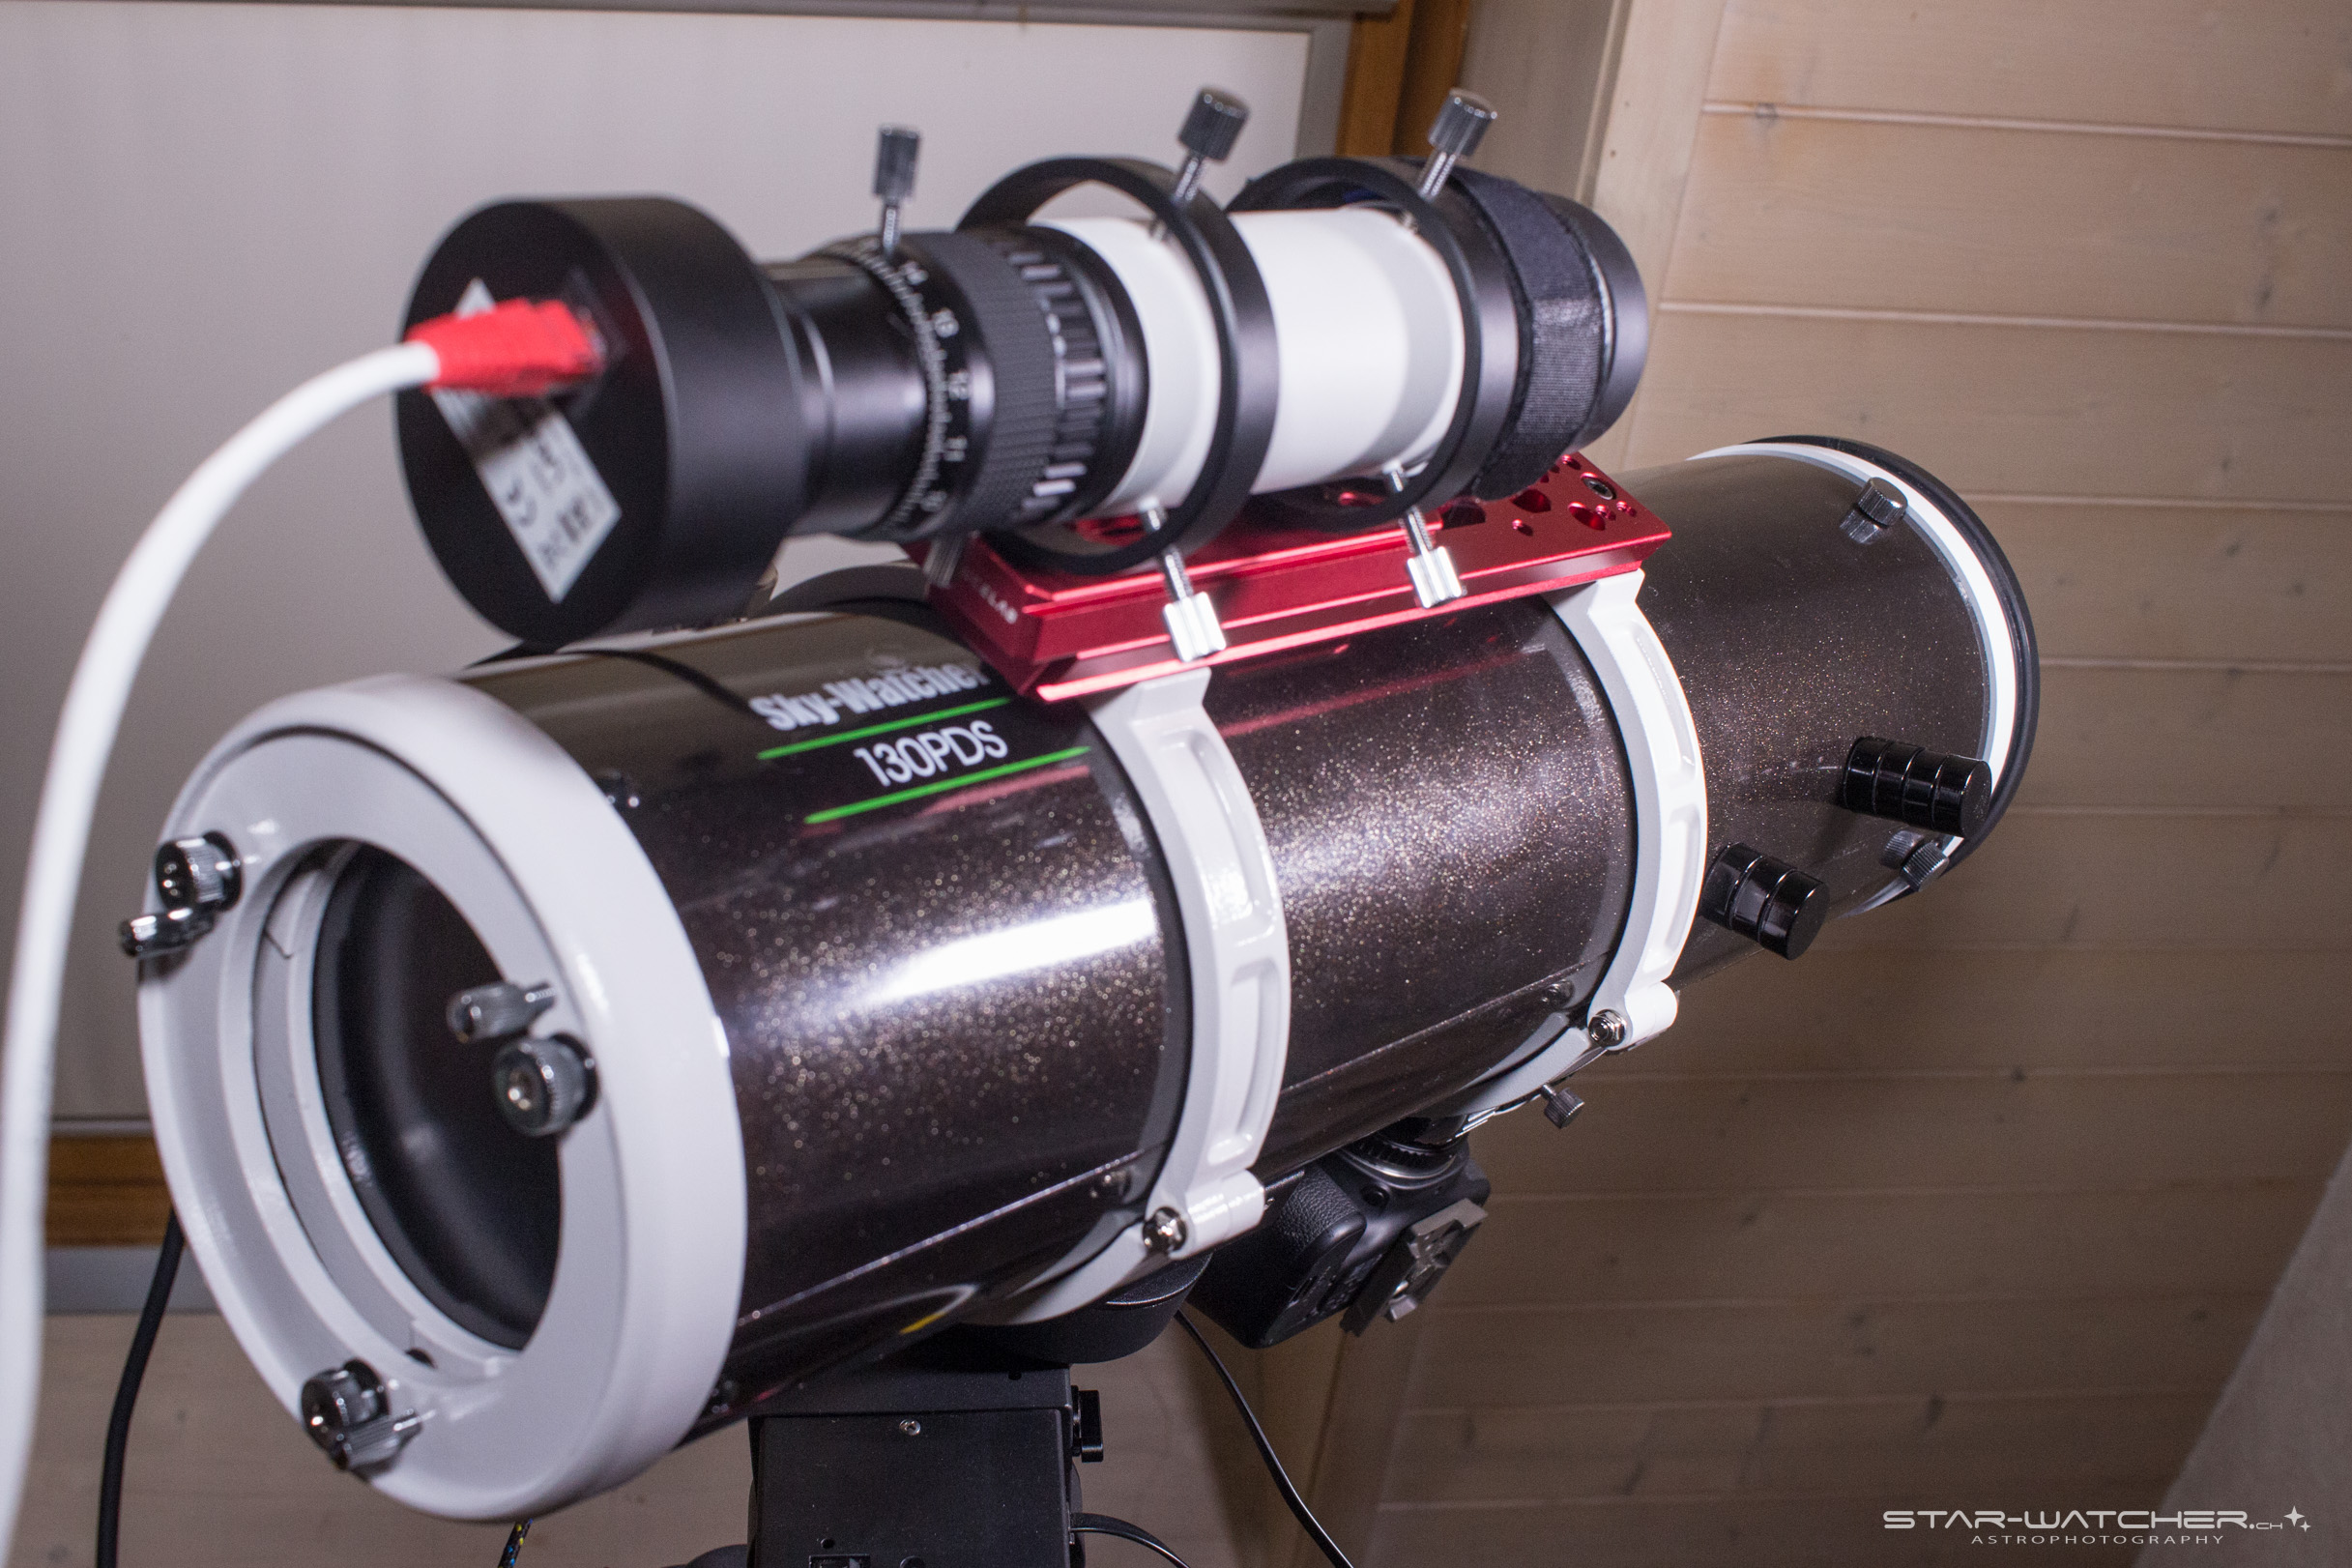
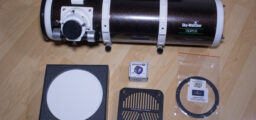
Time has already come to improve my Sky-Watcher Explorer 130PDS 🙂
After using the 130PDS for 3 weeks it turned out that there are some things that could be better. So far I have equipped my 130PDS with the following improvements:
2″ Adapter with compression ring

I replaced the original Sky-Watcher 2″ adapter with a TS-Optics 2″ adapter with compression ring to prevent dents on the Baader MPCC Mark III corrector and for an overall better grip of my DSLR/corrector combo.
Most likely I’ll also buy a 2″ screw adapter for the MPCC. With it tilting should be eliminated and also no risk anymore for damage if (in worst case) my DSLR slips out of the focuser, like it did a few days ago almost happened…
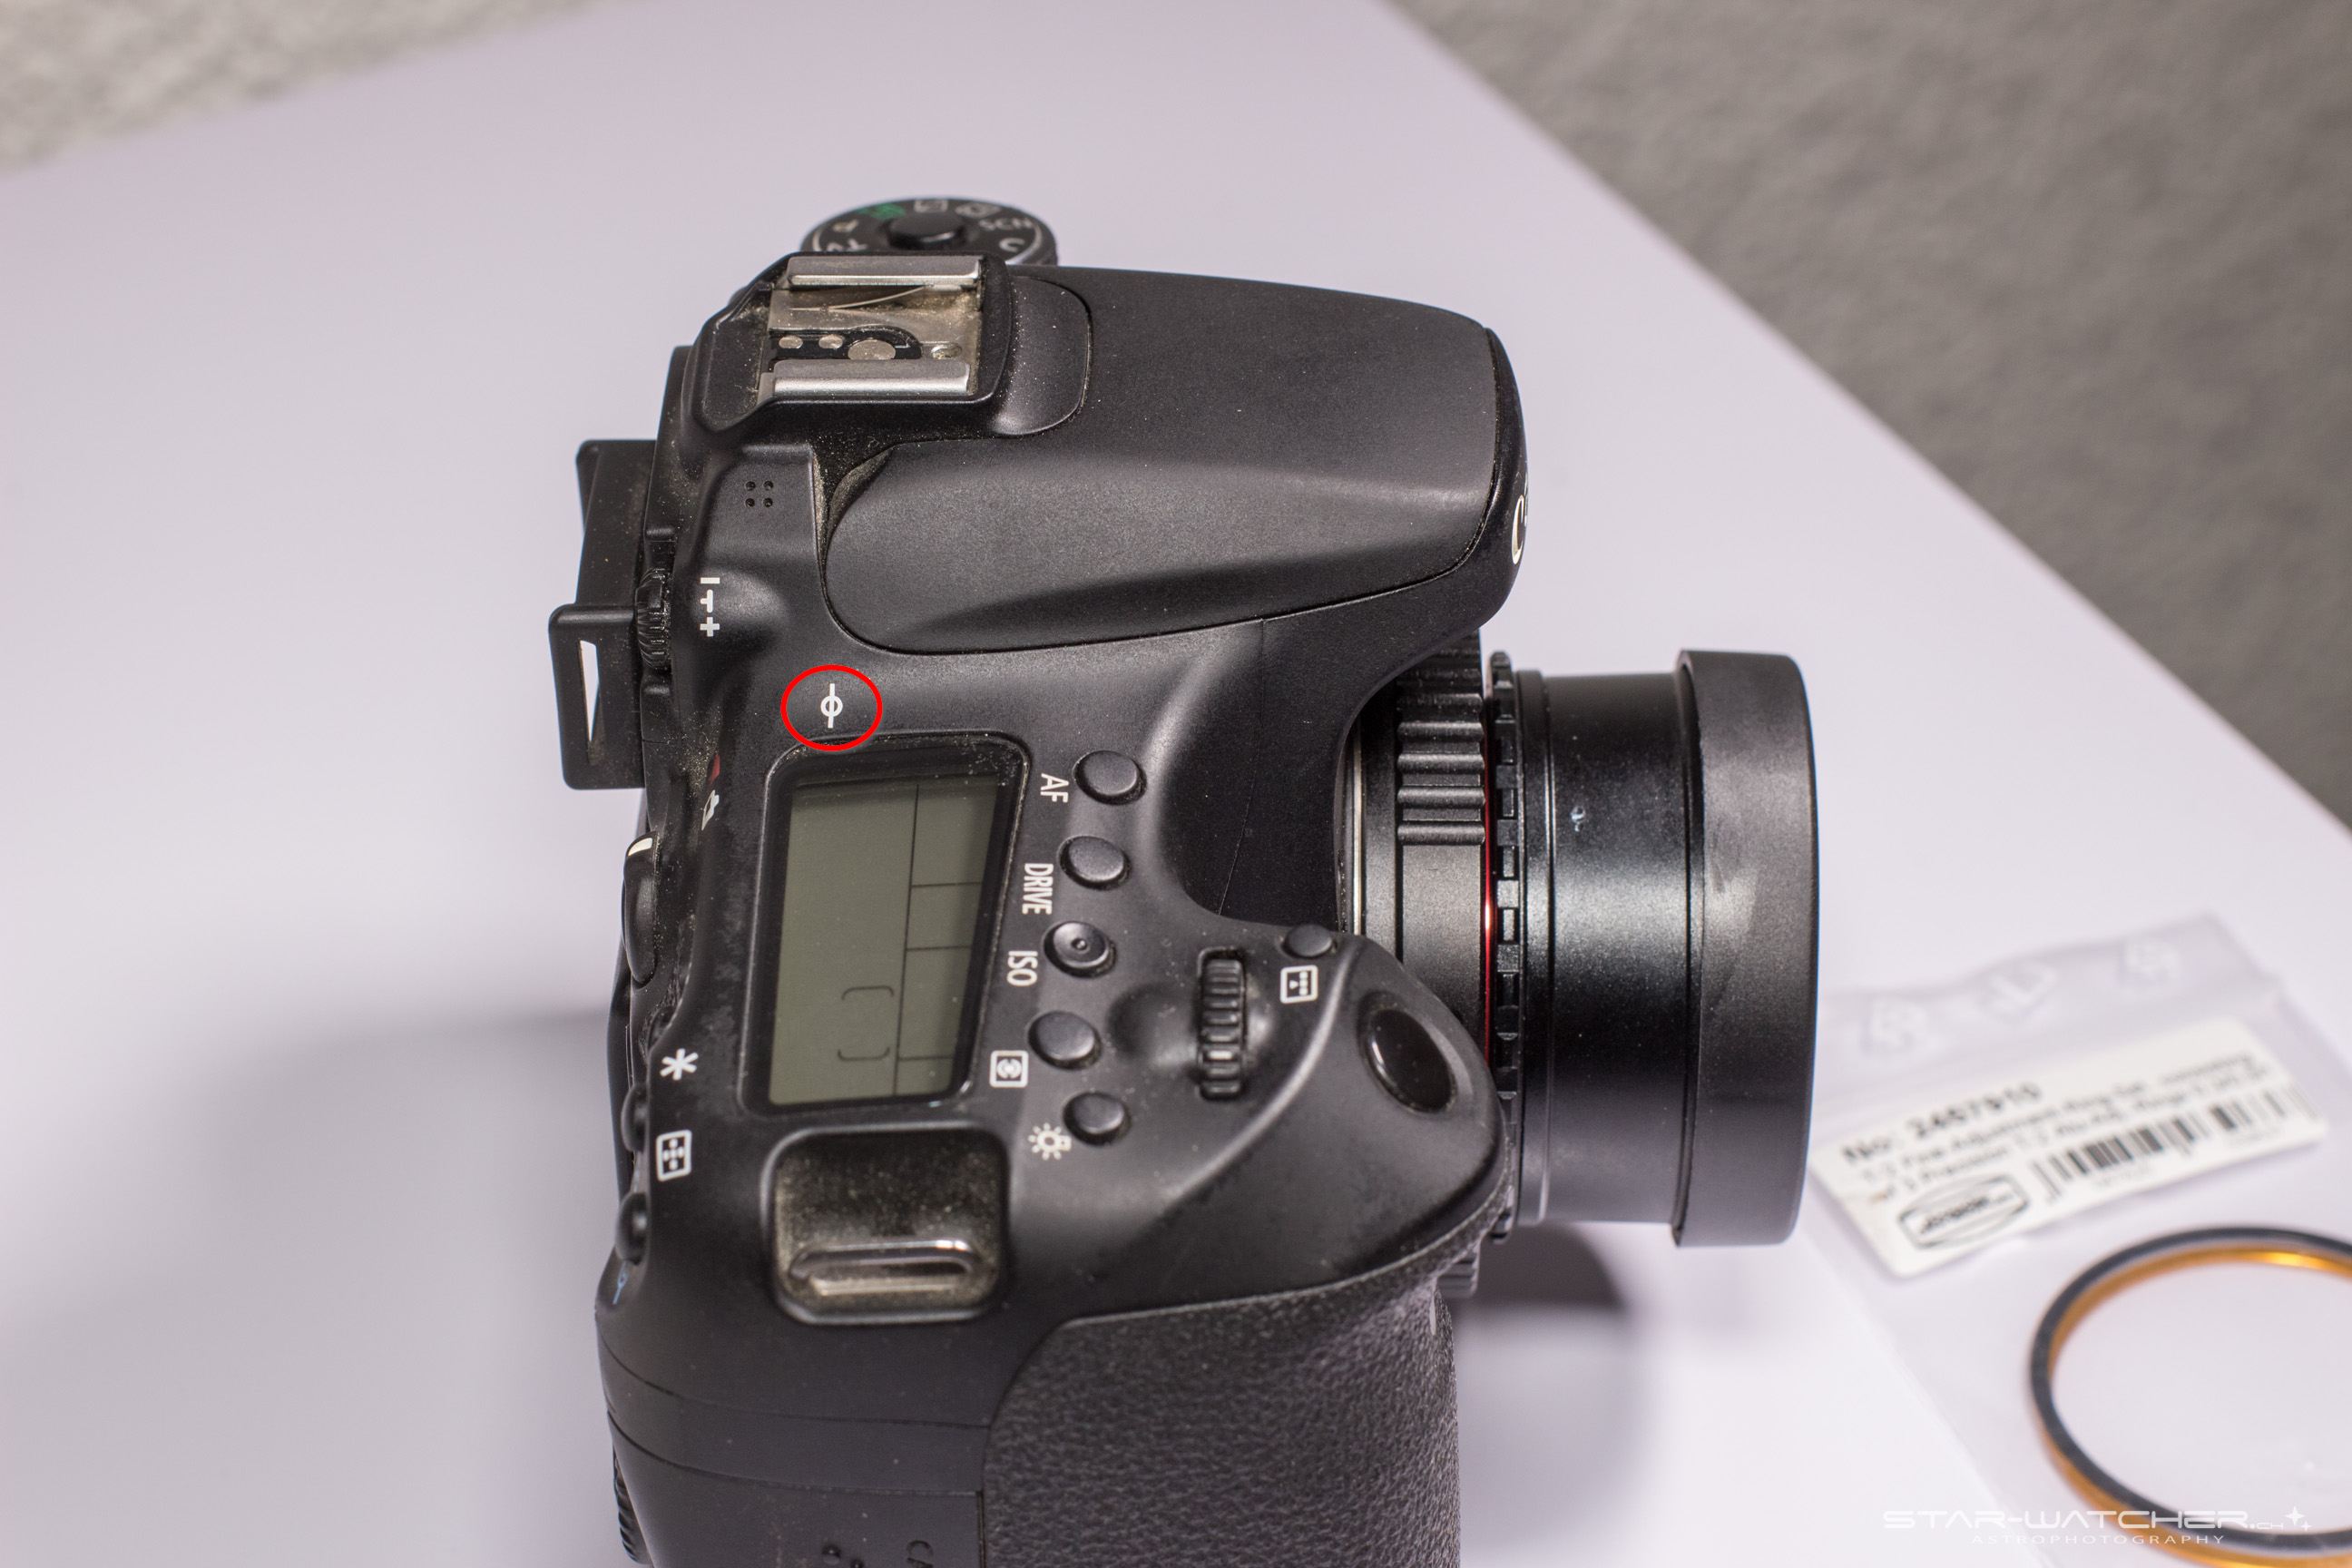
T-2 Fine Adjustment Rings
Baader 0.3mm, 0.5mm and 1mm aluminum rings for fine space adjustments between DSLR sensor and Baader MPCC Mark III corrector. With these 3 rings I’ve a range of 0.3mm to 1.8mm. Hopefully it will solve the corner coma issues I’m currently struggling with…


There are already clearly visible dents on the corrector from the original 2″ Sky-Watcher adapter with 2 screws after only 2 usages 🙁
I just measured and it seems the MPCC distance was to small without any ring (54mm). I even didn’t knew that there is a mark on the DSLR which shows the sensor position.
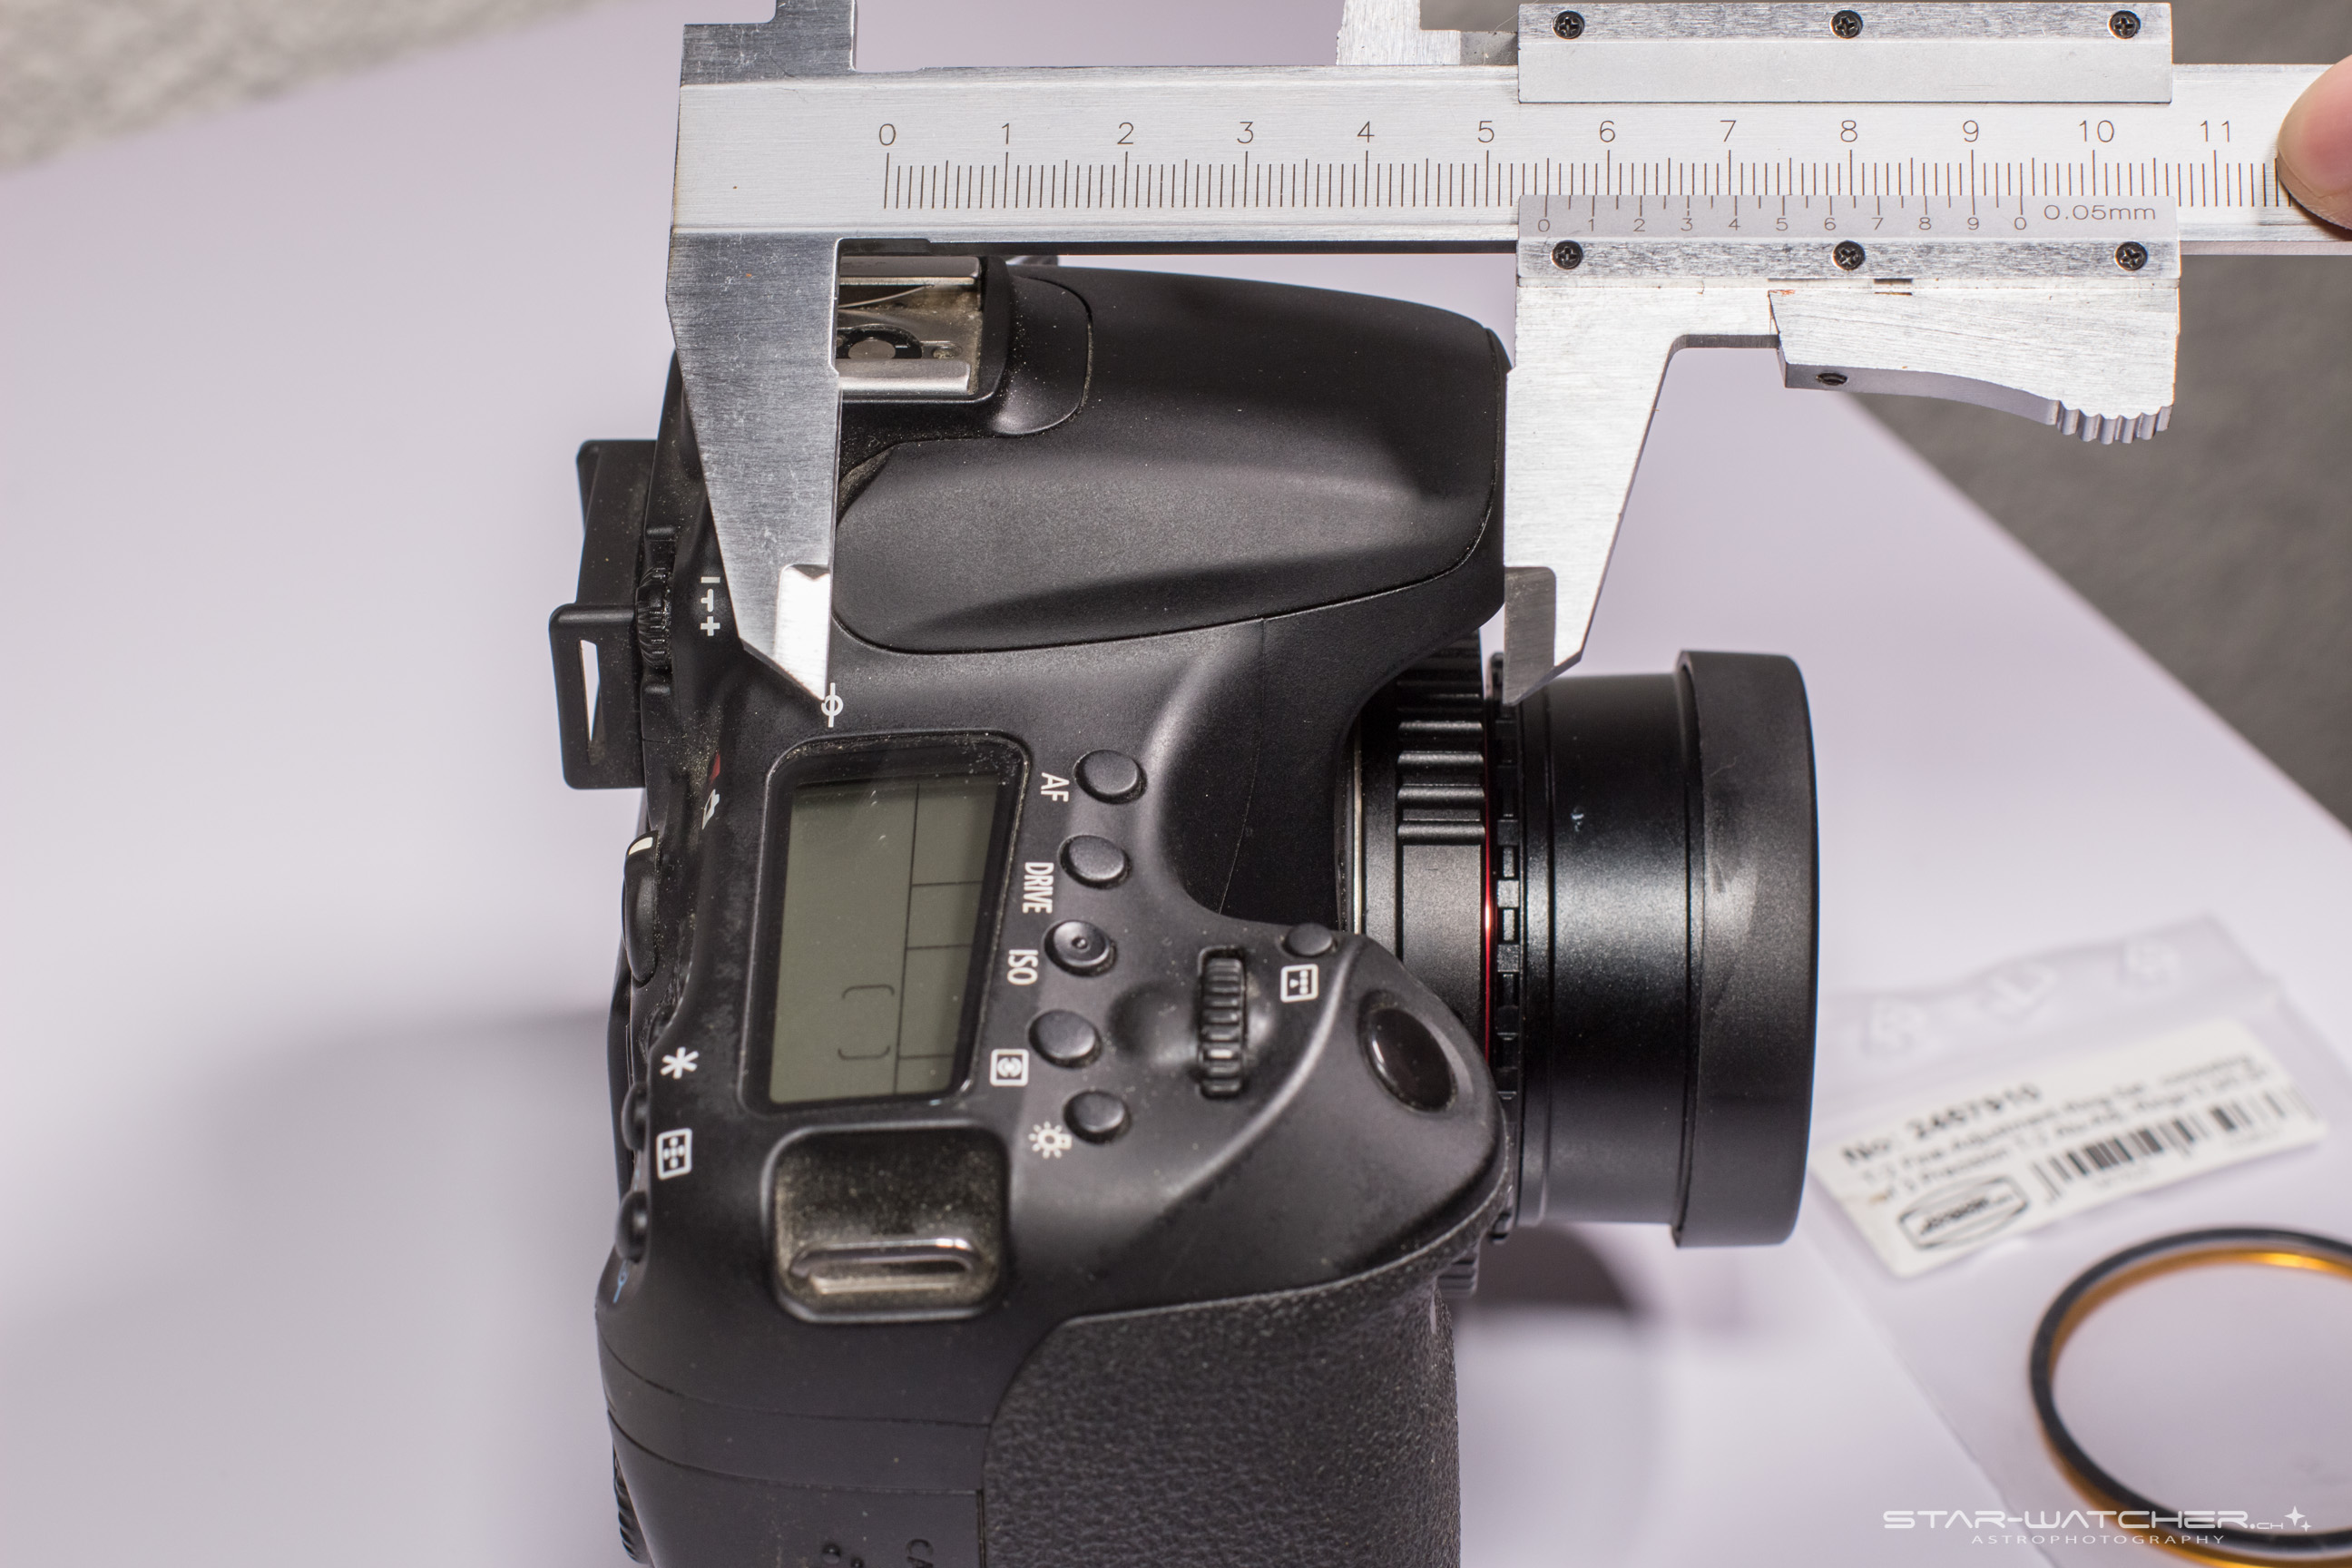
I start with the red ring (0.5mm) and see what difference it makes. Second the red and black ring (0.8mm) and finally the yellow ring (1mm). A comparison of the images will show which combination is the best.
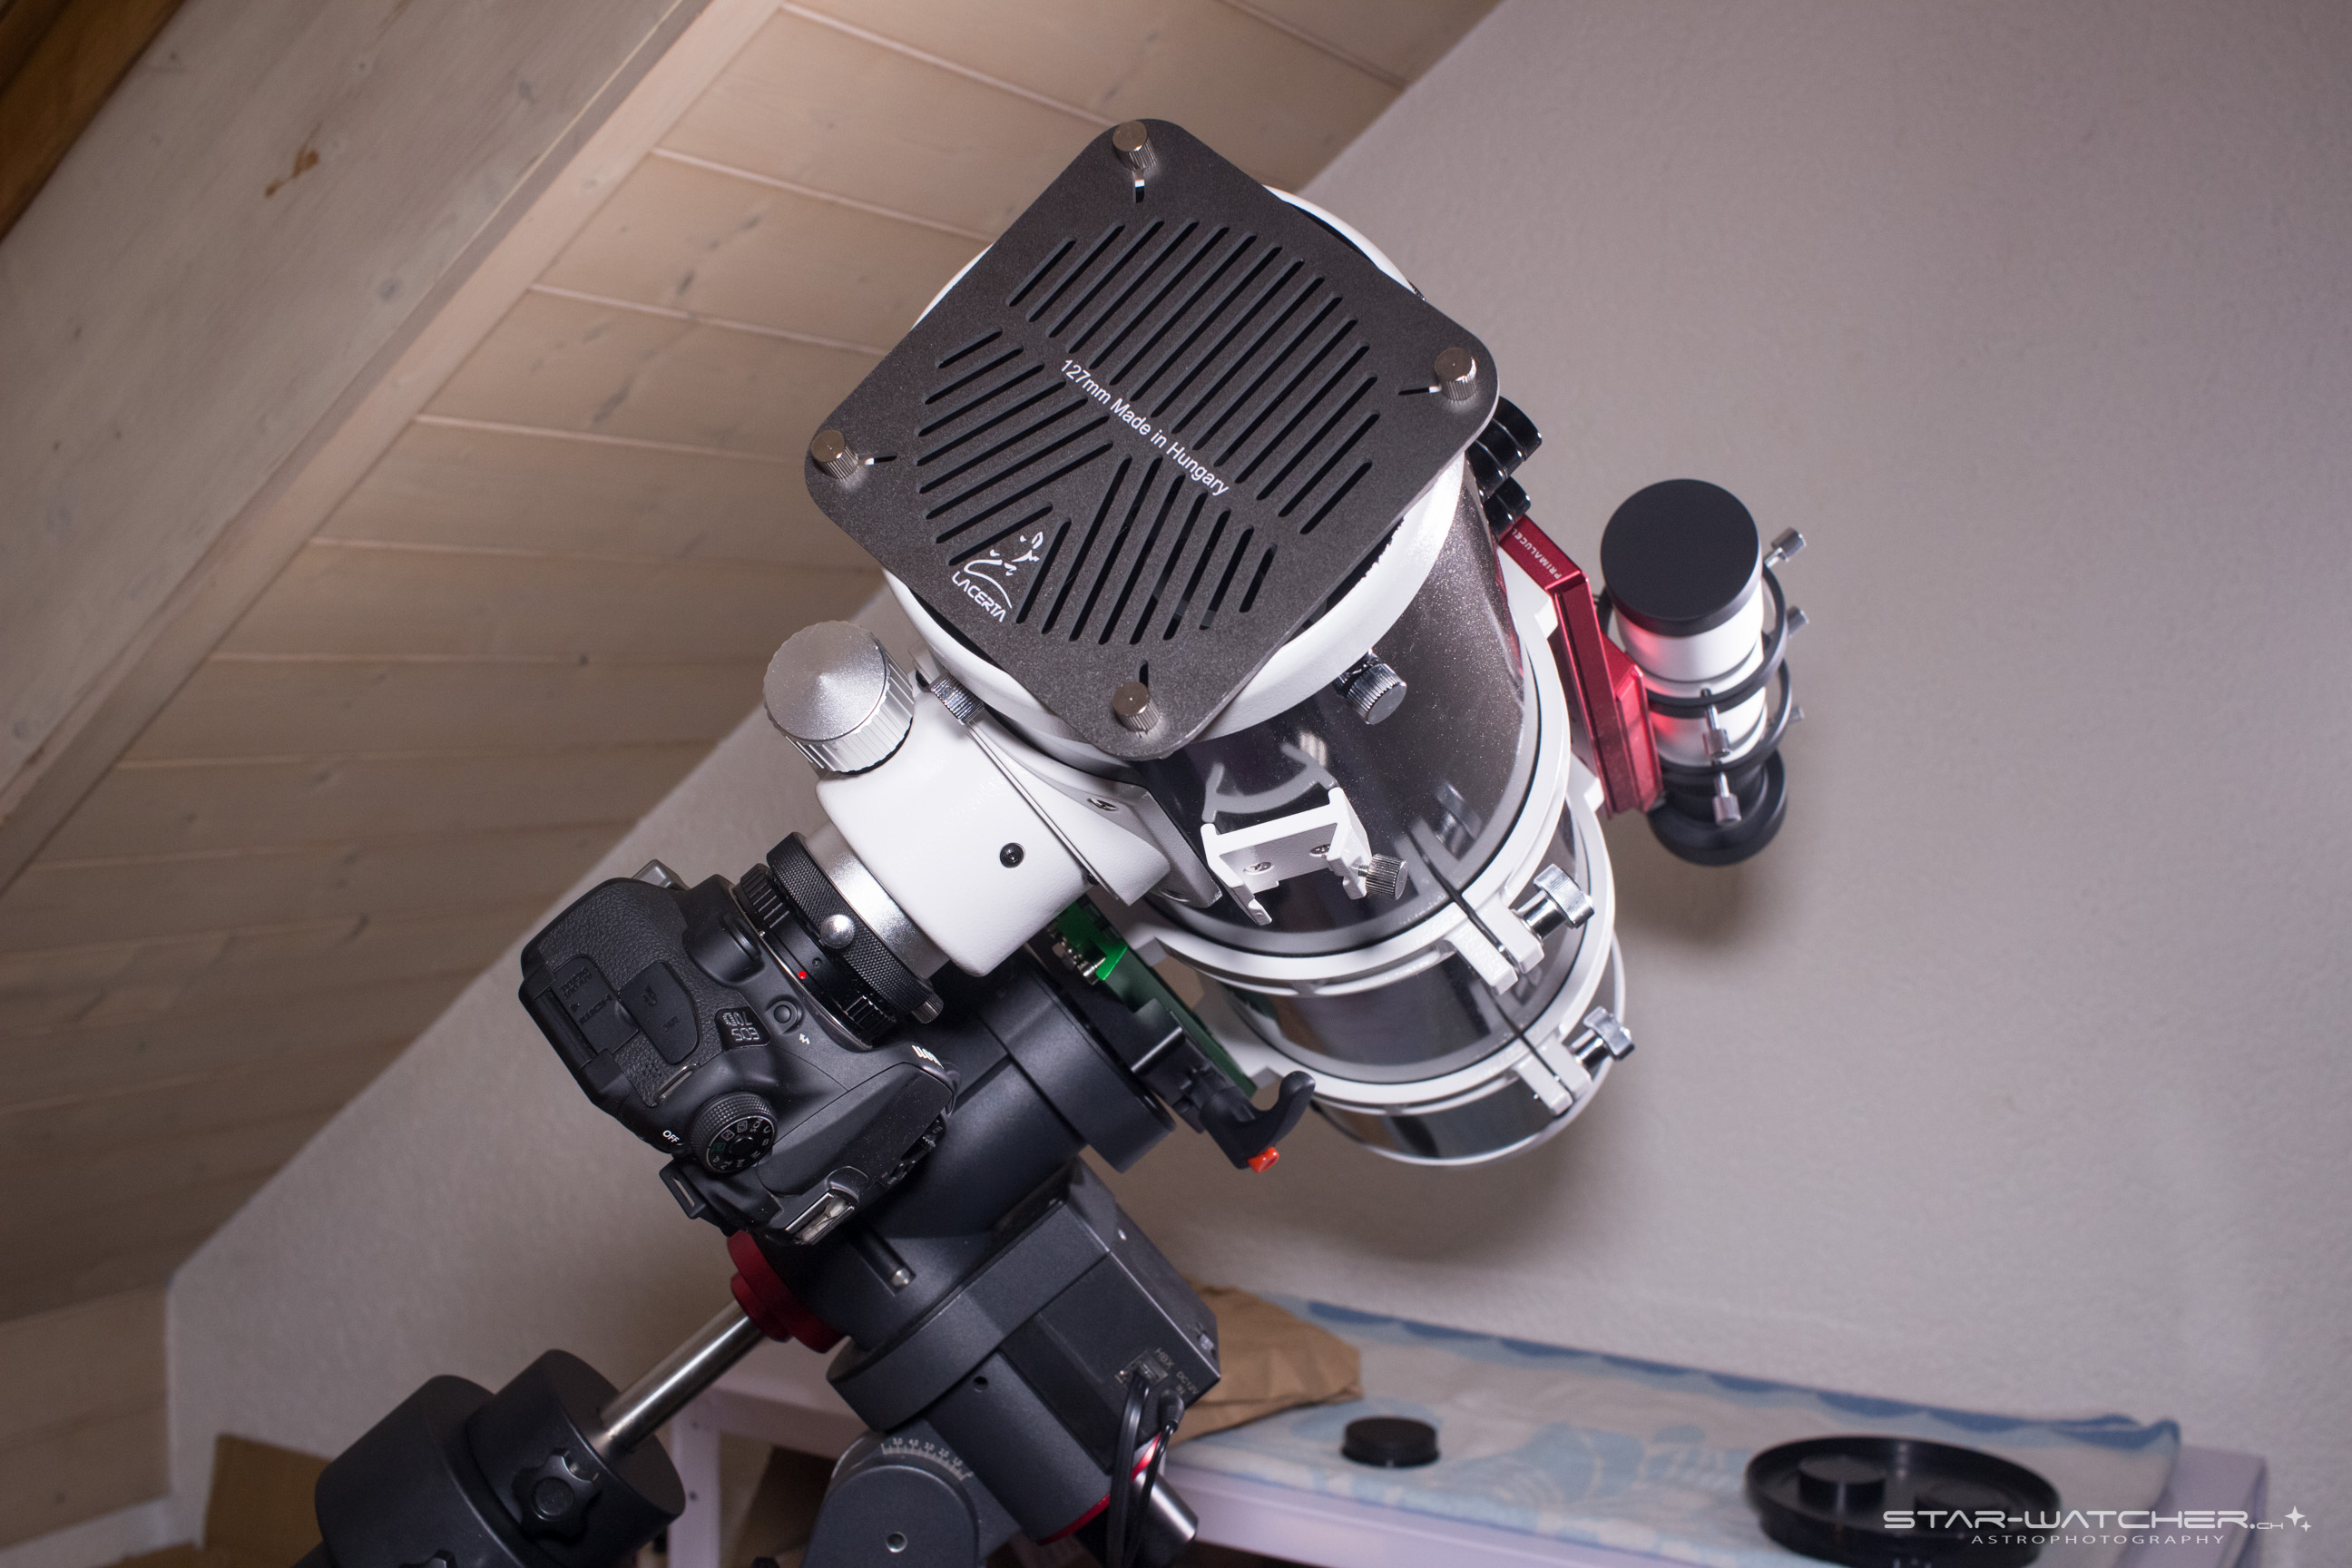
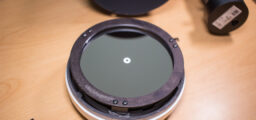
Dust / stray light protection

Primary its intended to be a dust protection, but I use it as stray light protection on the primary mirror as it was recommended on forum.astronomie.de.
I didn’t even know before that the primary mirror area is light sensitive to stray light 🙂
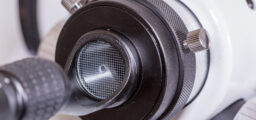
Laser Collimator / 2″ to 1.25″ Twist-Lock Adapter
With the Twist-Lock adapter I should now be able to attach my new Baader Laser Colli Mark III (*) much more precise without any play for reproducable collimations. At least this was my hope…
It works better than with my old 2″ to 1.25″ adapter and standard laser collimator, but still far away from a reliable reproduction…


Dew Shield

A TS-Optics dew shield for the colder nights…
So far I don’t use it, but as soon as I experience dew for the first time I’ll know in which situations I need it. Newtons generally should be very insensitive to dew, since the tube itself is already a big dew shield.
Or I’ll use it as strew light protection if needed 🙂
Magnets for Fine Balance Adjustment
I found those magnets in our local discounter. The magnetic side is overlayed by a soft fabric. Perfect to avoid scratches on the 130PDS tube. They are also very easy to slide on the tube for fine balance adjustments.
I purachased 12 small magnets total. One of them weights around 17 grams. Currently I use 2 magnet “towers”, one tower contains 4 magnets (68 grams), the other 3 magnets (51 grams).

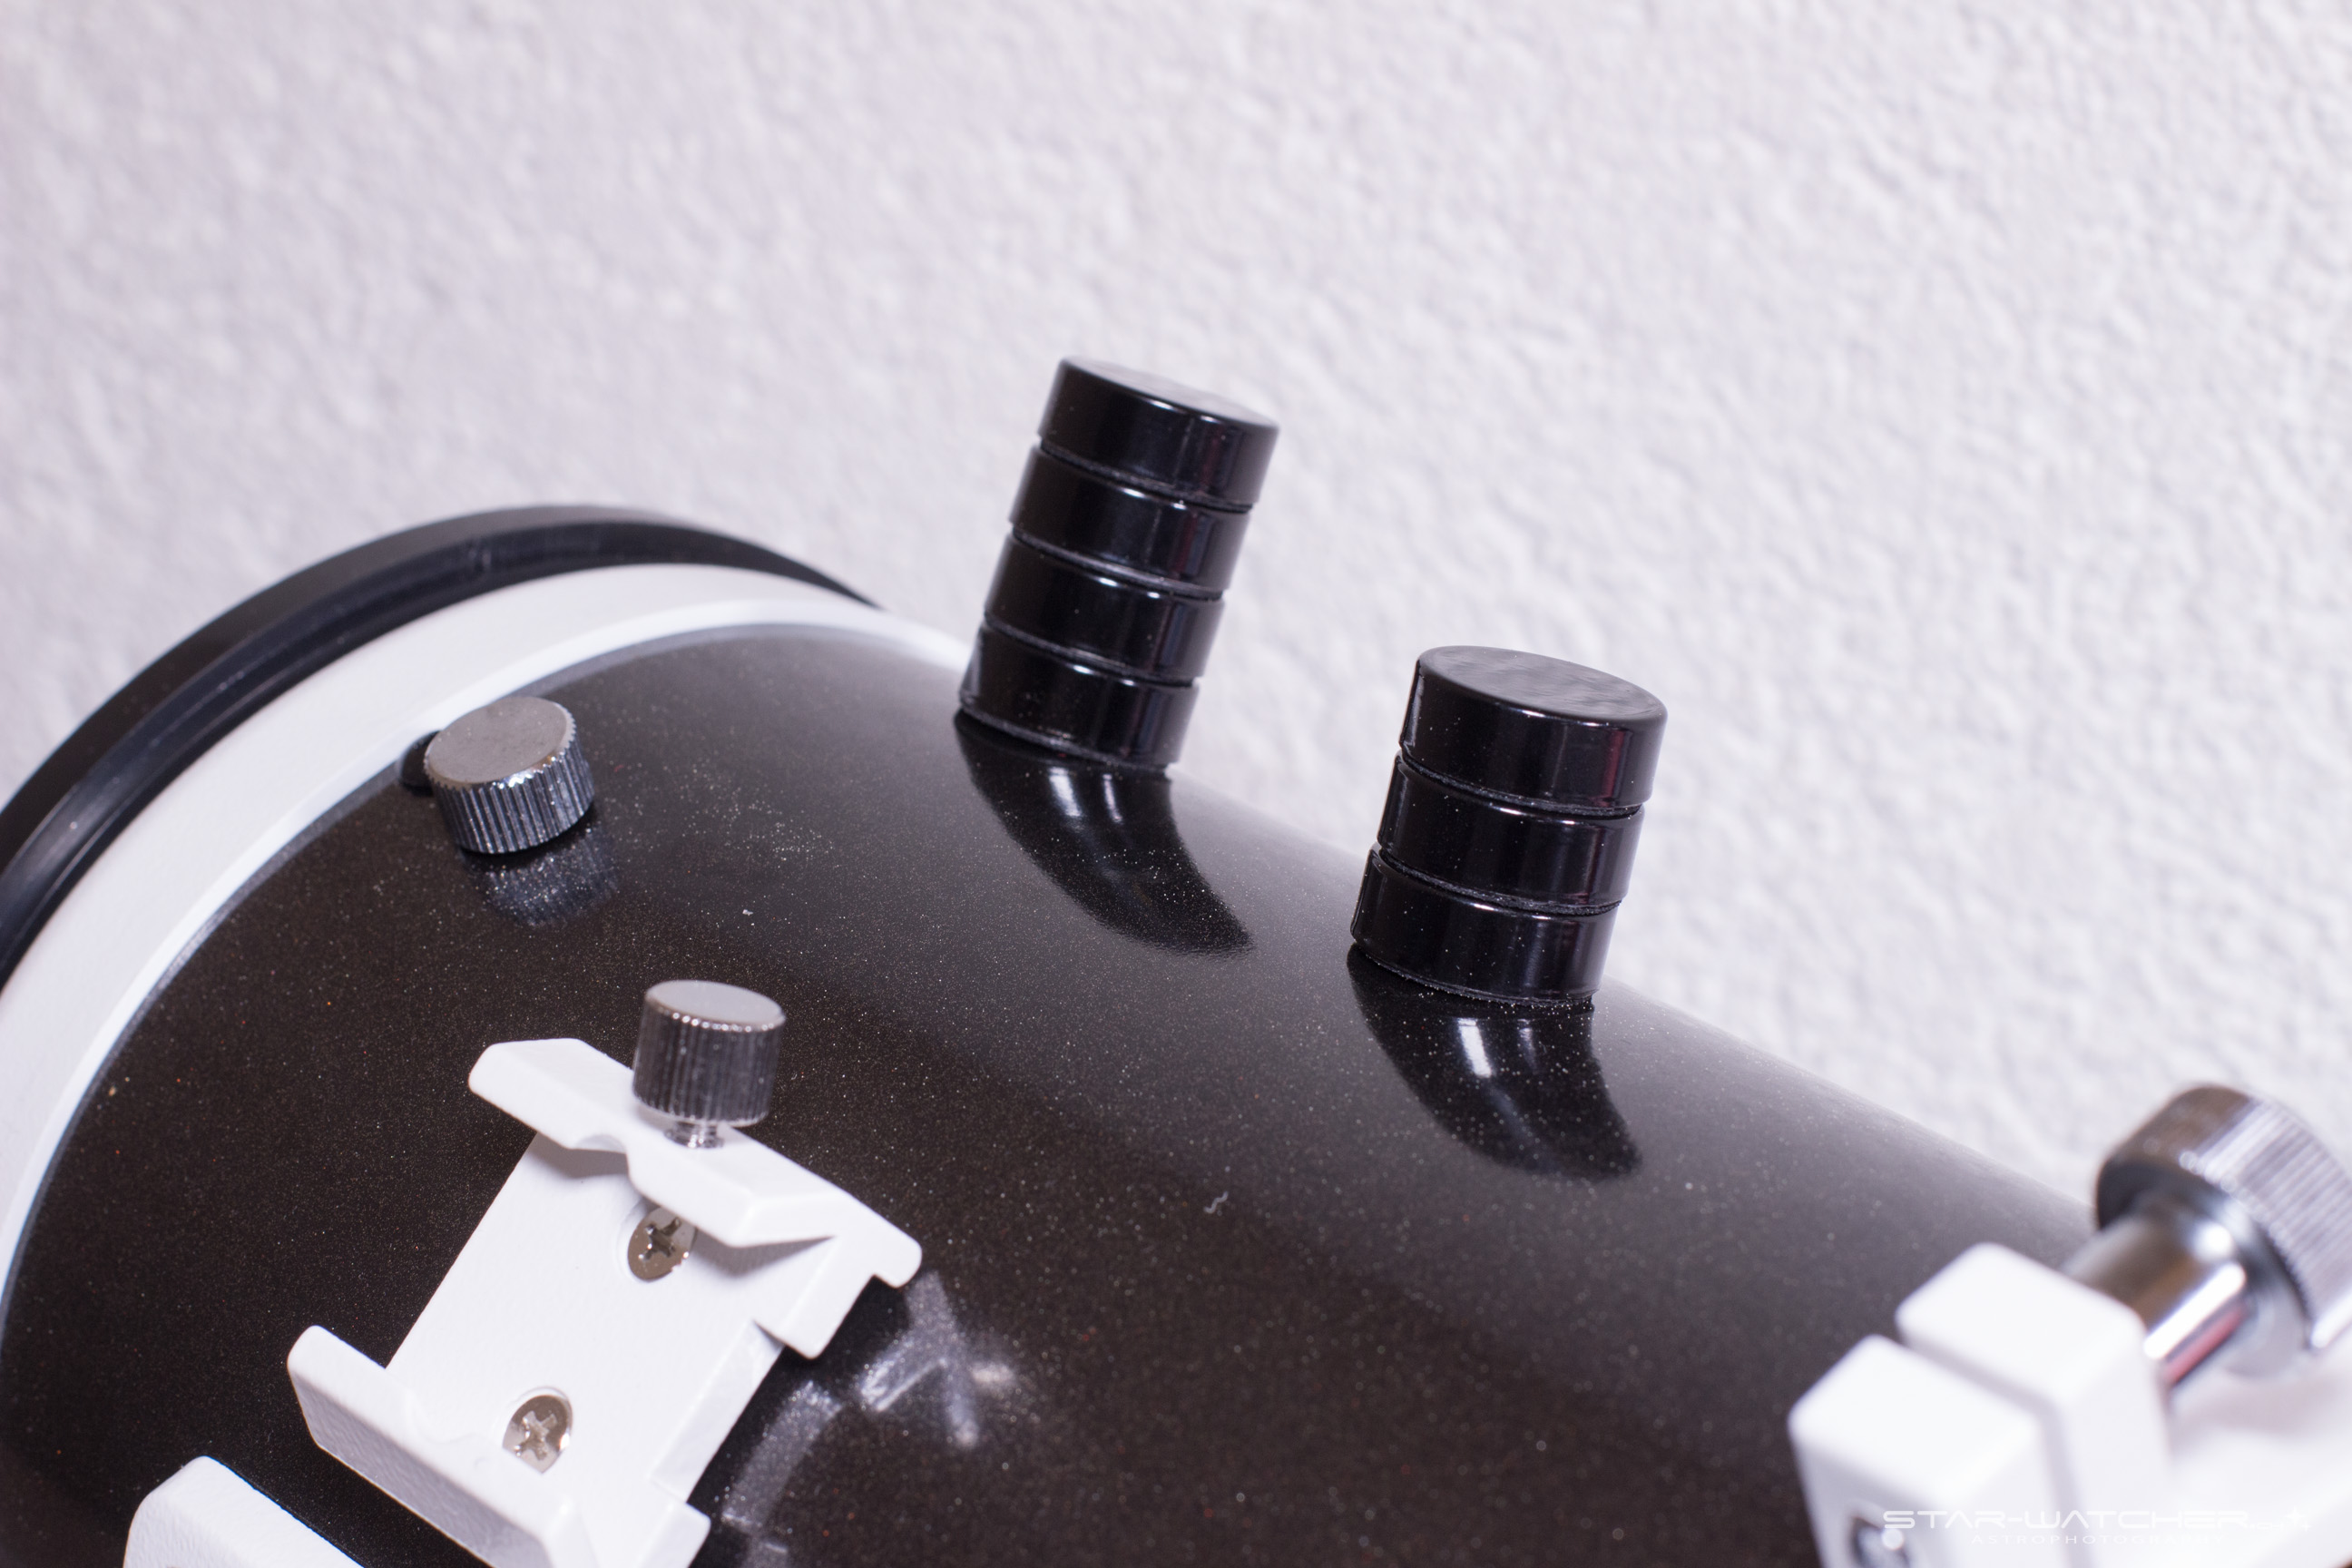
So now I have an ultra flexible 120 grams weight. It works like a charm.
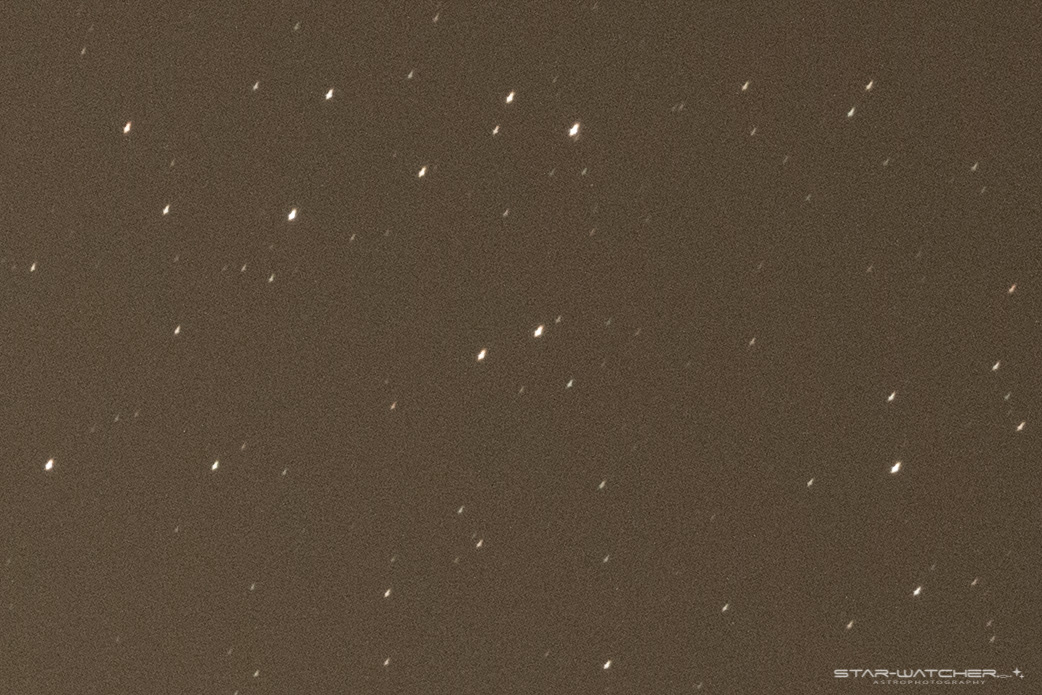
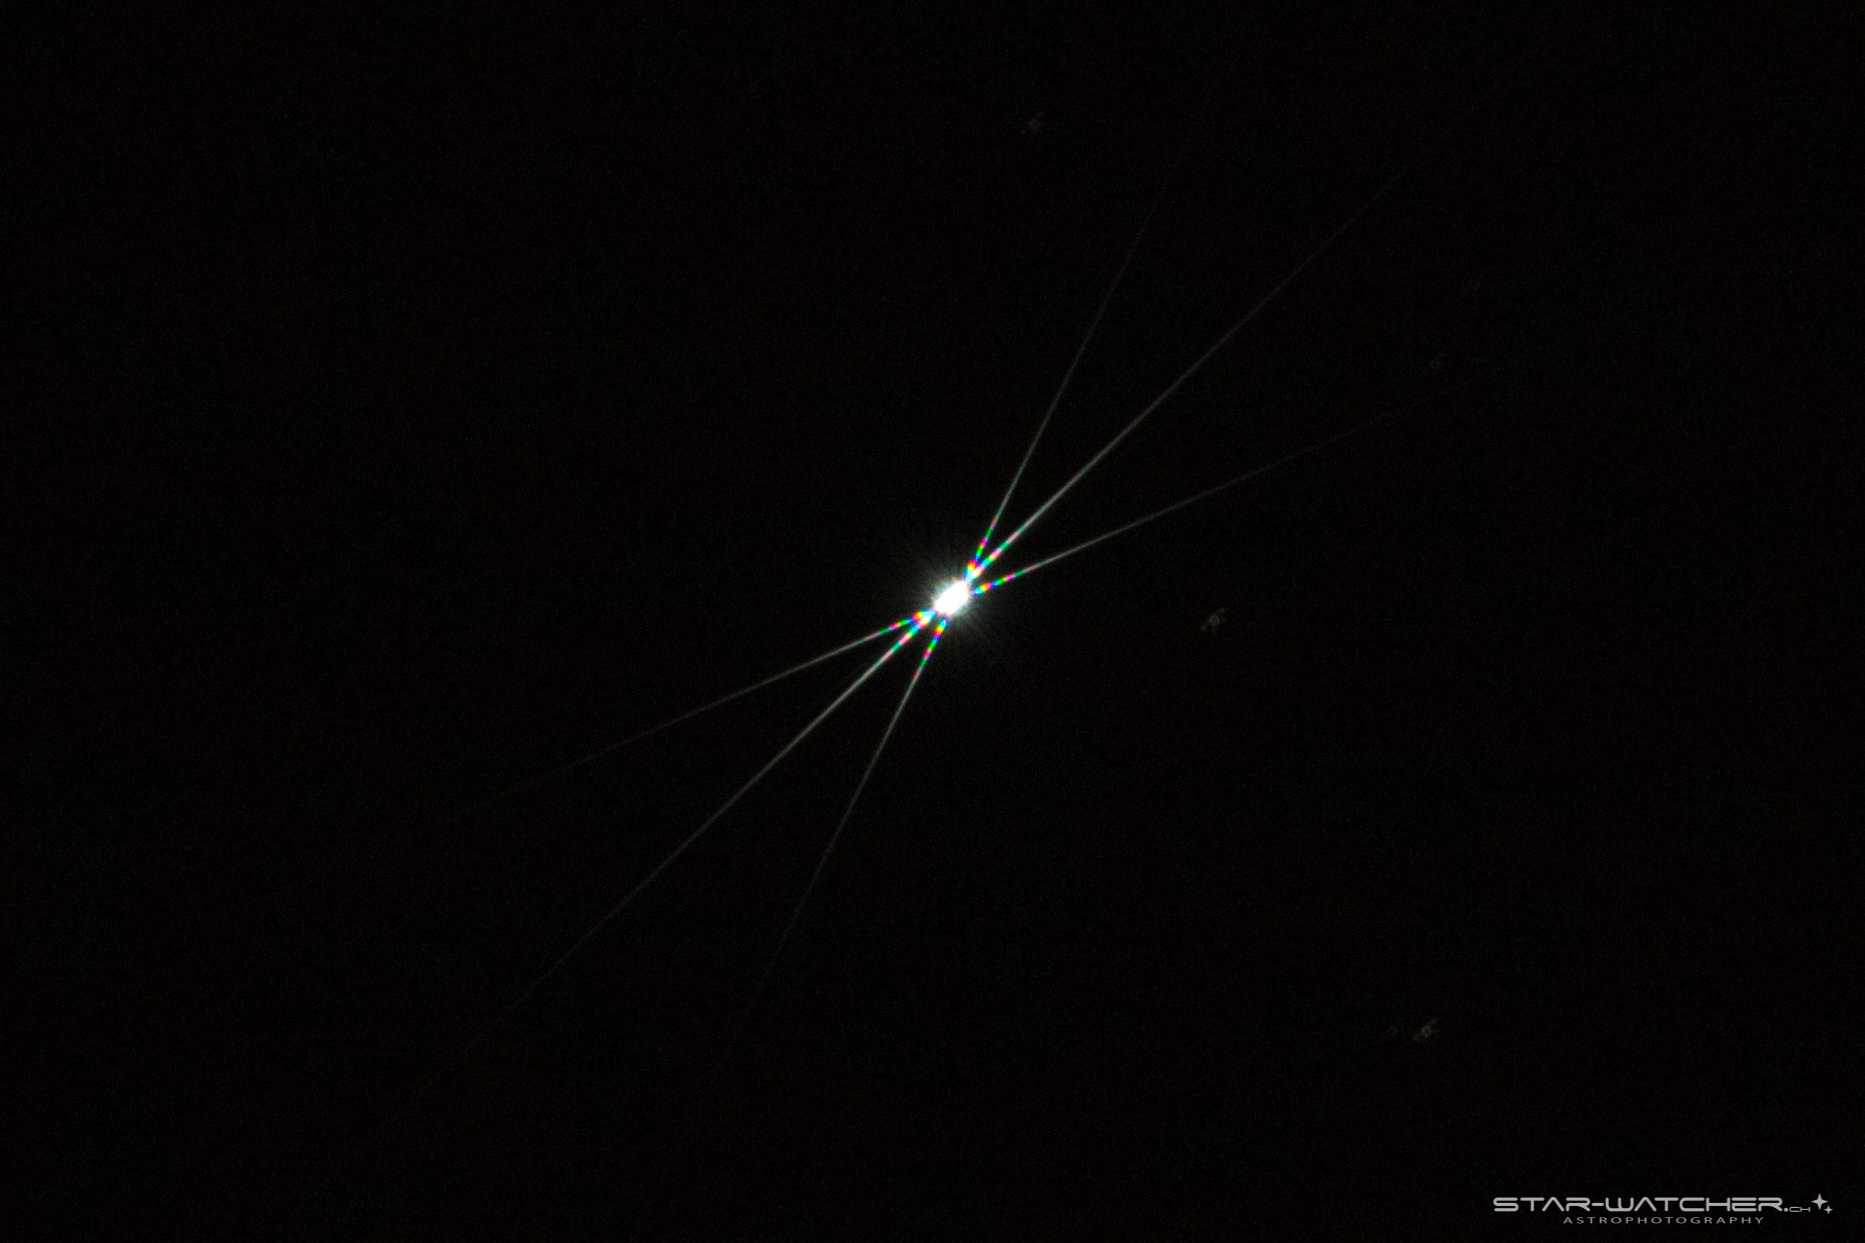
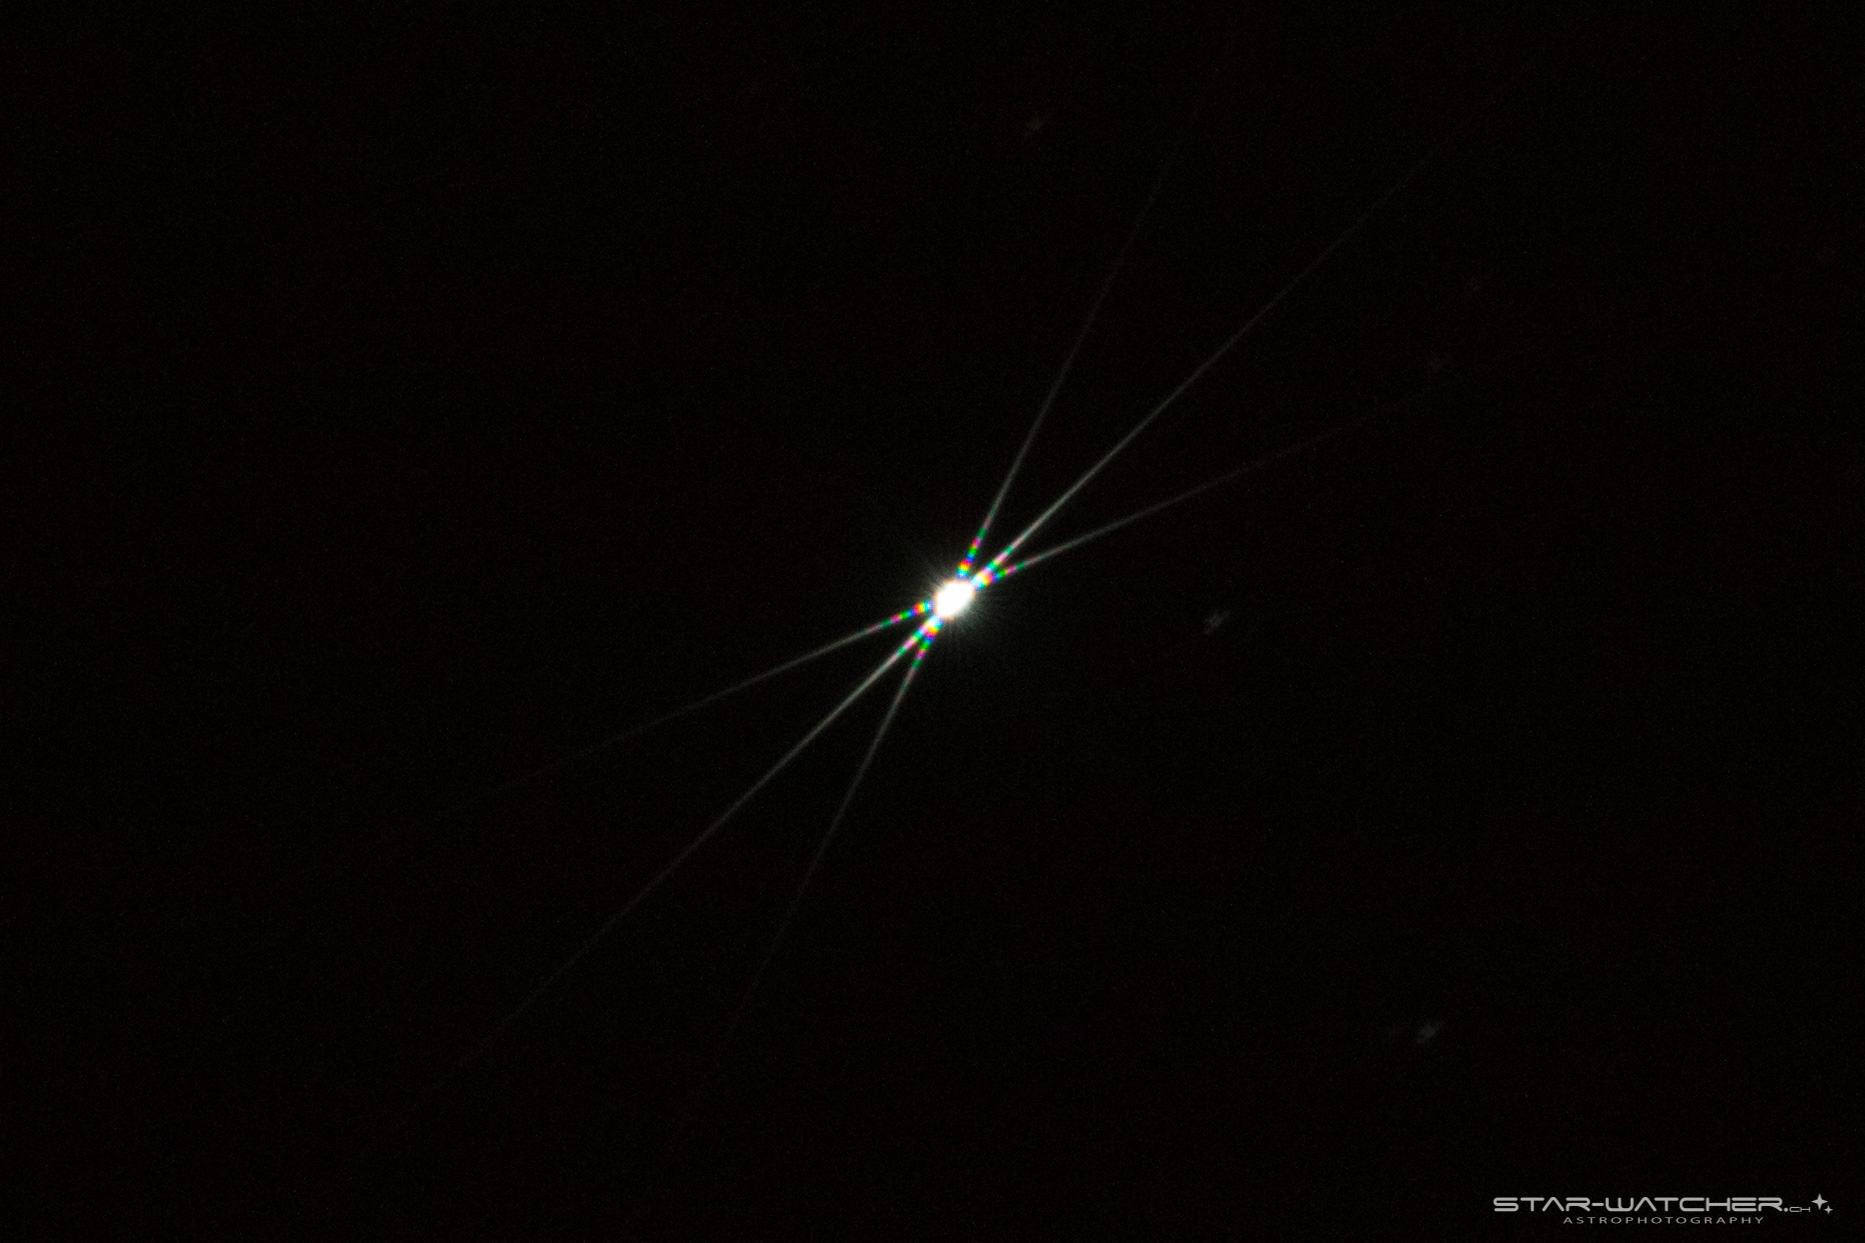
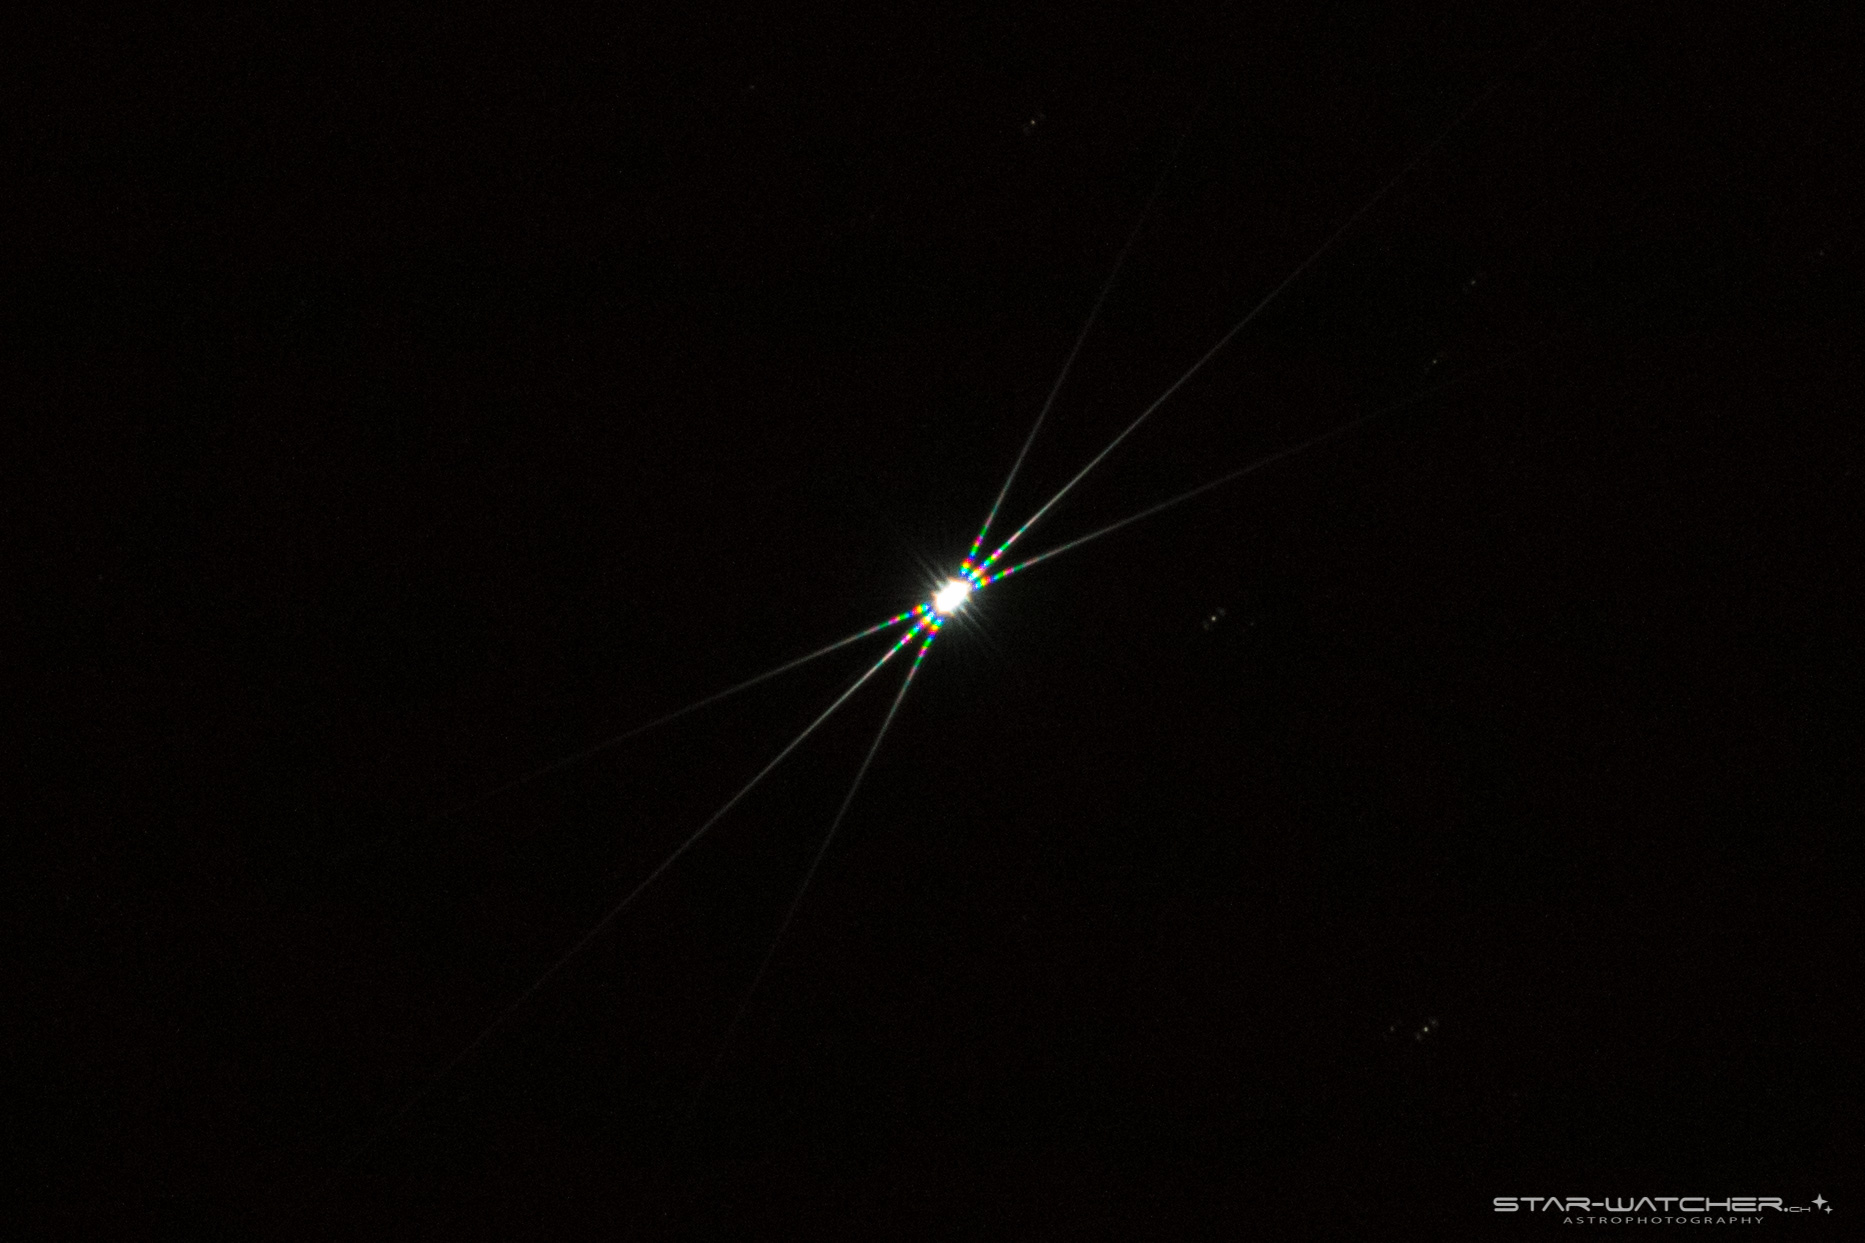
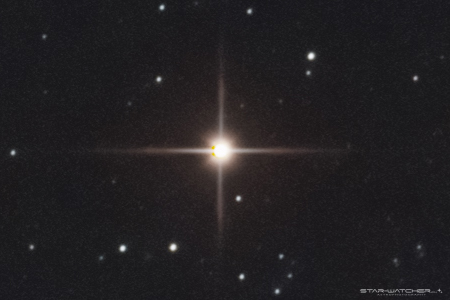
Bahtinov Mask
I really like the Lacerta Bahtinov masks (*) since they have thinner and more slots than other brands. It’s really easy to find focus with this one.
I was concerned about the size. It seems to have a to small diameter, but it works perfect. The following images were taken with this new mask:
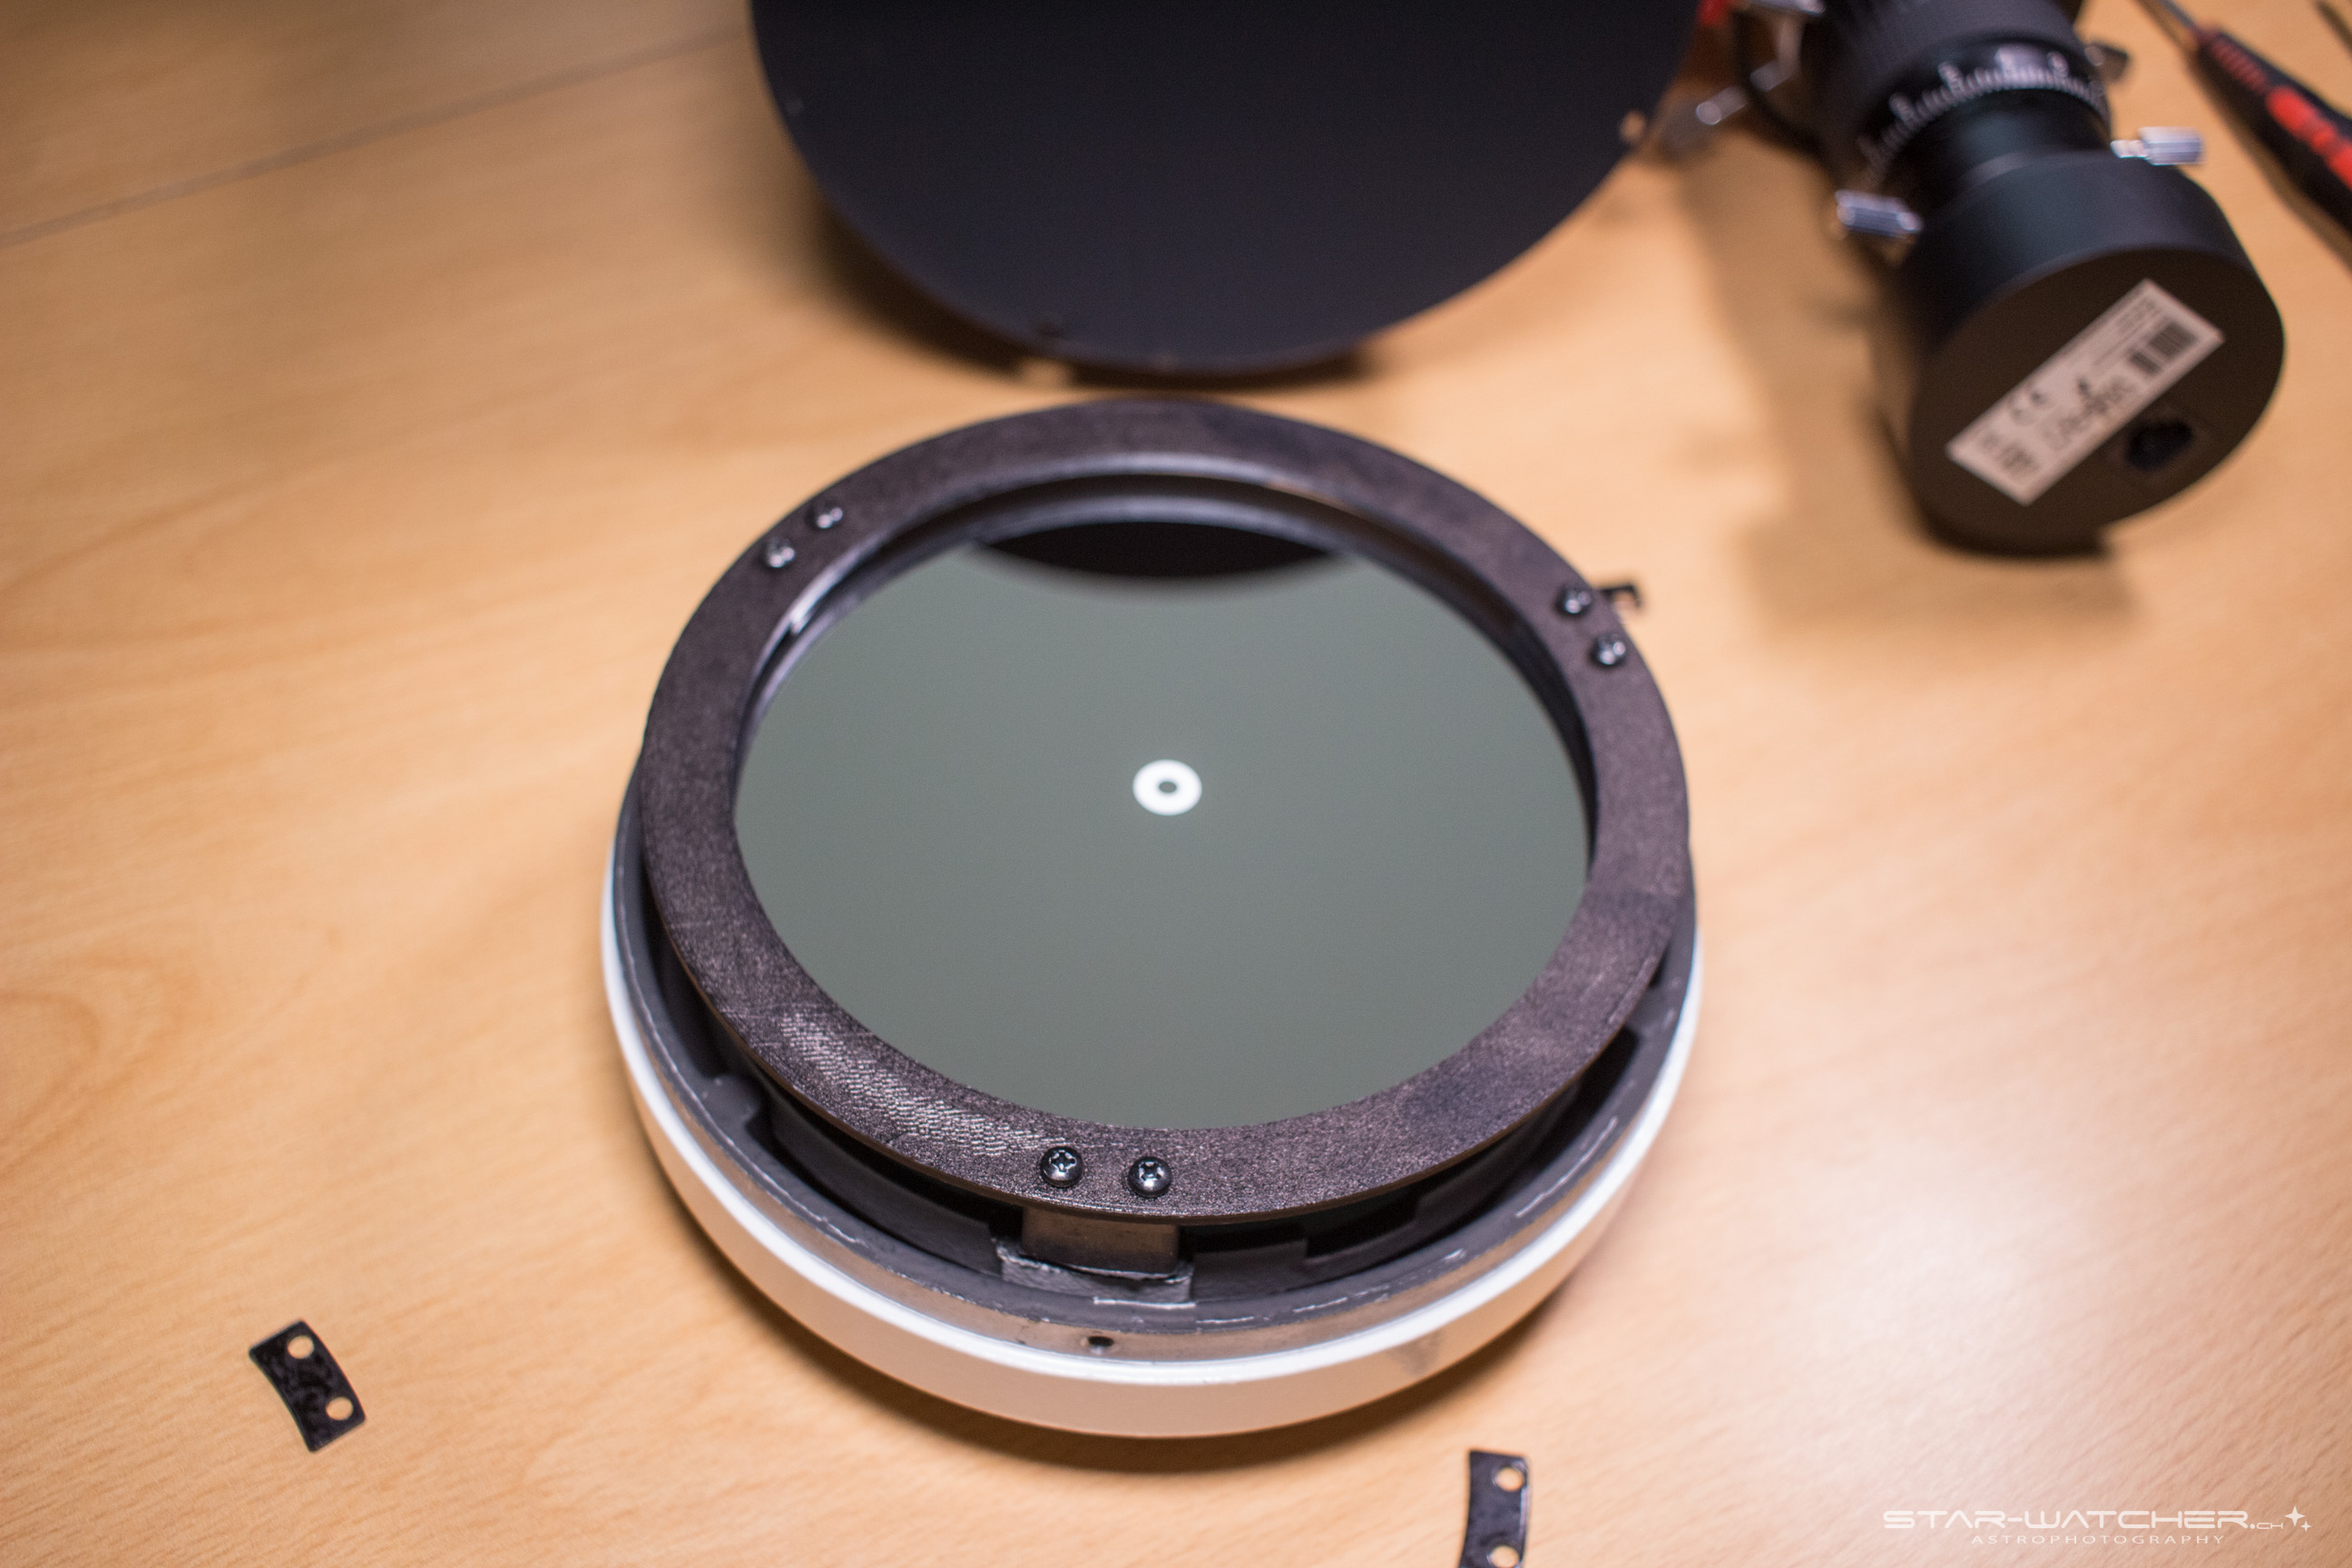
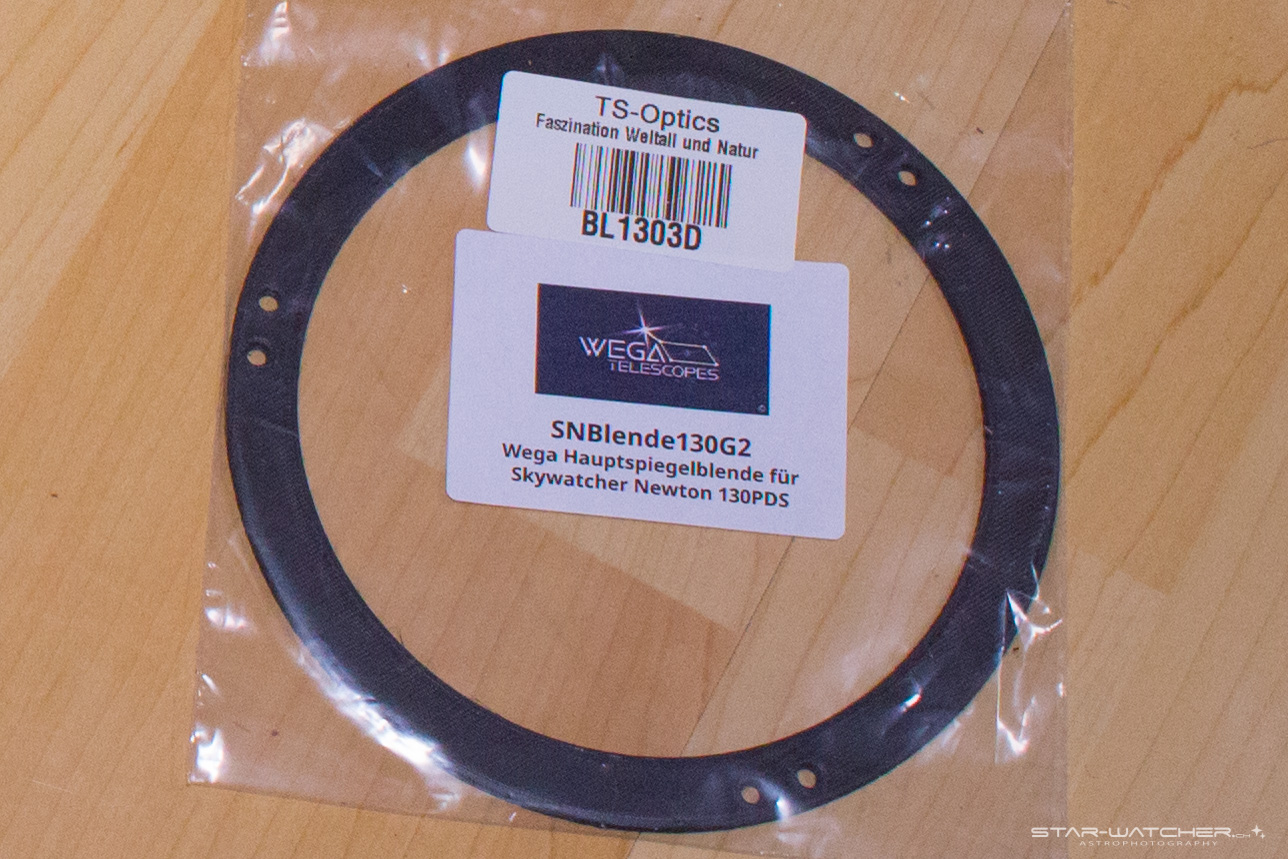
Primary Mirror Mask Ring
Read more here.


6 comments
Great tips – thanks for this! I recently got myself a 130 PDS with the Baader MPCC. The dew shield and the stray light cap are on my wishlist – for now I have a DIY stray light cap and it seems to work well during the night/dusk/dawn but still lets in light during the day so it poses a problem with taking darks and flats. I use a cooled camera with a Sony IMX294 sensor that is prone to strange flat frame behavior, the flat frames are usually 2 to 4 second exposures and this can suffer from stray light issues. Also for my 5-minute darks this is an issue.
I use the Baader MPCC with a screw-in adapter in order to prevent tilt – this really works well. I remember your earlier reply with regards to laser collimation and repeatability: I ‘fixed’ the collimator into an M54 threaded adapter and this allows for repeatable collimation. I only had 1 night of clear weather since I received the 130 PDS earlier this week but the collimation appeared fine – stars were sharp and round.
The primary mirror ring is on its’ way as well, I hope the installation goes well. 😀
Thanks for your message 🙂 With the dew shield I use, flats are possible! It’s stiff enough to keep the LED flatfield box on top.
The primary mirror installation is an easy task. Just be careful while handling with the mirror base. And mark the positions before disassembly.
CS, Karol
Hi, question about the baader mpcc here. I read on many forums that in order to use that corrector on the 130 pds, a piece of the focus tube needs to be sawn off. Did you have to do this too?
Hello
I did not shorten the focus tube on my 130PDS. I use my Baader MPCC on a basically unmodified 130PDS. The primary mirror ring is the only thing I modified so far.
Focus is reachable without shortening the 130PDS’ focus tube, at least for use with DSLRs. I’m not sure about dedicated astro cameras.
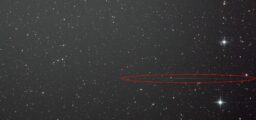
But the focus tube is very long and protrudes in to the light path. This generates a shadow within the halo of a bright star.
I guess thats the reason people shorten the focus tube.
Clear Skies
Karol
Thank you for your reply. Did you end up getting the screw adapter too?
Yes, but I only use it with the laser collimator.