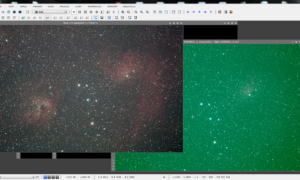
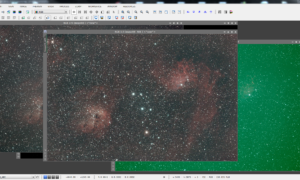
Images taken with the Astronomik CLS-CCD Filter have a very strong color tint. In my case the tint was cyan and now green with the modified EOS 70D. Anyway, PixInsight offers many ways to calibrate the stacked image. I’ll show here one possible process (wich I also use for my images).
Note: Because I use a modified DSLR and a custom white balance profile, my stacked image have a strong green tint. But the following method is applicable to any color tint.
Video Tutorial
Step-by-step
In the following example I’ll remove the green tint from my stacked Flaming Star Nebula image with LinearFit. This is usually my very first step after the stacking process.
- STF
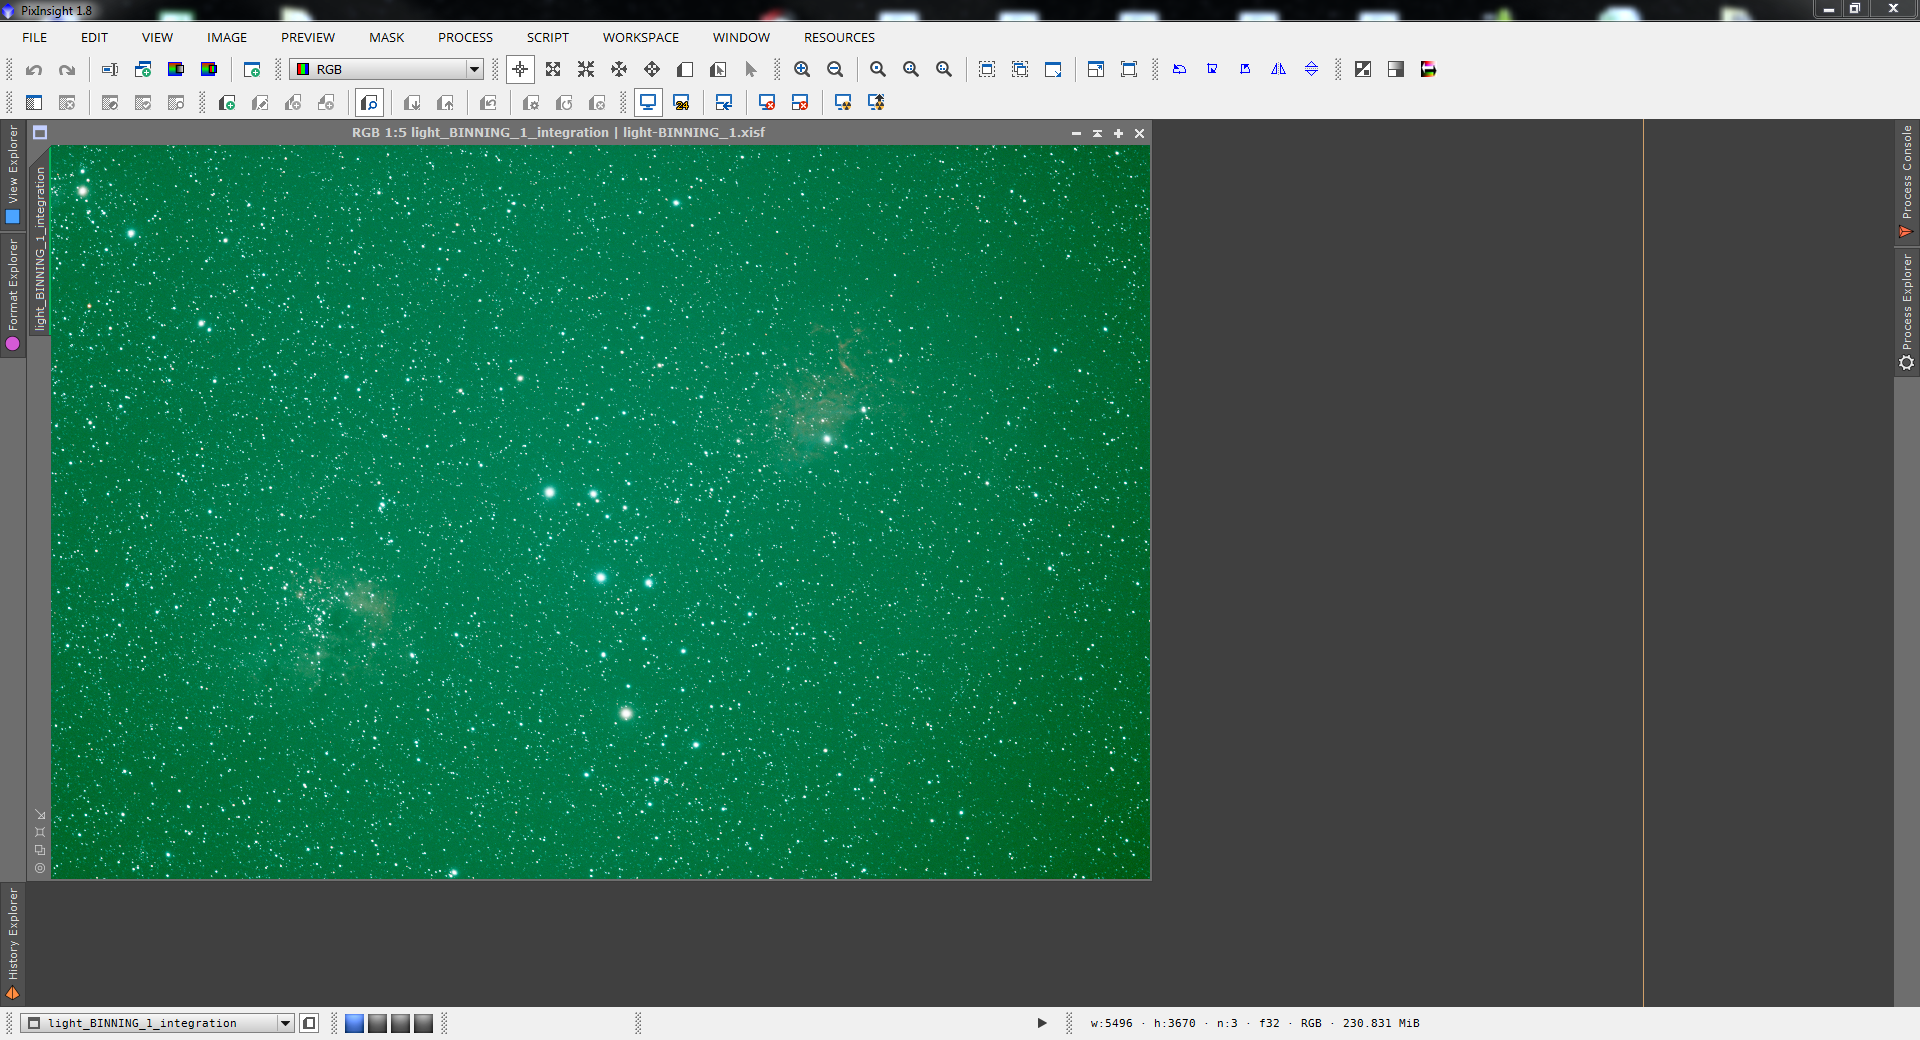
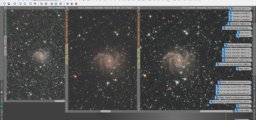
Load the stacked image in PixInsight and apply the Screen Transfer Function.

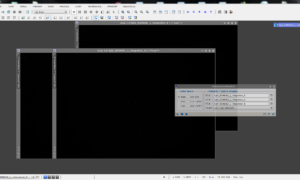
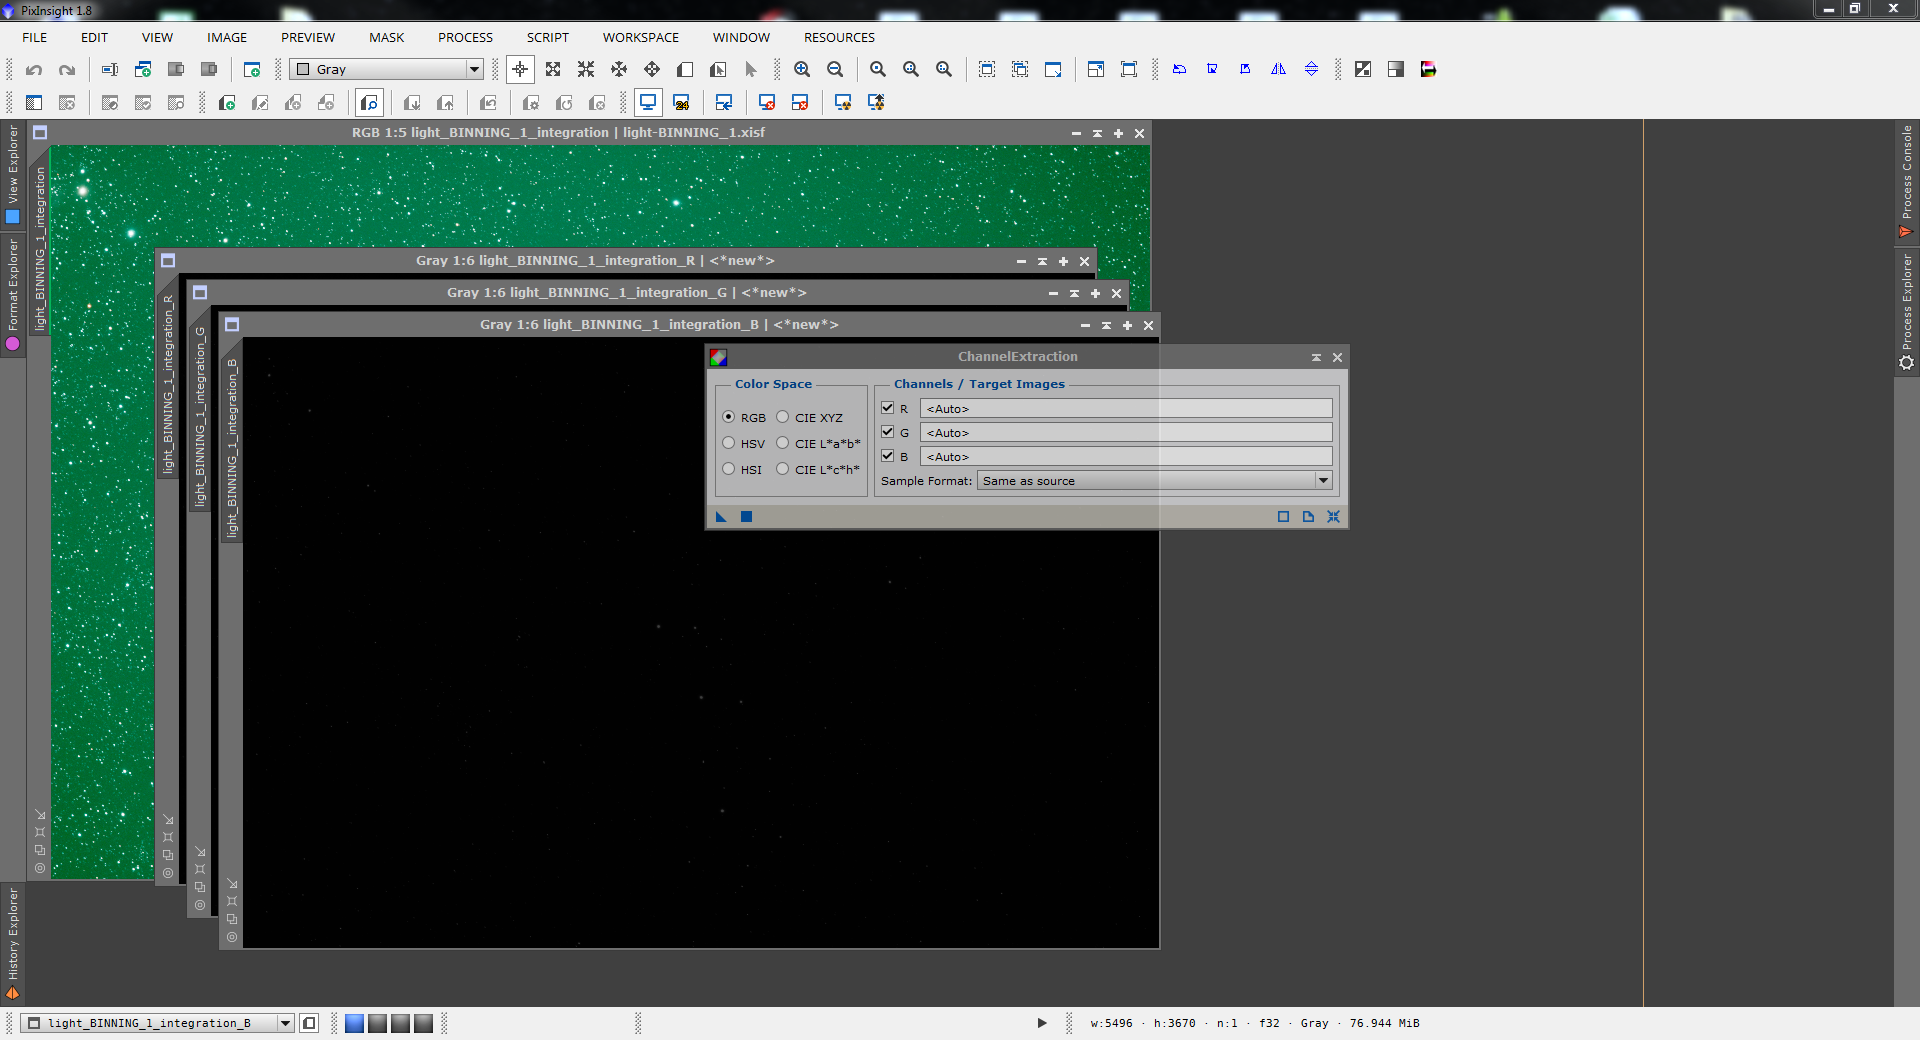
- ChannelExtraction
Apply the Channel Extraction tool to split each color channel to a single image (R, G and B).
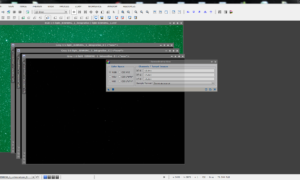
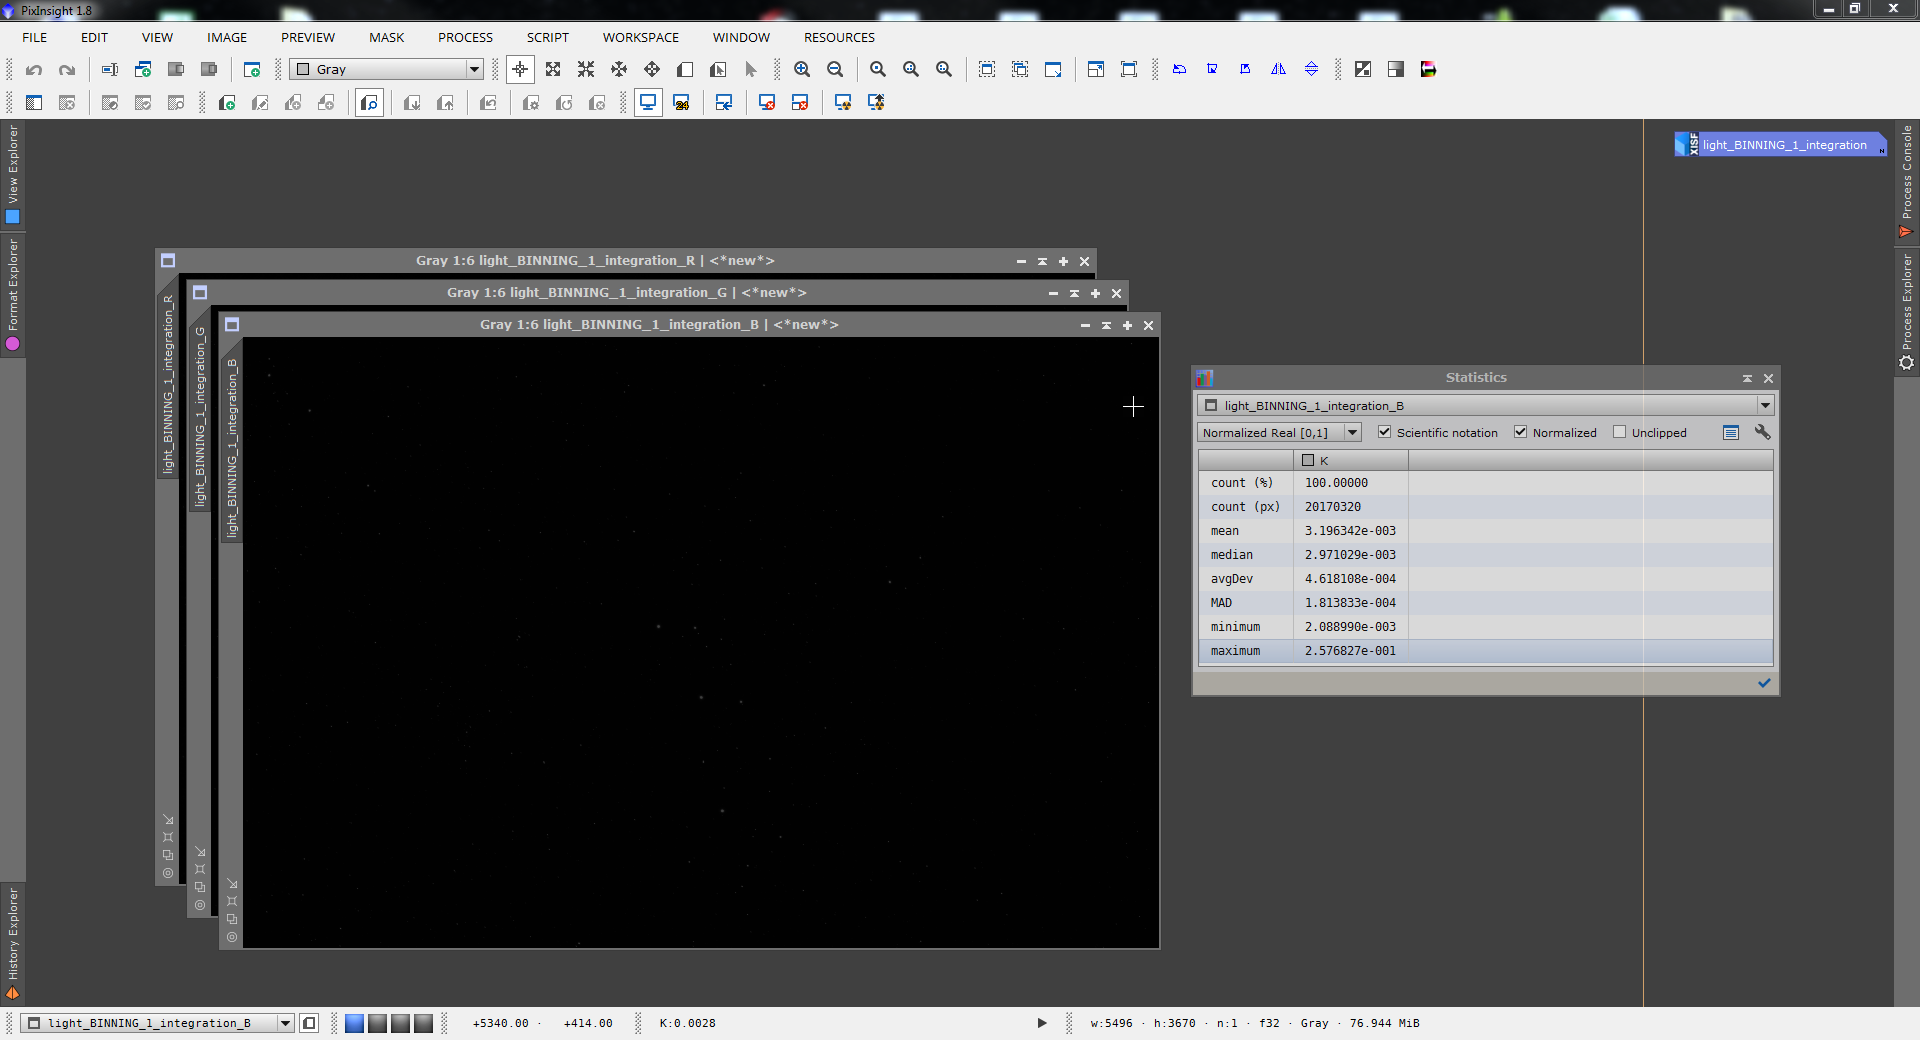
- Statistics
Analyse each channel with the Statistics tool. Find out, wich channel have the lowest Median value. In my case it is the red channel.
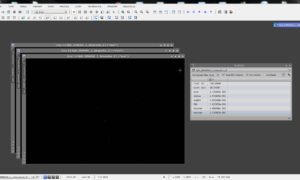
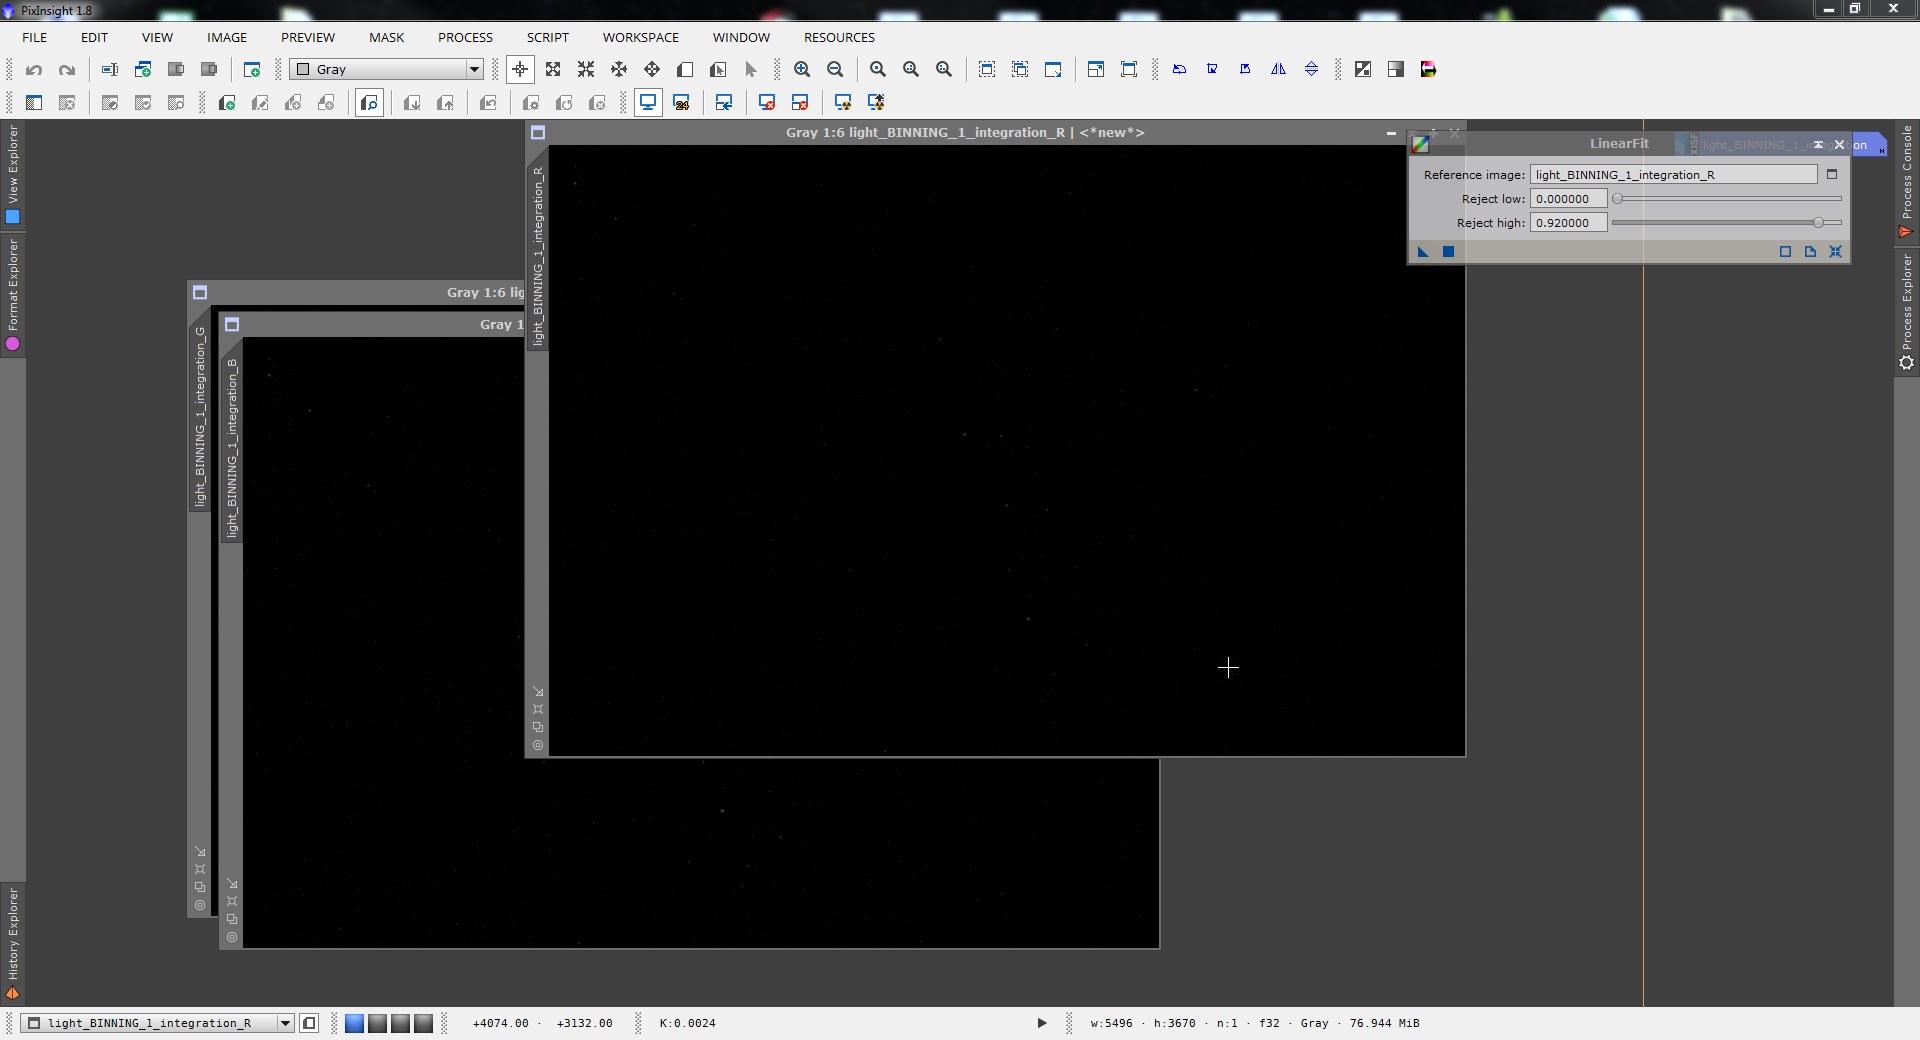
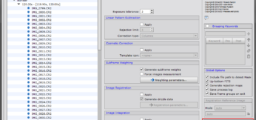
- LinearFit
Open the LinearFit tool and set the channel with the lowest median value as Reference Image. Then apply LinearFit only to the other two channels. Im my case G and B.
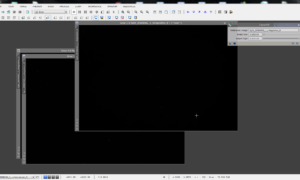
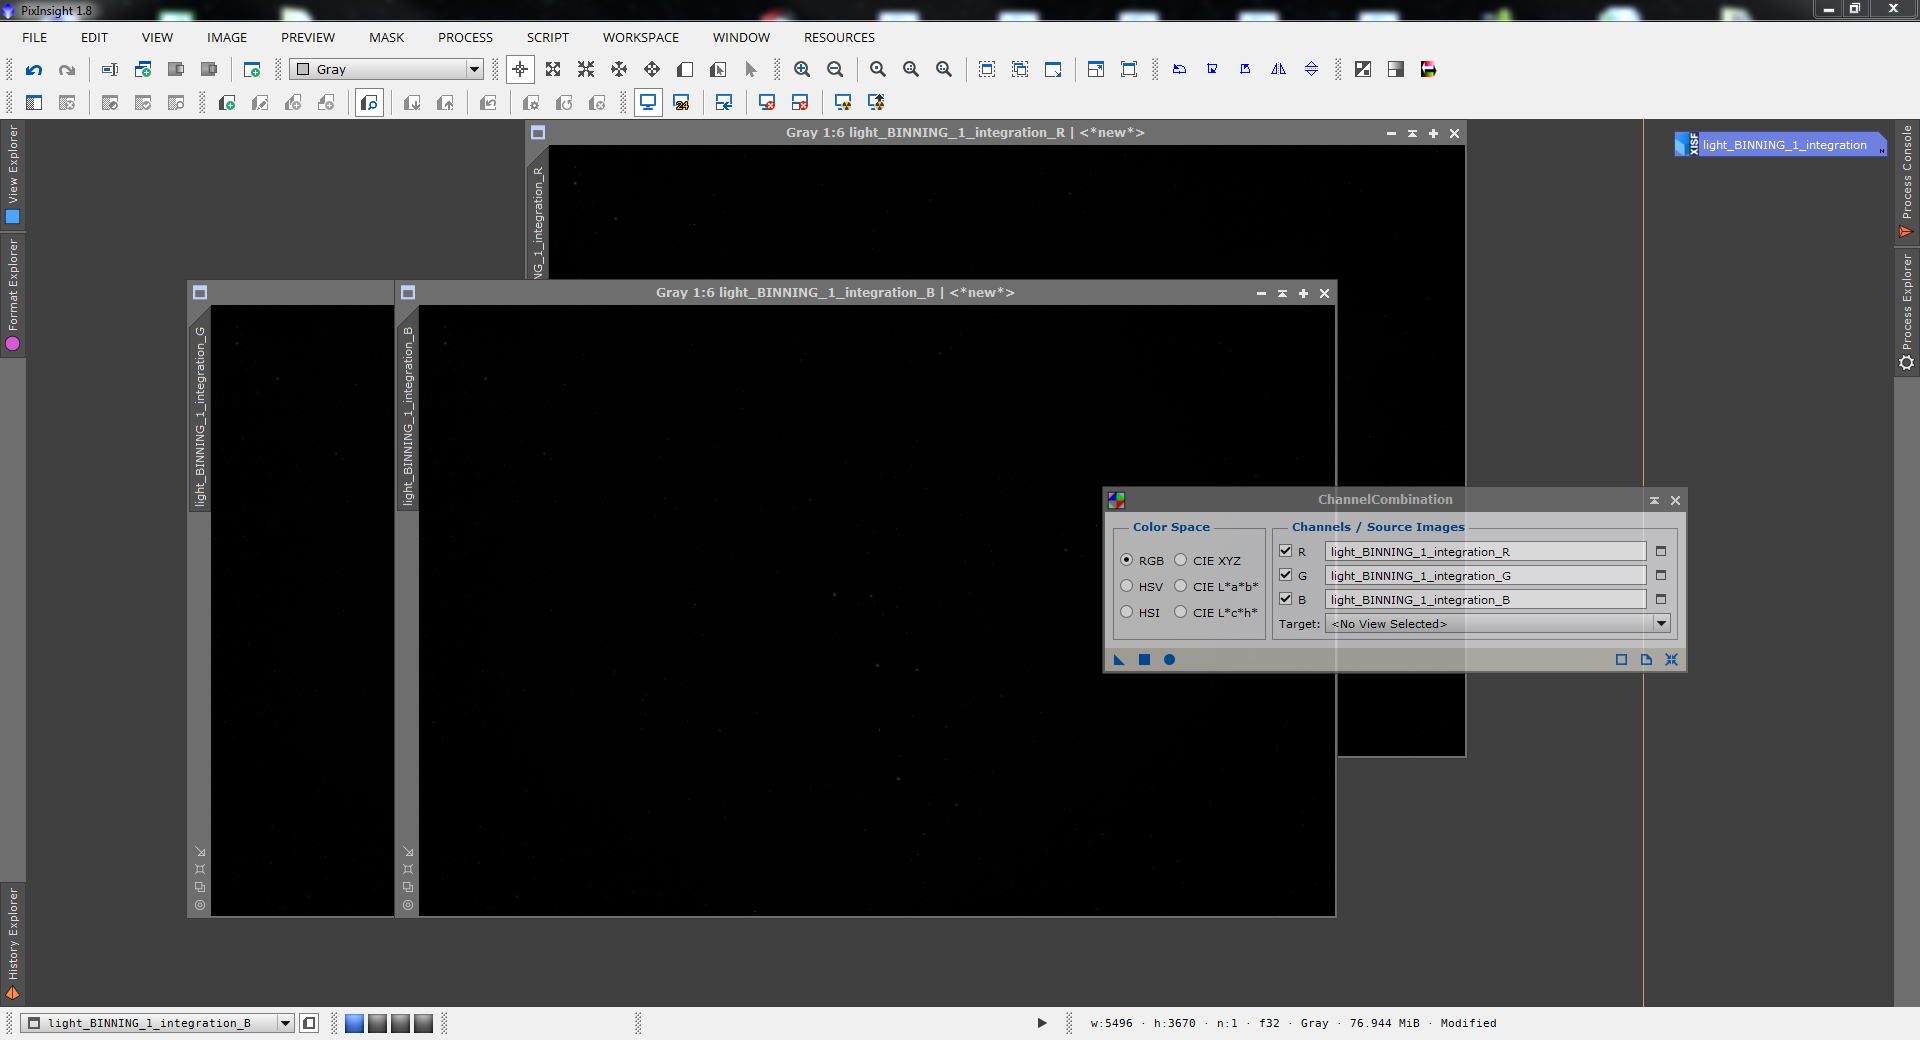
- ChannelCombination
Finally, combine each channel to a single RGB image. –> Use the Circle to apply (Apply Global), not the square.
- STF
Apply STF to the combined new image.
- AutomaticBackgroundExtractor
Now your stacked image is prepared well for further post processing.

- ABE
My personal next step is the AutomaticBackgroundExtractor.


Hope this could help someone 😉
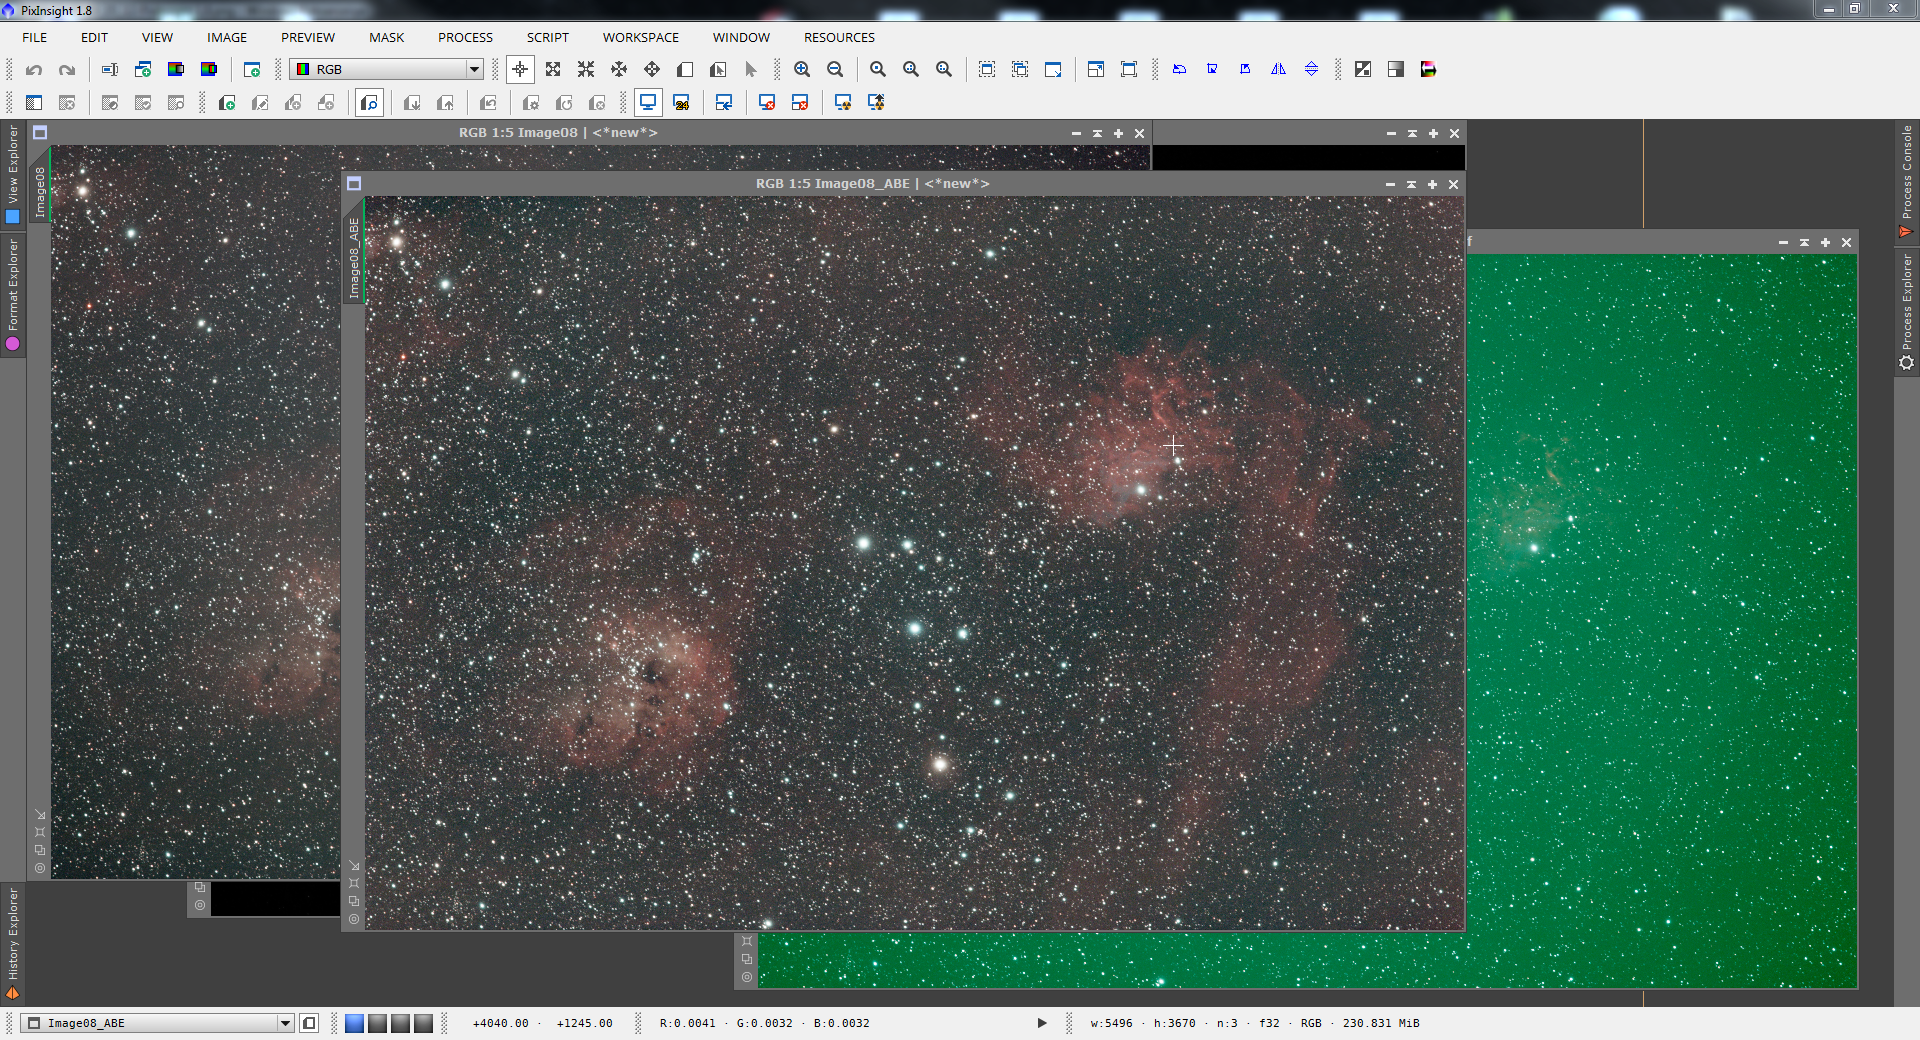
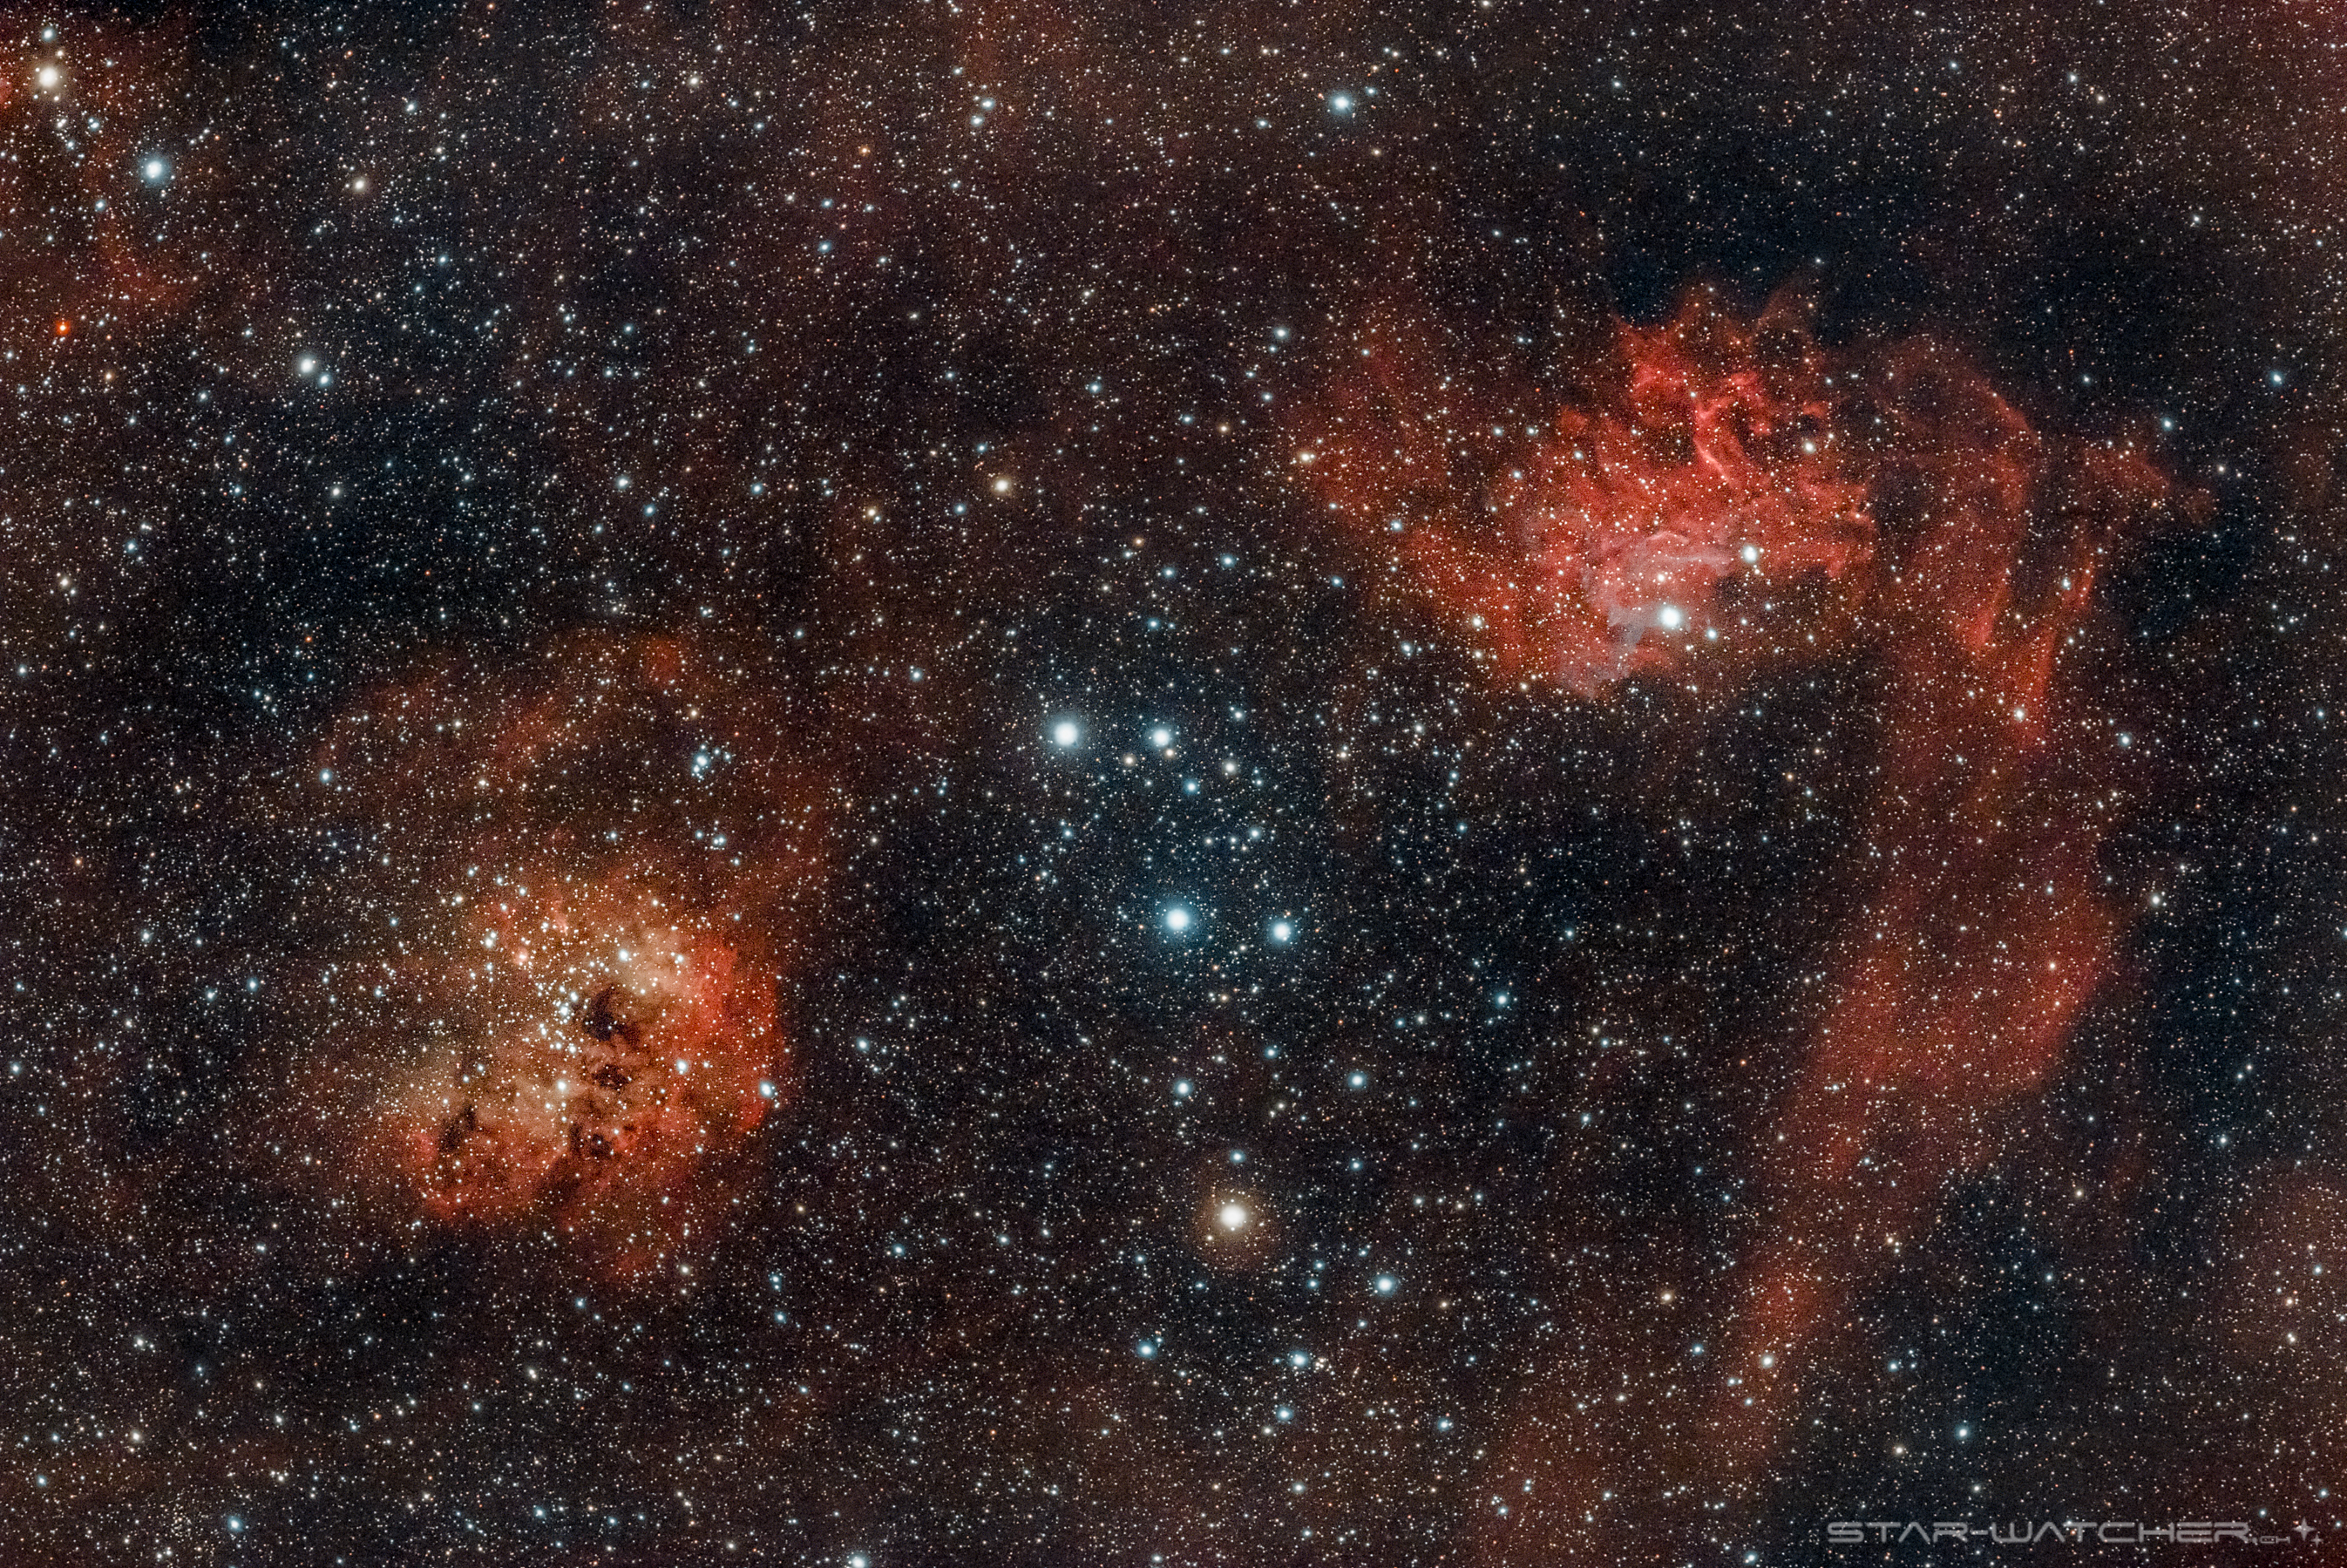
Here is my final result of the Flaming Star Nebula after a few more processes in PixInsight and Lightroom.


4 comments
Hi Karol,
First of all, thank you for this tutorial. I did some testshots with my new CLS filter which gives a strong blue tint combined with my unmodded Nikon D7100. I tried several ways to remove it with Pixinsight. It seems to me that your way and the automated color calibration from Pixinsight look very similar. It looks like the color calibration does more or less the same thing you do manually, it equals the RGB channels. Am I right or is there something I overlook?
Best,
Jan
Hi Jan. As I know, LinearFit is more to get a well balance of the backgrounds. For the color balance of the objects I use additional to LinearFit the ColorCalibration tool (first LinearFit, then ColorCalibration).
CS, Karol
This worked perfectly for me — just what I needed. Thank you for taking the time to post this.
You saved my life. Haha. I was struggling to fix the color cast with rudimentary methods like SCNR and it never worked correctly. This brought the right colors without even using PhotometricColorCalibration. Excellent tip. Thank you.