With the Star Adventurer I’m very mobile. Build up in about 10 minutes! So I’m not bound to a single place.
But most of the time I’m on my balcony in Derendingen, Solothurn (444m Alt.), especially during the work days. Unfortunately my field of view is limited to North and East, with best view towards East:


This field of view is OK, I can catch many DSO in North and East during a year. And of course, the sight to North is very valuable for the polar alignment 🙂
On the road
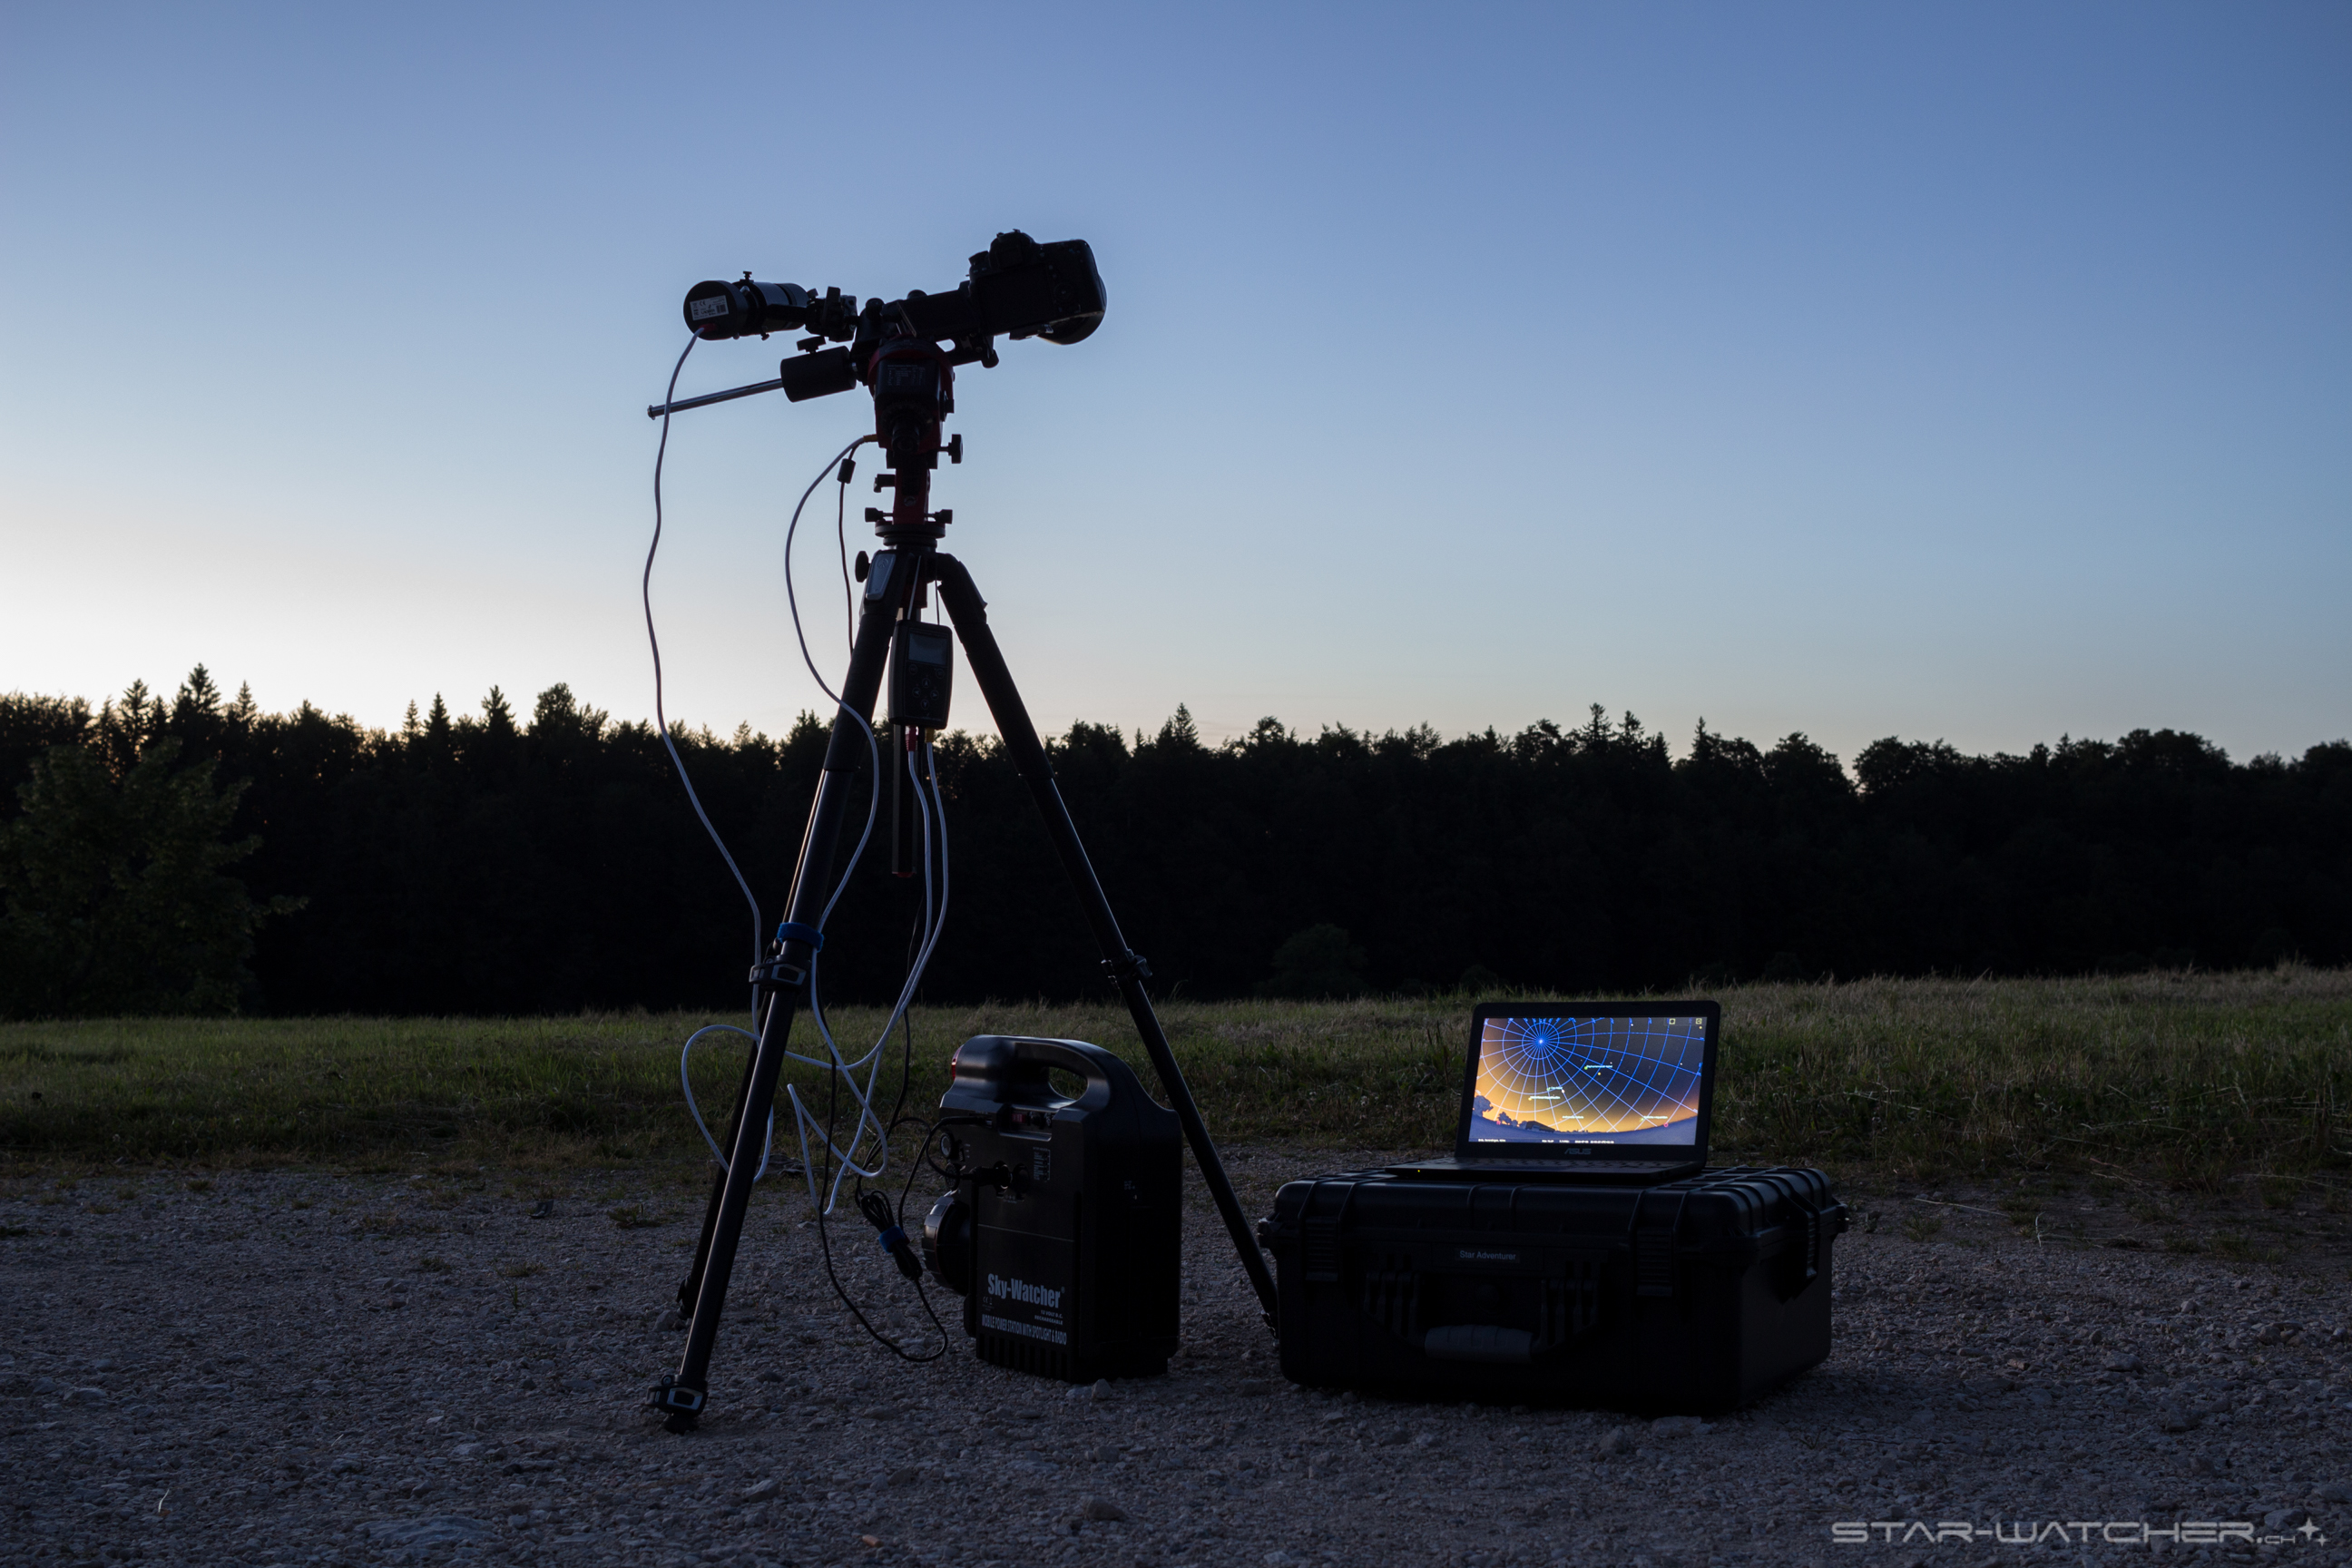
If it is perfect weather and my next day is off, I drive to one of my favorite places:
- Gurnigel in Bern (about one driving hour), 1608m alt.
- Weissenstein in Solothurn (about 25 minutes driving), 1395m alt.
Then it looks like this:
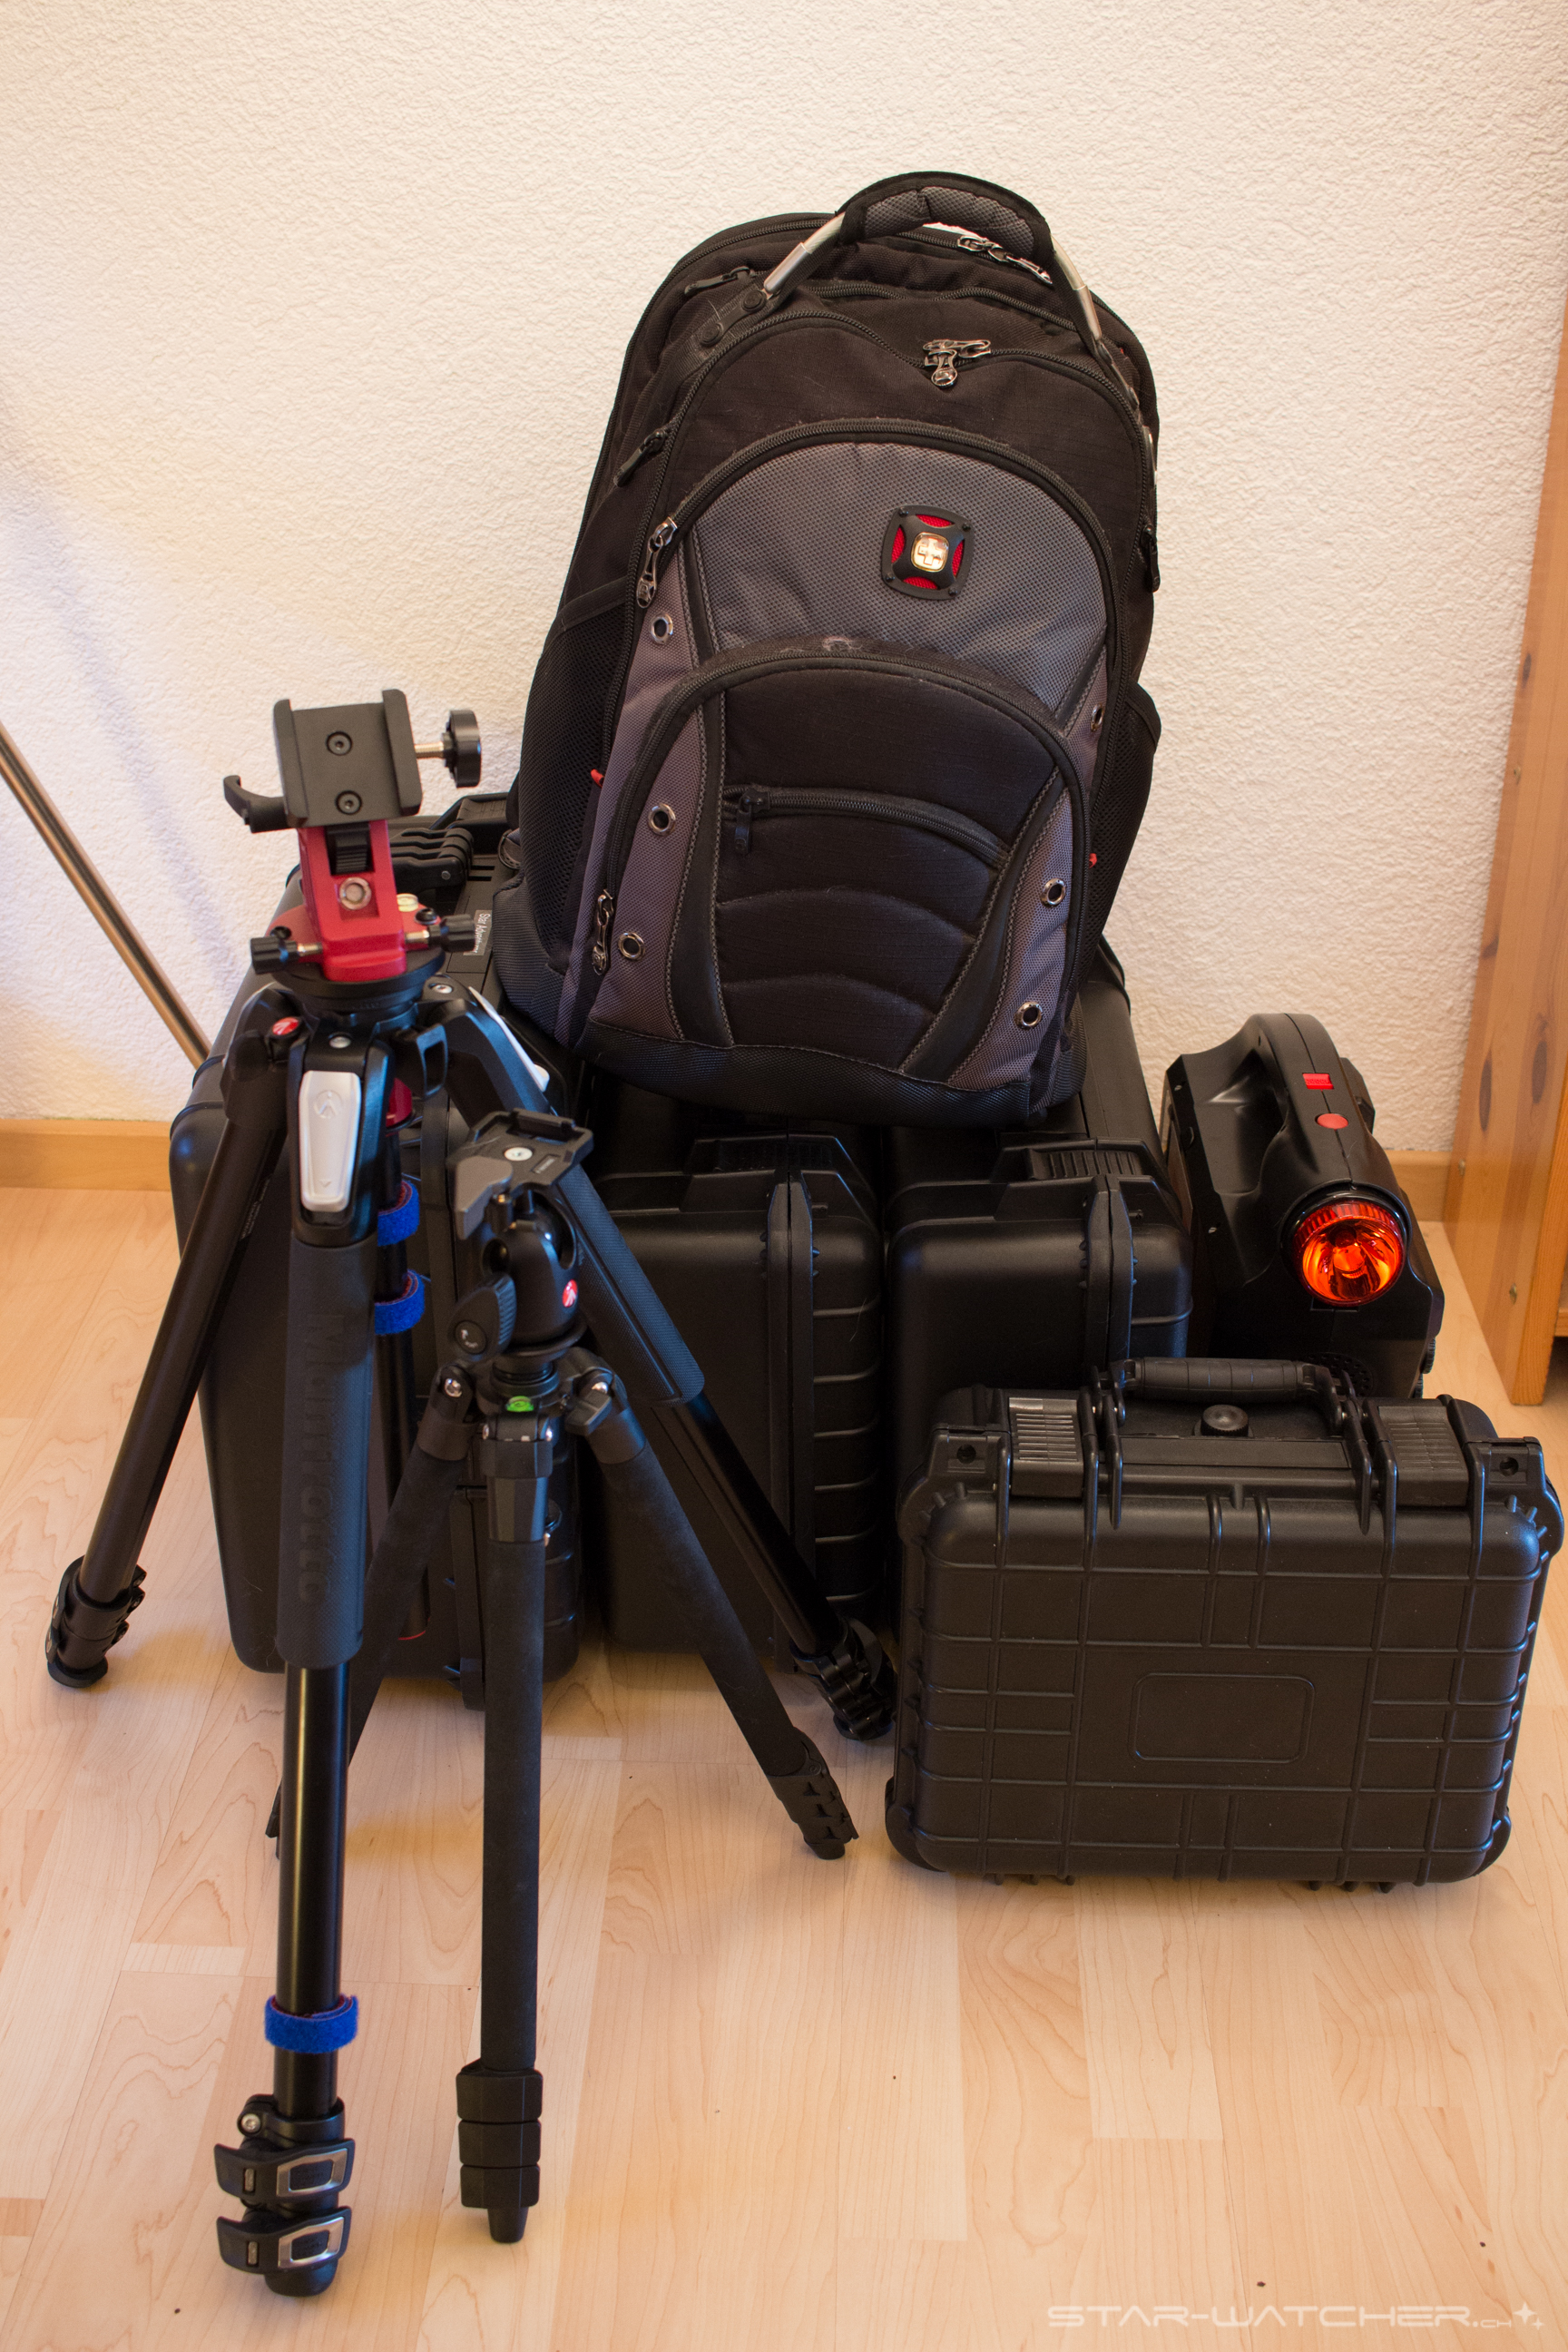
- Backpack for netbook, clothing, shoes, food and drinks
- Small case for my lovely 400mm lens
- Medium case for all the DSLR stuff
- Medium case for Lacerta MGEN2 with 50mm Guide Scope
- Big case for the Star Adventurer
- SkyWatcher 17Ah Powertank
- 2 tripods
Inside the cases every device has it’s own place. It’s enormously useful in the night: If everywhere something is in, all is complete 🙂
Almost overkill, but very well protected 😉


These are not Pelican cases. Conrad have a good and cheap(er) alternative! Basetech Cases in different sizes.
In the field


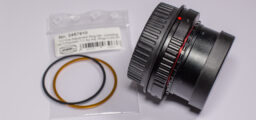
Telescope
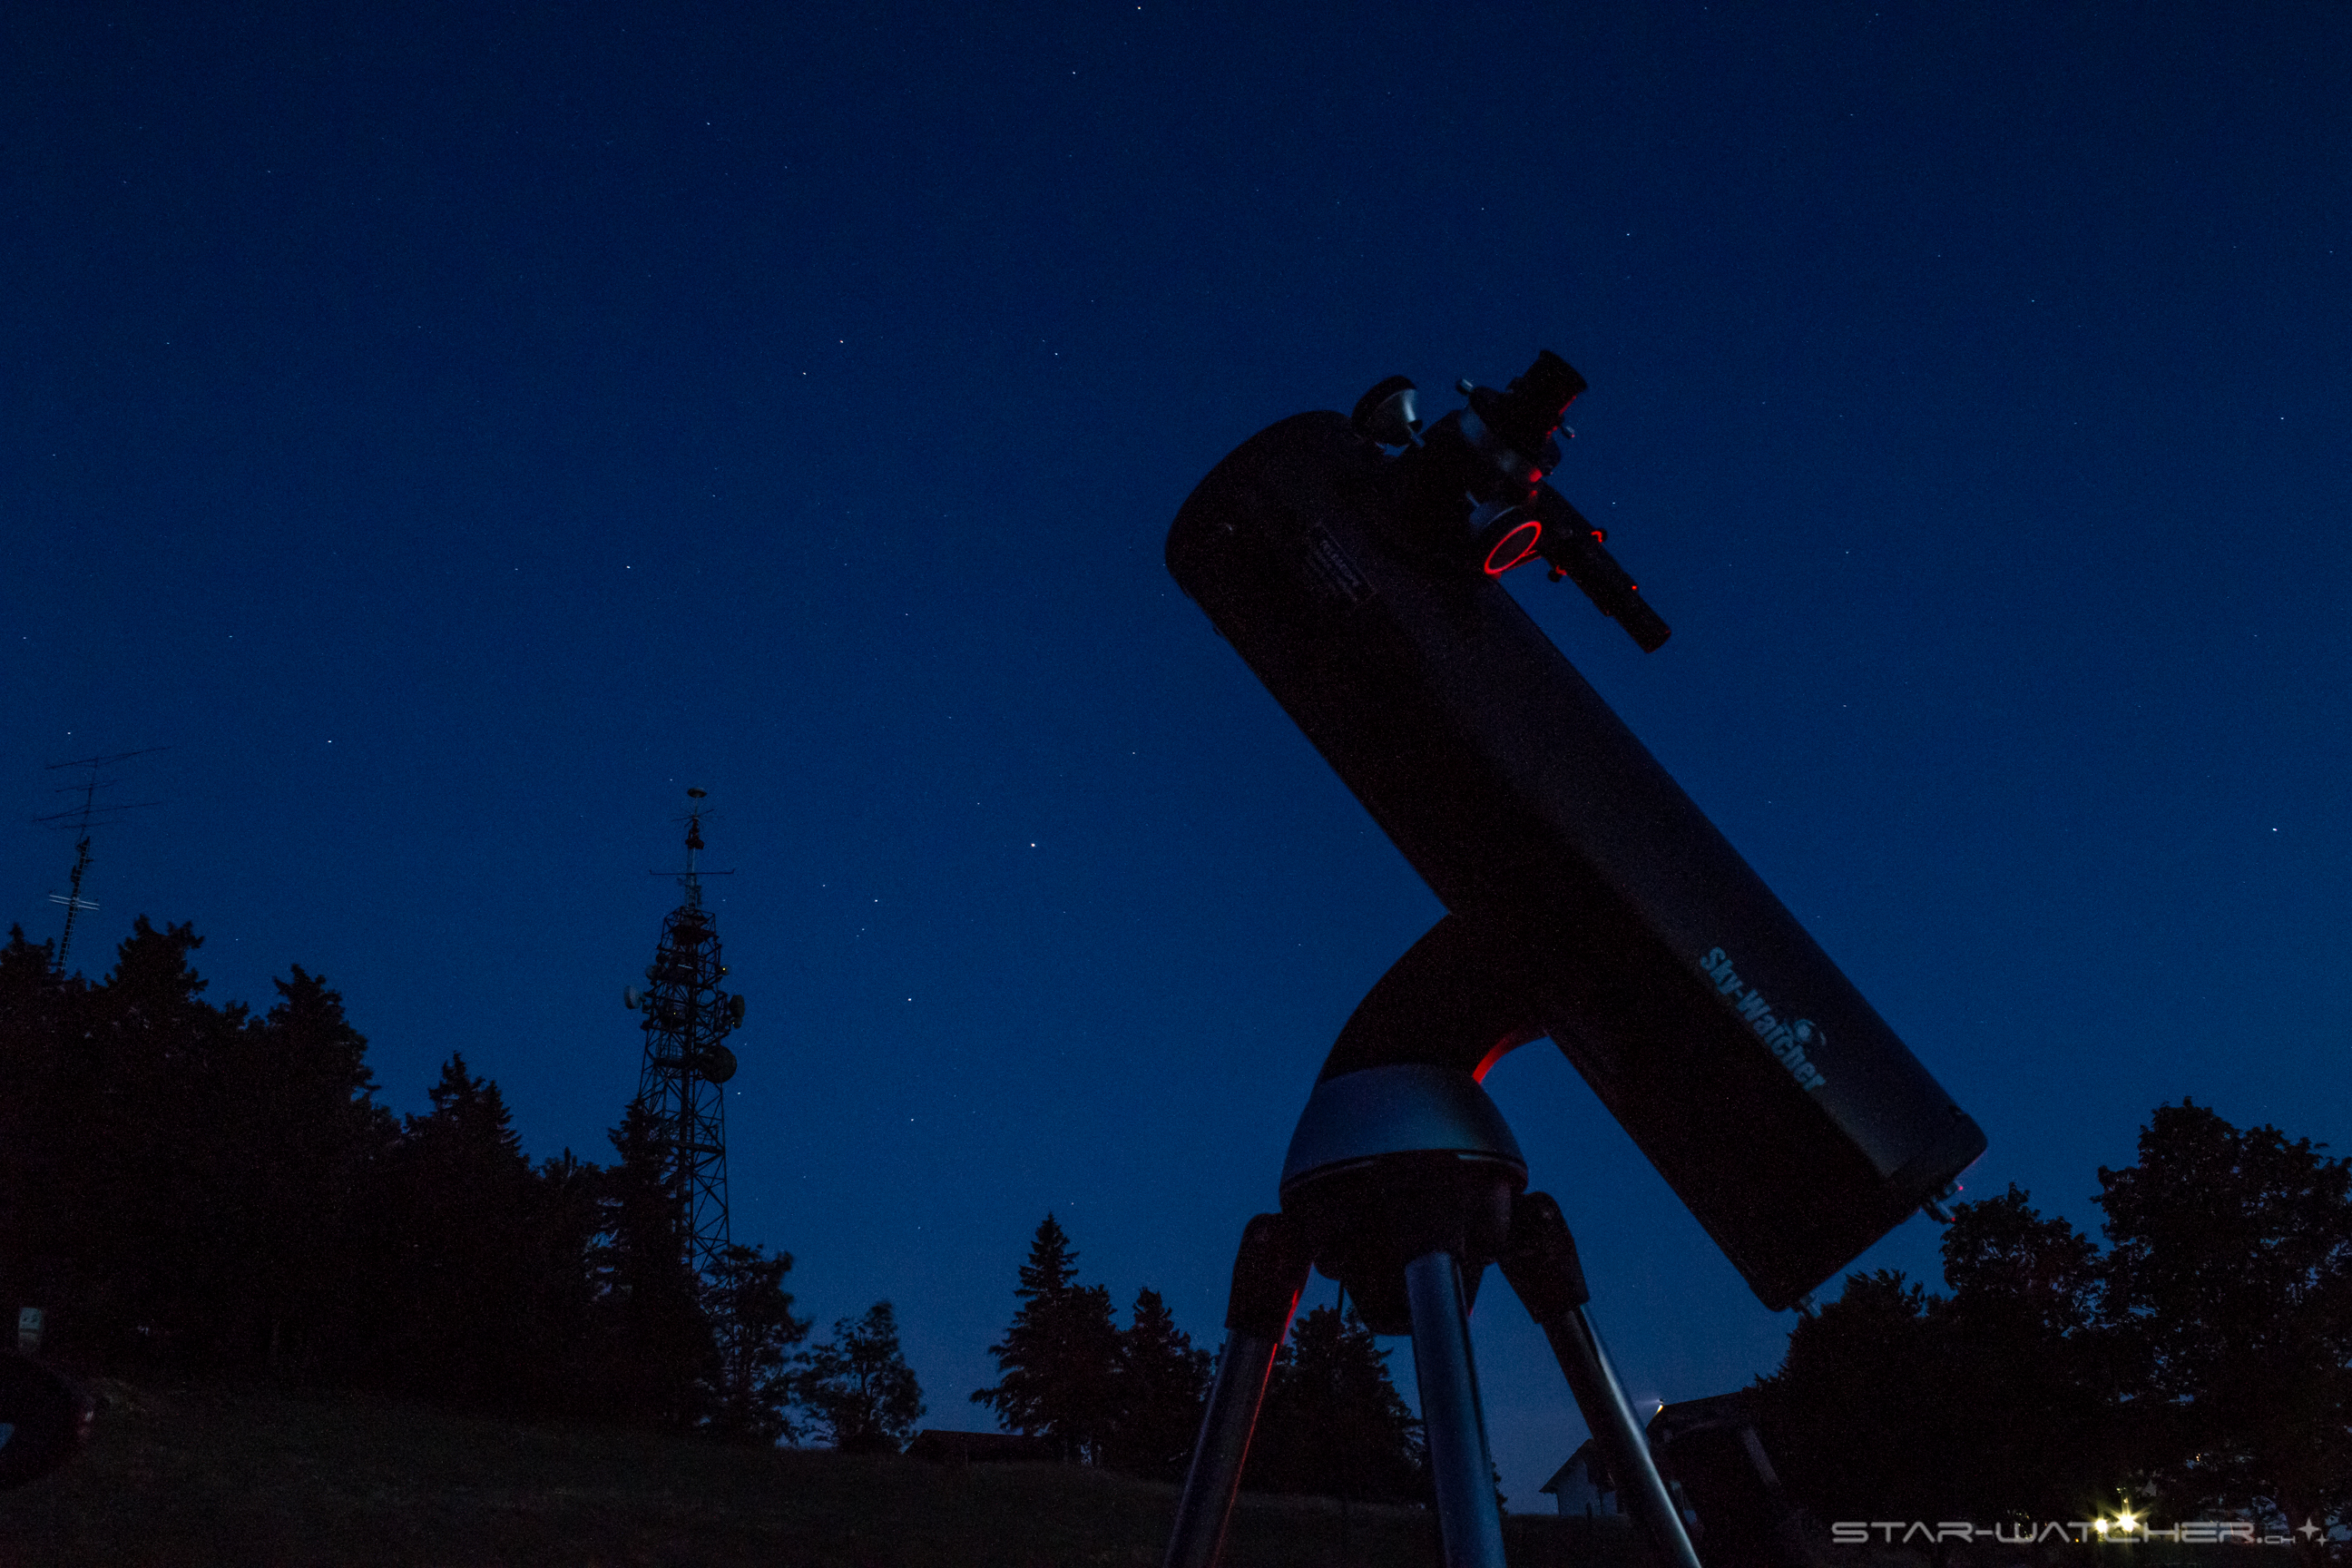
To be honest, I don’t use the SkyWatcher Explorer 130P anymore… only from time to time in warm summer nights. So the waiting time during photography can be bridged by observing 🙂
And of course for Moon and Sun pictures (Sun pictures always with filter protection on the scope!!!). And Saturn… but for Saturn it has too less focal length, even with a Barlow 2x 🙁


19 comments
Thanks for your update. I am always enjoying your website. Go ahead with this great work 2017!
Thank You very much! 🙂
Grüezi!
Just wanted to leave some good wishes here!
Amazing picture with the cows by the way!
Best,
J
Grüezi and thanks! There are often cows on Gurnigel 😉 CS
Such a wealth of information ! Thank you for posting all this on the Star Adventurer. I have one as well, but didn’t use it yet, haha. I’m still waiting on the guide scope.
Thank you for the comment. What focal lenth do you use on the Star Adventurer? For me guiding became important as I started using the 200mm lens with the Kenko 1.4x converter at 280mm focal length… and now with 400mm focal length guiding is absolute indispensable. Clear Skies!
I will use guiding for my 300mm f/4L IS lens 🙂 I really like how you place your guiding scope, very clever ! I might do the same, haha.
Clear skies to you as well !
Yes, this way mounted all is well balanced 🙂
Hi !
Nice blog 🙂
I’m based in Zürich and doing also astrophotography when the sky is clear enough. Unfortunately i do not have a car to go away from light pollution so I am quite limited, even though I recently moved out of ZRH city to live in a smaller town.
Do you know of any gathering that could happen once in a while in the region ?
Would be cool to meet to 🙂
Clear sky to you.
Romain
Hi Romain. Thank you. This weekend was the Gurnigel Star Party. Unfortunately the wheater was not good, so I was not there… Here more about swiss events: http://www.teleskoptreffen.ch
Usually I photograph at home in Derendingen. If I drive somewhere during good wheater periods I go to Gurnigel or Weissenstein. Gurnigel is my favorite place. Very dark sky and I love the tank platform to build up the setup dirt-free… 😉
CS, Karol
Hi Karol
congratulations for your job.
I am a beginner of atrophotography.
I have your own equipment.
I would like to ask you how important it is to keep the telescope (orion 50mm) parallel to the camera lens(canon 400mm). I can not keep it perfectly parallel.
This thing is important?
Thank you
Hi. Thank you very much. I think it’s not necessary to keep the scope and the lens parallel. It should be the same direction, but it has not to be perfect parallel. Hope it helps.
Clear Skies, Karol
hi good site, also good pictures with simple equipment. Question how do you power your laptop in the field
Hi and thank you! My netbook has a battery life up to 8 hours. So I don’t need power on the road, since I use the netbook only for orientation in the sky (Stellarium). And after I’ve found the object I don’t need the netbook for the whole session anymore. I use the MGEN to control my DSLR.
Hallo.
Ich bin neu in der Astrofotografie und bin beim stöbern im Web auf deine Website gestossen. Deine Fotos gefallen mir sehr gut, Kompliment!!
Darf ich dich zwei Sachen fragen:
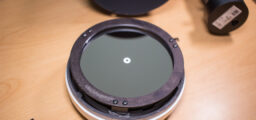
1) Ich hab gesehen, dass du z.T. mit einem CLS CCD Filter von Astronomik fotografierst. Ich bin mir noch nicht ganz sicher ob ich mir den ebenfalls zulegen sollte. Wie beurteilst du die Qualität: werden die Bilder viel besser mit dem Filter im Einsatz? Und erzielt er nur eine Verbesserung bei DeepSky-Objekten, oder auch bei Fotos der Milchstrasse?
2) Ich suche seit längerem eine passende Box für meinen Staradventurer und mein Equipment. Den Link zu den Boxen bei Conrad find ich sehr spannend: Hast du bei diesen Boxen die Aussparungen für das Equipment selber ge.acht? Wenn ja, wie hast du das gemacht, dass sie üassend zum Equipment ist?
Danke für deine Zeit und dein Feedback.
Liebe Grüsse aus Kriens, Luzern
Tobias
Hallo Tobias. Herzlichen Dank für Dein Kompliment 🙂
Zu Deiner ersten Frage: Ich verwende den Filter eigentlich nur für DeepSky Aufnahmen. Für die Milchstrasse nicht. Auf dieser Seite siehst Du schön den Unterschied mit und ohne Filter, fotografiert auf meinem Balkon (mit starker Lichtverschmutzung im Dorf): https://www.star-watcher.ch/equipment/astronomik-cls-ccd-filter/
Über die Qualität generell kann man sich streiten. Ich habe mit und ohne Filter sehr schöne Bilder hingekriegt. Einfache Regel: zuhause auf dem Balkon mit Filter, auf dem Berg in 1500m Höhe ohne Filter.
Zu Deiner zweiten Frage: Ich habe das Equipment einfach auf die noch nicht entfernten Schaumstoffteile gelegt, um zu schauen wie ich am besten möglichst viel Equipment runterbringen kann und doch genügend Abstand zwischen den einzelnen Teilen habe. Der Schaumstoff ist nicht 1 grosses Teil, sondern ca. 1cm x 1cm x 7cm Schaumstoffstreifen, die sich einzeln “rausreissen/rausbrechen” können. Die ganze Fläche 2 lagig, unten und oben. So konnte ich sehr schön Aussparungen für das Equipment machen. Hoffe das hilft ein wenig. Sonst einfach wieder melden 🙂
Clear Skies
Karol
Hallo Karol
Danke für den Tipp mit dem Koffer: hatte mir den Koffer gekauft, hat wunderbar geklappt!
Ich hab mir übrigens ebenfalls einen MGEN II sowie ein Canon 400 f5.6 gekauft: hatte geschmunzelt, als ich deinen Gedankengang bez. Equipment gelesen hatte: hatte mir dieselben Gedanken gemacht und als ich dann deine Fotos mit dem 400er gesehen hatte, war ich überzeugt😊👍🏼.
Eine Frage hätt ich noch zum Aufbau mit dem MGEN: mir fällts extrem schwer den Aufbau so hinzukriegen, dass am Ende die Einnordung immernoch stimmt (ich stelle den Star Adventurer auf, richte die Kamera aufs Objekt, norde grob ein, teste nochmals die Ausrichtung aufs Objekt, und korrigiere die Einnordung, und dann GO). Kannst du mir sagen, wie du den Aufbau jeweils angehst? Ich frag mich, wann du jeweils den MGEN startest / ausrichtest und wie deine Erfahrungen sind?
Wär dir echt dankbar über einen Tipp😊.
Liebe Grüsse aus Kriens
Tobias Eicher
Hallo Tobias
Die Cases sind super. Sehen noch heute aus wie neu. Aber die sind ziemlich rauf mit den Preisen, wie ich gerade gesehen habe… 🙁
Hab schon lange nicht mehr fotografiert, aber ich hab das so in erinnerung (und teilweise auch dokumentiert):
– Stativ ausrichten, mit Wasserwaage ausbalancieren
– Star Adventurer inkl. DSLR und Guidecam (alles voll montiert!) in Initialstellung bringen
– Einordnen mit der SA Mini App auf Smartphone
– 15 Minuten (oder je nach vorhandener Zeit länger) warten und nochmals Einordnung prüfen und ggf. korrigieren
– Objekt mit DSLR suchen mittels Testaufnahmen (10-15sek Belichtung) und in meinem Fall Stellarium als Orientierungshilfe
– Guidestern in der Nähe suchen und fixieren
– SA zurück zur Initialposition drehen und nochmals Einordnung prüfen
– zurück auf Objekt nur durch drehen der RA Achse am SA und nochmals einigen wenigen Testaufnahmen
– ggf. Korrekturen am Leitrohr machen, falls der Guidestern nicht mehr im Bild ist
– Start Guiding
– Start Aufnahmen
Ich war immer sehr vorsichtig beim lösen der SA-Achse und den Stativköpfen für das Leitrohr während der Objektsuche und beim zurückdrehen der SA usw.. Jeder Ruck kann die Einordnung sofort zerstören…
Hoffe das hilft ein wenig 🙂
Clear Skies
Karol
Hallo Karol
Danke für den Tipp!! Sobalds mal wieder vom derFreizeit und vom wetter her passt werd ichs ausprobieren. Bisdahin alles Gute und bis bald.