I’ve used the GoTo system of the iOptron GEM28 for a few weeks now and I’m really impressed about the accuracy 🙂
The traditional 2 or 3 star alignment is ok, but the real precision comes from the Sync. to Target function. It enhances significant the GoTo accuracy.
Enhance GoTo accuracy
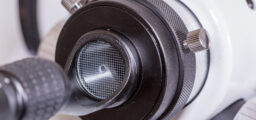
Before I start the polar alignment, I align the RA axis with the lens axis by centering Polaris in the polar scope and also in the LiveView of my DSLR.
This position I store as zero position. Next I do the polar alignment without touching the DSLR/lens anymore and start the star alignment.
Select and Slew / Sync. to Target
Before Sync. to Target can be used, it’s neccessary to Select and Slew to an object. I simply select a star (which is visible on the sky) from the internal database and let the mount slew to it.
Usually the star is already somewhere in the live view area of my EOS 70D. Then I select Sync. to Target and fine-align the star to the center of the LiveView.

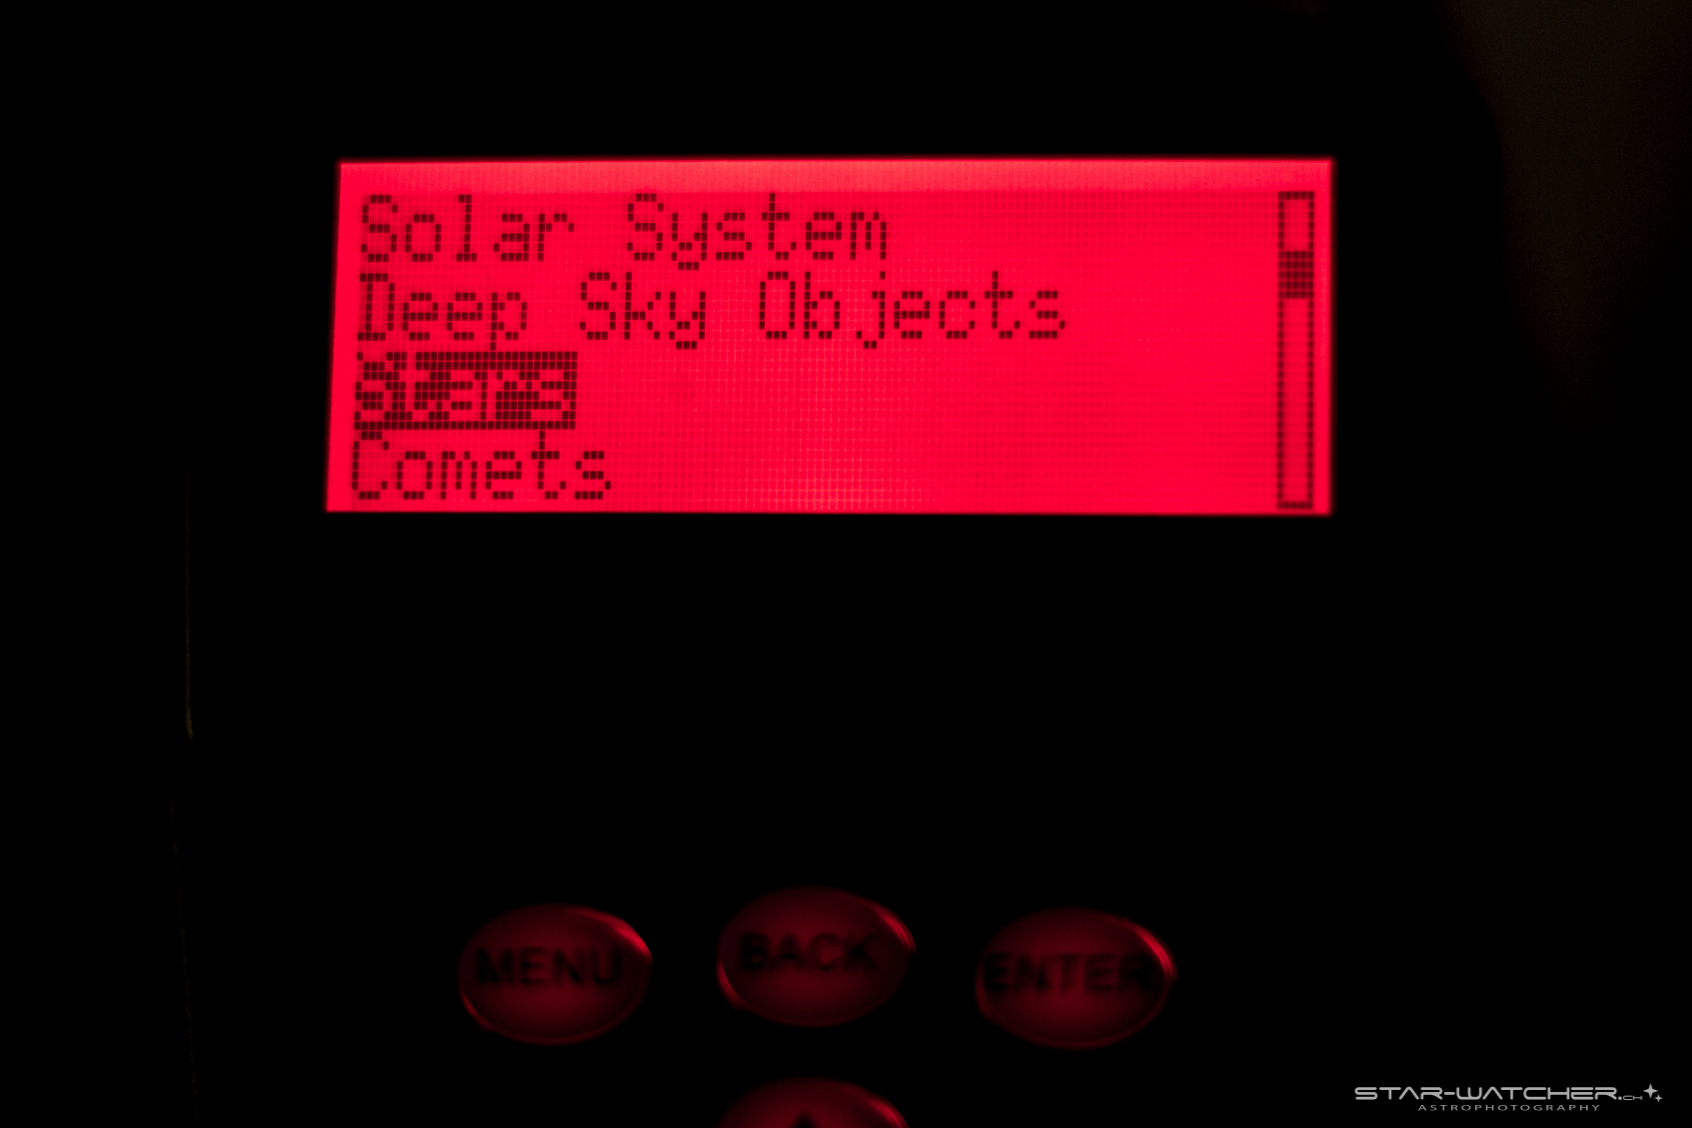
Select and Slew 
Select and Slew – Stars 
Select and Slew – Stars – Named Stars 
Searching and slew to #086 Caph 
Sync. to Target 
Sync. to Target – fine tuning


This two steps (Select and Slew then Sync. to Target) I repeat for 2-3 different stars. With every star the accuracy becomes better and better.
GoTo Exposures
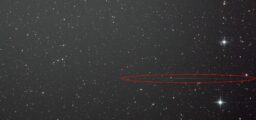
I created short exposures after slewing to a star (before Sync. to Taget) to demonstrate the GoTo capabilities.
Its important that the lens axis is aligned with the RA axis (by centering Polaris in the polar scope and DSLR LiveView before the polar alignment).
This is the position of Polaris after the polar alignment in the LiveView;
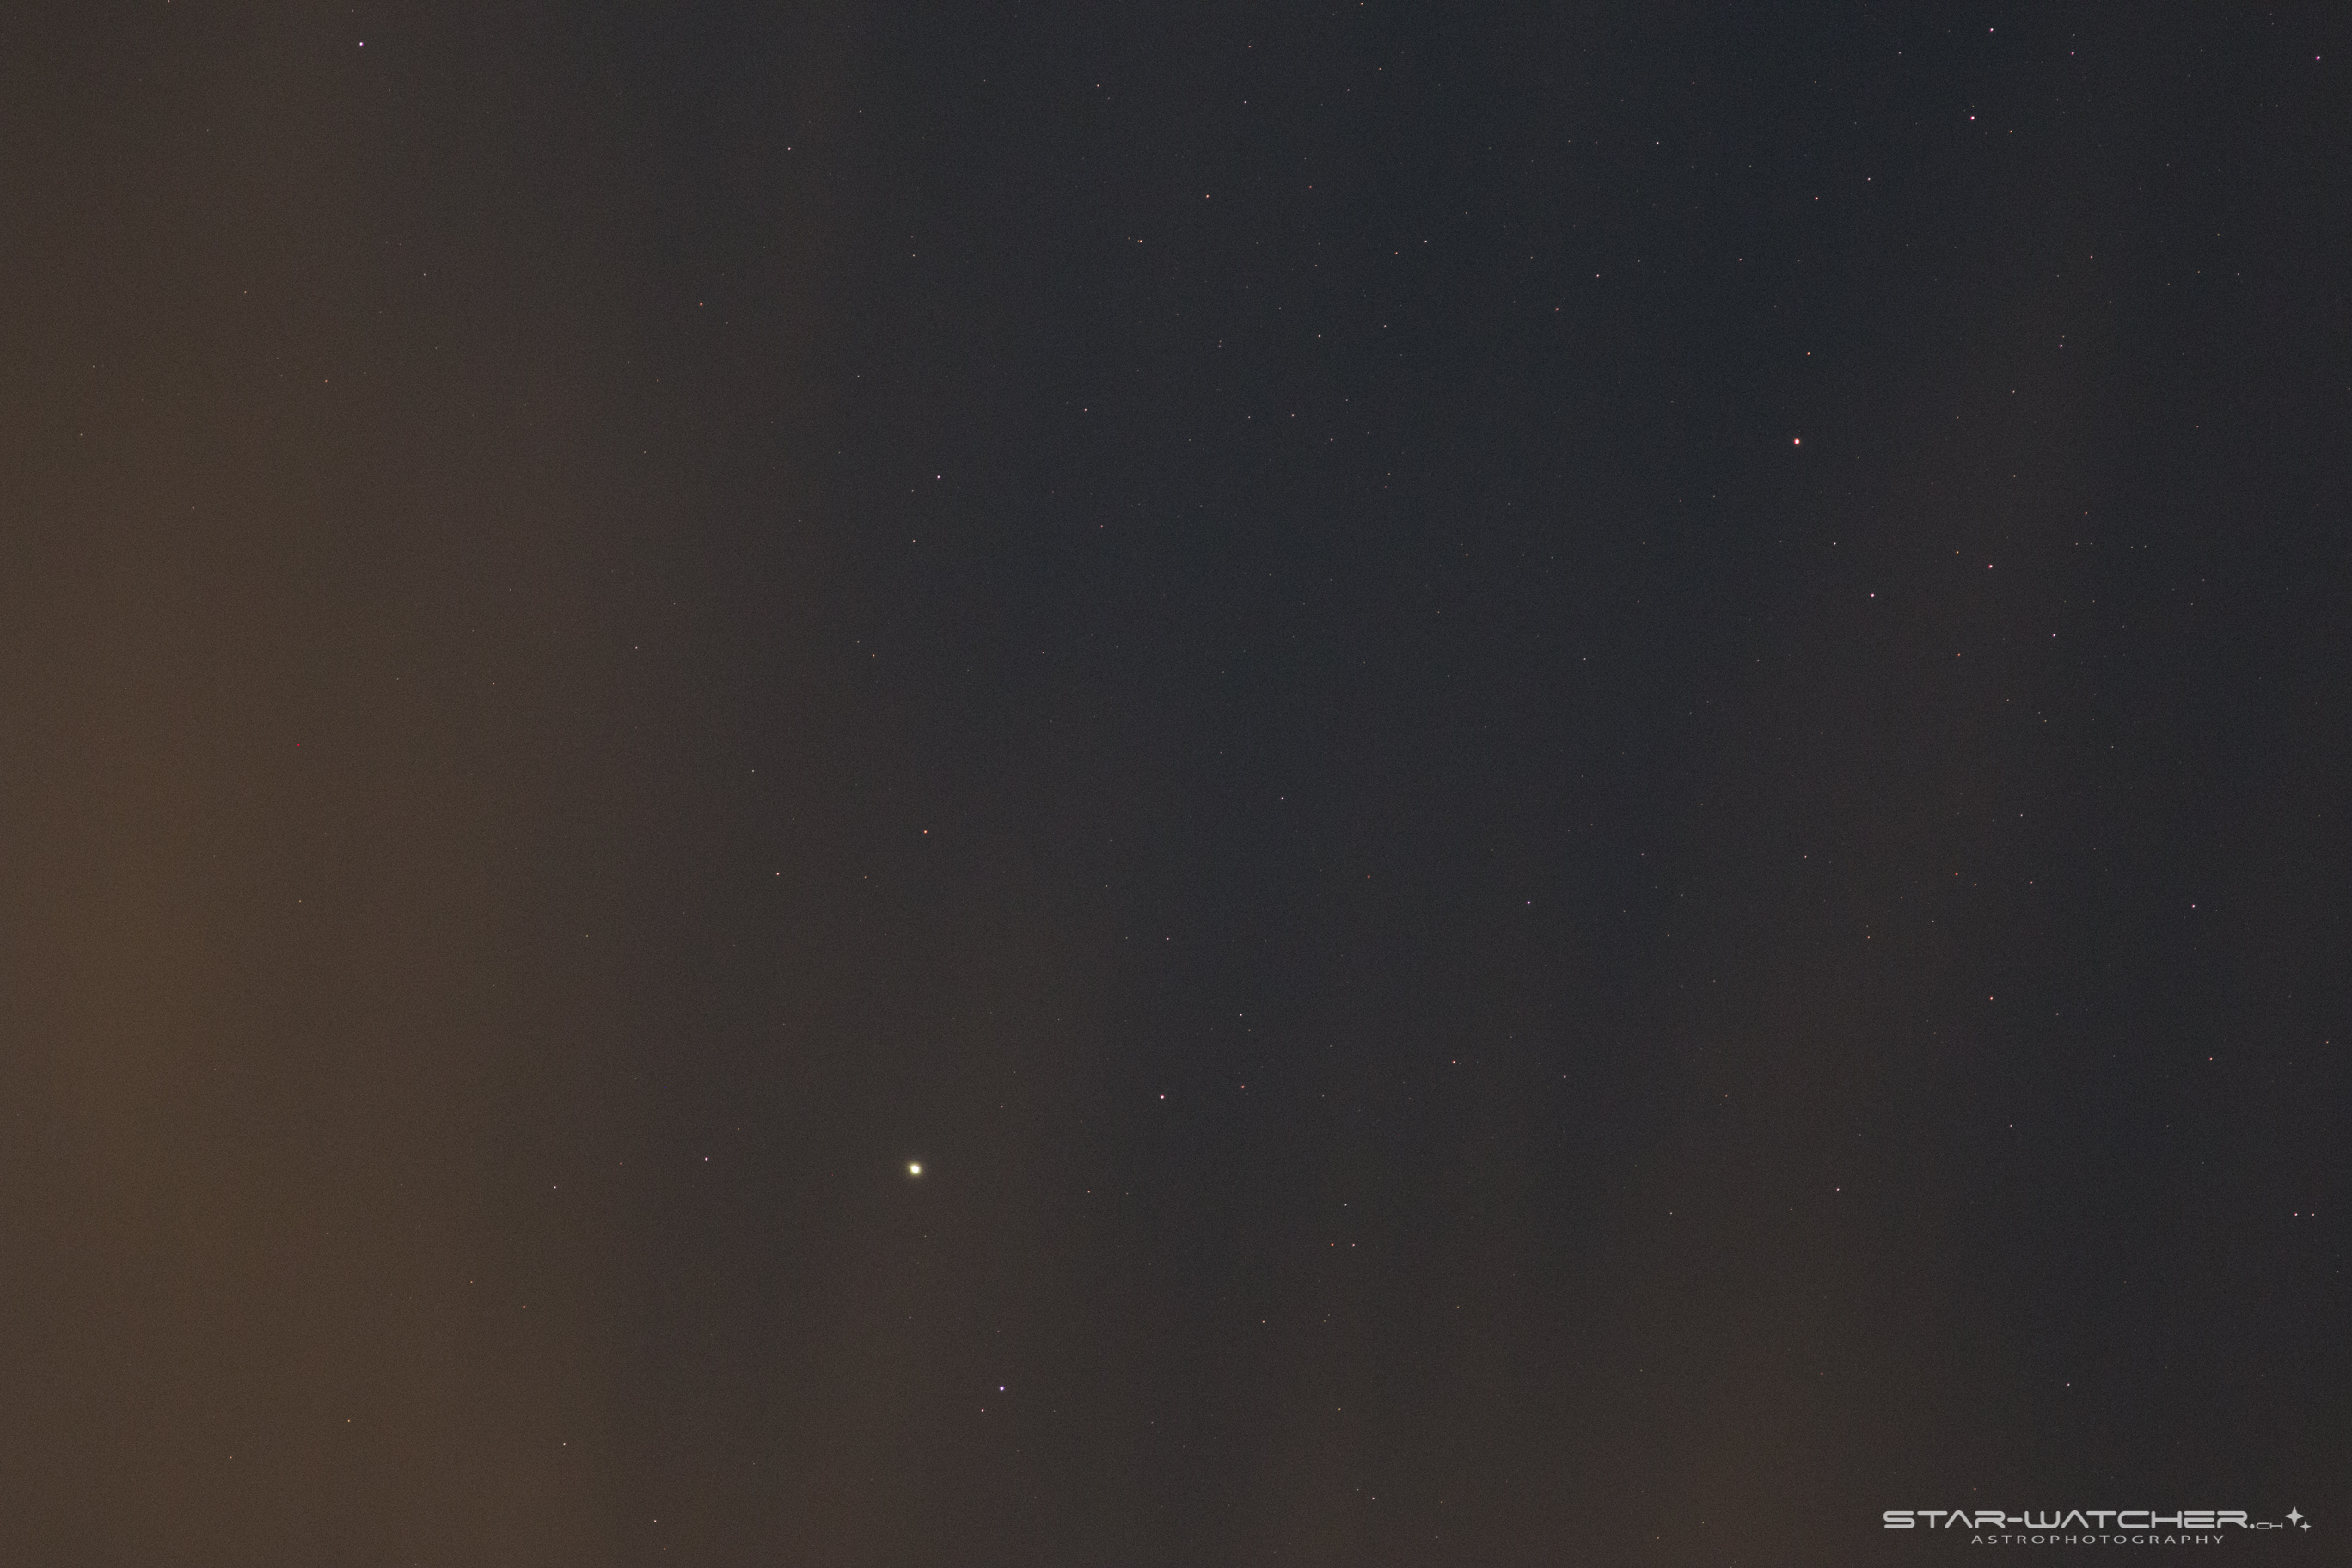
Next I Select and Slew to the star Caph. The precision is astonishing… event without Sync. to Target! The next star is Navi. Again very well centered. Here I did a Sync. to Target and I was ready with the GoTo alignment.

Caph 
Navi


I use the GoTo also during a session for focussing on a bright star with the Bahtinov mask. But before I leave my main object, I “store” the position with Sync. to Target to ensure to have the same field of view again, when I slew back after focussing. It works pretty well 🙂